Posts

How to Fix a Bathroom Faucet?

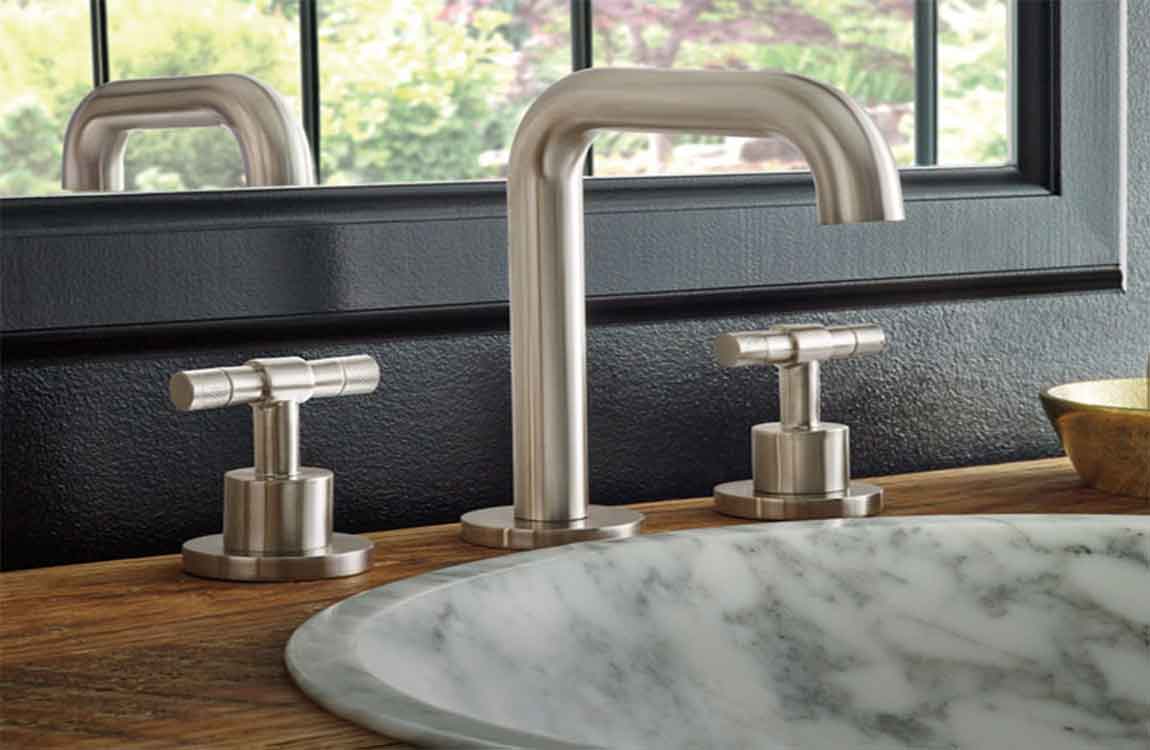
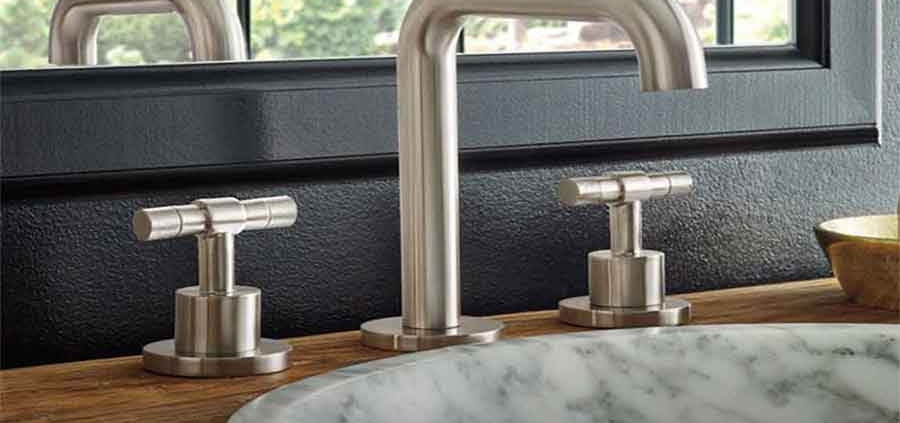
Most of the time, a problem with a bathroom faucet involves a leak. Usually, faucet leaks are caused by worn washers or seats in the faucet assembly and these are easily replaced. There are several types of faucets, some that no longer use washers to create a seal in the assembly. Make sure that you recognize the type of  faucet that you have before attempting to fix a leak because different assembly parts and tools might be needed. In some cases, you might need to purchase a faucet repair kit that contains special tools for fixing specific faucets. In any case, fixing a bathroom faucet can be done in a matter of minutes with just a few replacement parts.

Locate the water valves under the sink and switch them off. Cover the sink drain to prevent parts from getting lost. Pry off the cap from the sink handle. Remove the screw that holds the handle on. Remove the faucet handle. Unscrew the nut. Unscrew the stem. Coat the new washer with plumber’s grease. Replace the seat washer. Remove the stem from the packing nut. Coat a new O-ring with plumber’s grease. Replace the O-ring. Reassemble the faucet.

Ball-Type Faucet. Purchase a faucet repair kit for this type of faucet. Remove the handle by unscrewing the set screw and lifting the handle. Remove the cap. Remove the collar. Loosen the cam and lift it out. Remove the seals and springs from inside the faucet with a needle-nose pliers. Remove the old O-rings. Roll on the new, greased O-rings. Install new springs. Install new valve seats and washers. Reassemble the faucet.

Cartridge Faucet. Remove cap. Remove the screw on the handle. Remove the handle by tilting it toward the back of the sink. Remove the retaining clip (if present) with a needle-nose pliers. Pull cartridge up and out. Cut off the O-rings with a utility knife. Install new, greased O-rings. Reassemble the faucet.

Ceramic-Disk Faucet. Locate the handle set screw and remove. Lift the handle off. Remove the cap. Remove the cylinder mounting screws. Lift the cylinder out. Remove the seals from the cylinder. Clean the cylinder openings with vinegar and rinse. Replace the seals. Reassemble the faucet. Place the handle to “on” and turn on the water very slowly so as to not damage the ceramic disk.

How to Install a bathroom sink?

Whether you’re installing a new sink in a recently constructed home or replacing an old one, you can learn to plan properly and install your new sink securely. While different sinks will need to be installed depending on the variations of the kit you’re using, the basic steps in the process are usually the same. Learn how to assemble and fit your new sink into place quickly and efficiently.

Get the necessary tools for the job. You can install a new sink with basic tools and new components that match the valves already installed in your plumbing. Make sure you have: Silicone caulking. Plumbers’ wrenches, either pipe wrench or slip-joint pliers. Basin wrench. Set of plumbing sockets.

Turn off the water supply valves. Typically located beneath the sink, it’s critical that you shut off the water supply to the sink before you remove it. If the valves are not beneath the sink, then you’ll have to turn off the main water supply. This is typically located on a lower level or the basement near the water meter. To test, turn on the hot and cold water on your sink and make sure no water comes out before proceeding.

Remove the old sink, if necessary. If you’re replacing a sink, you’ll obviously need to remove the sink that’s in place before installing the new one. Disconnect the supply and drain lines from the faucet, using locking pliers or a crescent wrench. A small amount of water may leak out when you do this, which is normal. Just use a bucket or a towel to handle the water that leaks out.

Locate the large nut that connects the sink to the drain and disconnect it. This metal or plastic nut will be located either in the wall or the floor. Use your hands or locking pliers to unscrew the nut. Remove the current sink by sliding the edge of a putty knife around the perimeter of the bathroom sink, loosening any caulk that connects it. Pull it loose.

Measure the new sink to make sure it fits the space. All new sinks should come with a template of the mounting opening, marking the location of the faucet holes, including a cutout for the sink. You can use the template to make sure the sink fits in the desired location. If it doesn’t, you may need to do some trimming or, or cut the entire opening if you’re installing a sink in a house under construction. Most new sinks come with clips and screws that are used to hold the sink in place. If you buy a faucet, sometimes it’ll come with the drain and tailpiece for the sink. If it isn’t included, get one before you start. The supply lines for the faucet need to correspond to the faucet and valves under the sink, so make sure they match before you get started.