Posts

How Removing Your Existing Tub?
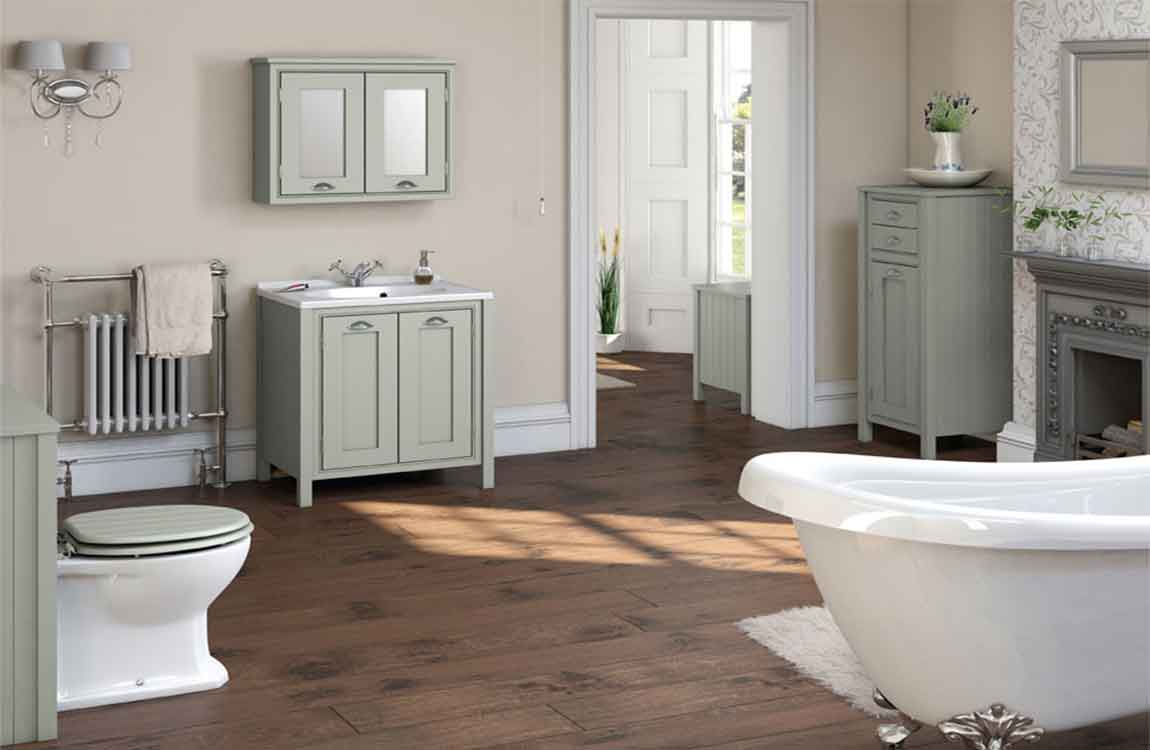

Cut a panel behind your tub to access the drain pipes. Most times, the water supply valve for your tub is located in the walls behind the faucet. Go into the room adjacent to your bathroom to cut a hole in the wall where the drain and faucets are for your tub. Use a stud finder so you don’t accidentally cut into one of the studs. Cut an 8 in × 8 in (20 cm × 20 cm) square in the drywall with a reciprocating saw to expose the pipes.


If you can’t access the room adjacent to the drain, cut a hole in the floor beneath the bathroom using a reciprocating saw. Make sure you’re underneath where the tub drains. Wear safety glasses while working with your saw. Turn off the water supply to your bathroom. The water supply for your tub is either controlled by a valve in the wall behind your faucet or by the main water pump. Turn the valve so it’s perpendicular to the pipes to turn it off.
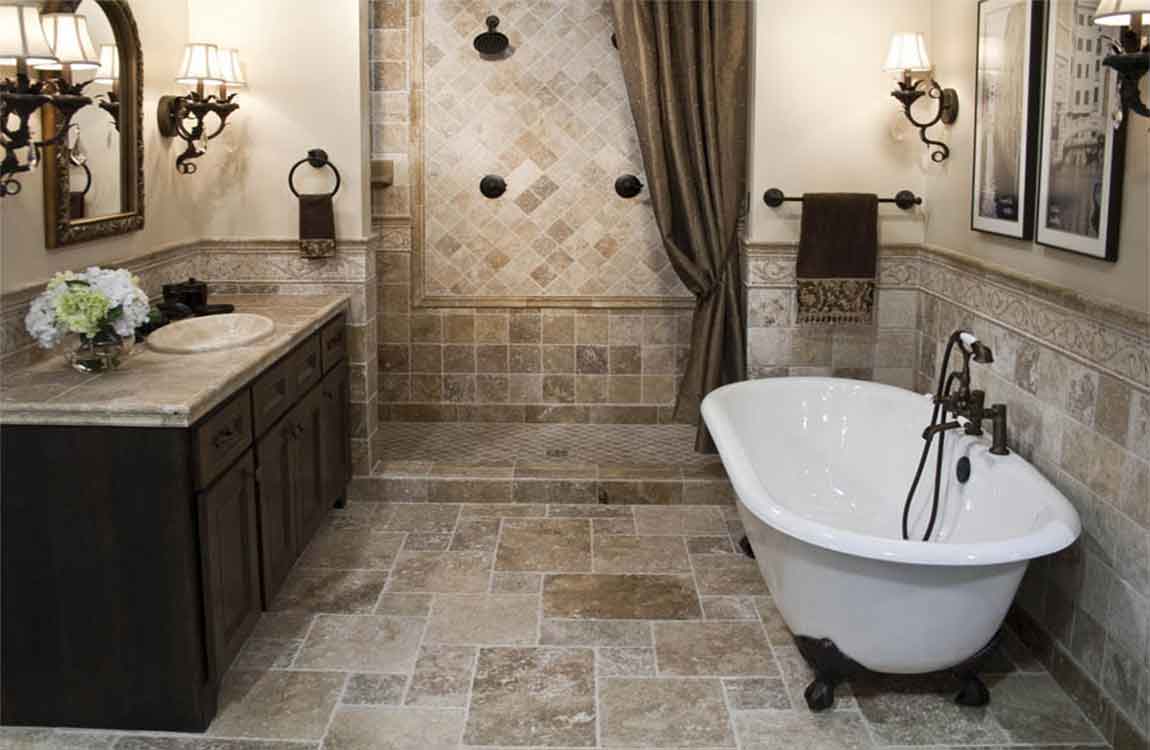

If your valve shut-off is circular, look for the directions printed on the valve head to figure out which way to turn it. If you cannot turn off the water for your tub or bathroom, you may need to turn it off for the entire home or building.


Remove the tub spout. Locate the screw on the underside of the faucet or where it connects to the wall. Use a flathead or Phillips screwdriver to remove the screw. If it doesn’t have a screw, tighten the jaws of a pipe wrench around the back of the faucet and twist it counterclockwise until it’s loose. Then, pull it out. If you want to save the faucet, put a rag in between it and the wrench so you don’t leave any scratches.
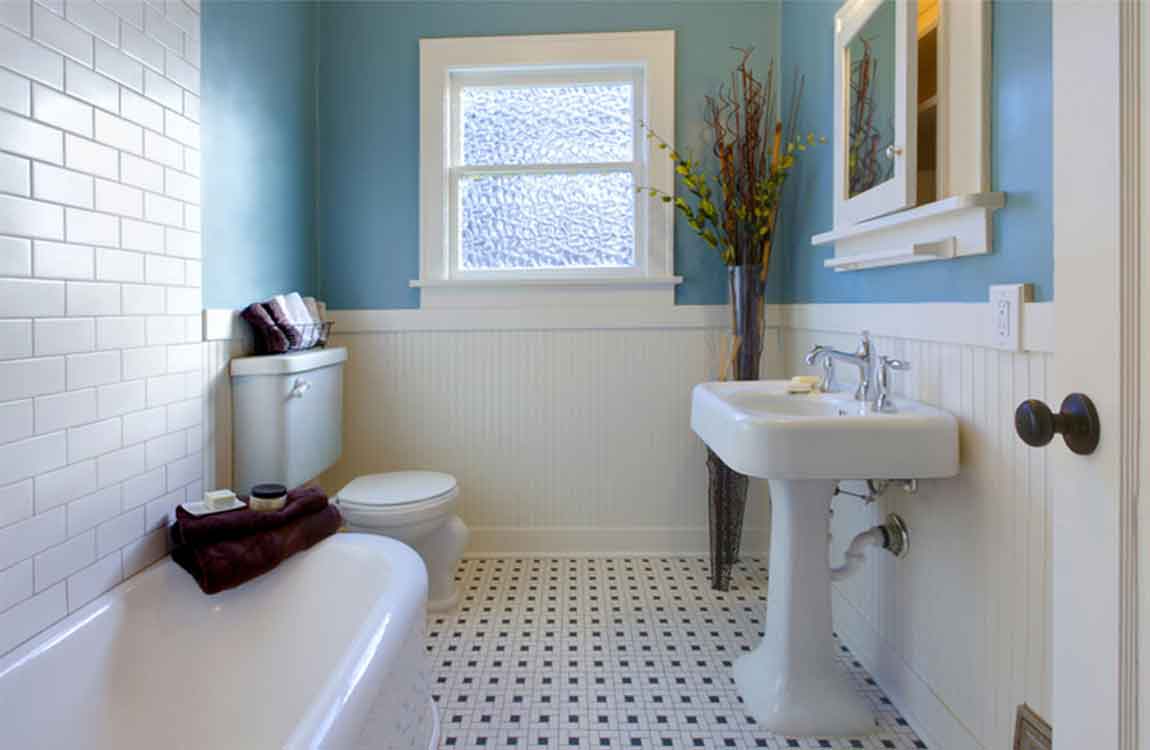

Take out the main and overflow drains. A drain removal tool is a cylinder that fits into the drain to loosen its connection to the pipes. Put the end of a drain remover tool in the drain hole and turn it counterclockwise. Keep turning the tool until the drain is loose and you can pull it out by hand. Unscrew the overflow drain, located on the front wall of your tub, and pull it off of the surface.

How Replacing an Undermount Sink?

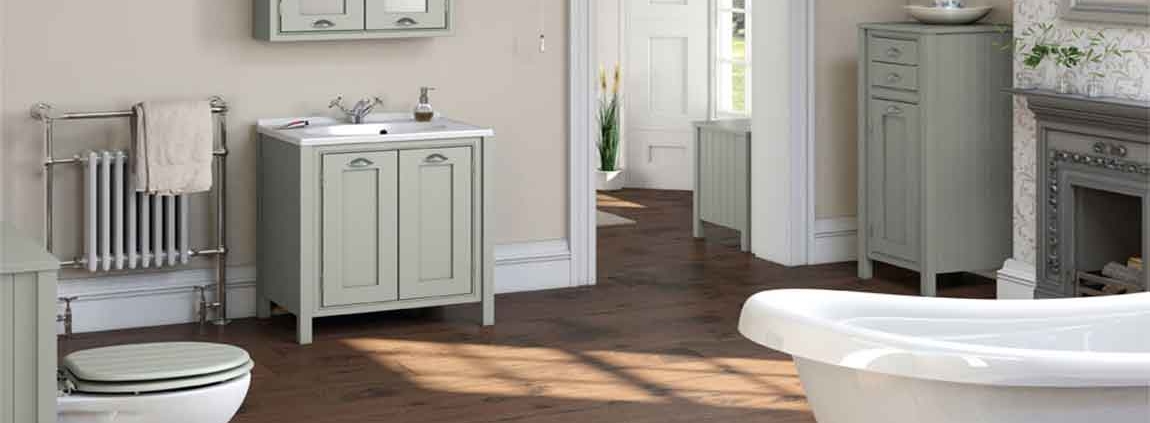
Cut through the caulk that connects the sink to the underside of the counter. Reach into the sink from above and run the blade of a utility knife through the bead of caulk, all the way around the rim of the sink. Work carefully so you don’t scratch the lip of the opening in the countertop. This caulk helps to hold the undermount sink in place but is primarily there to prevent water from getting between the sink rim and the underside of the counter.

Remove the holding clips under the sink while supporting it from below. Although it will be a tight fit in the sink cabinet, this is safer and easier with a second set of hands helping you. While the second person holds the bottom of the sink, remove the several clips (often 4-6) that pin the sink rim against the underside of the counter. They will either be screwed or epoxied into place.

If they’re attached with screws, simply use a screwdriver to remove them. If they are stuck in place with epoxy, use a putty knife to scrape, pry, and wedge the clips apart from the underside of the counter. Once you remove the clips, the sink will be free to fall, so make sure it’s being held up by someone.

Lower the sink down and out of the cabinet. Now that the caulk and the clips have been removed, simply guide the sink downward and out of the cabinet. If you are reusing the existing faucet and drain, remove them now. But it’s more likely that you’ll want to install new ones with your new sink.

Install the faucet, but not the drain, in the new sink. Unlike with a top-mount sink, don’t install the drain before installing an undermount sink. But it’s easier to install the new faucet now instead of having to work from inside the sink cabinet. Installing a faucet is within the skill set of most DIYers, but the process differs based on the type and model of faucet. Closely follow the instructions that come with the new faucet.

Apply a bead of silicone caulk around the entire top rim of the sink. Use a silicone caulk designed for bathroom applications. Make sure the bead is continuous around the entire rim of the sink. Like the stuff you removed from the old sink, this caulk is mostly there for waterproofing, but also helps hold the sink in place.