Posts

How to Remove Black Flaking in a Jetted Bathtub?


By the time you see any type of flaking coming out of the jets of a whirlpool bathtub. it’s already too late. The flaking are remnants of bacteria, mostly harmful, condos that have now decayed and are ruining your visual of a relaxing spa bath. Don’t use bleach. First things first, we don’t use bleach because over time it will breakdown gaskets, bushings, etc.


We also won’t use any dishwashing detergent since it will put a coating layer on the flaking we are trying to remove. Fill the jetted tub up with warm water 1″ about the highest jet. Add a non toxic bio cleaner to the water per the instructions on the cleaning product label, normally it is 1 teaspoon or 1 capful, depending upon the bio cleaner.


Run the jets, turn off the air valve if you have one, on high for 10-15 minutes. This allows the bio cleaner to scrape off the gunk (flakes) that are solidified on the pipe and jet walls. Bio Cleaners use special properties that are ecological, green and non toxic and have the capability to eradicate bacteria, algae, mold, mildew, dead skin, soaps, and other gunk in the piping and remove them to the sides of the tub.


When you have completed the 10-15 cleaning cycle, remove 2 inches (5.1 cm) of water, clean the “ring around the tub”, refill with 2 inches (5.1 cm) of water and repeat the process. You will have to add more bio cleaner in as well. To maintain a clean jetted tub, you really need to clean it once a week, preferably after a bath to save on water.


Paint on 2-3 coats of the new finish with a brush and roller. Always paint in 1 direction when you apply the new coat to your tub. Roll on the new finish to the floors and sides in even back-and-forth rolls until the flat area is completely covered. Fill in the corners and curves of the tub with even back-and-forth brush strokes. Let each coat dry for at least 30 minutes before you put the next coat on.

How to Make Your Own Mosaic Bathroom?

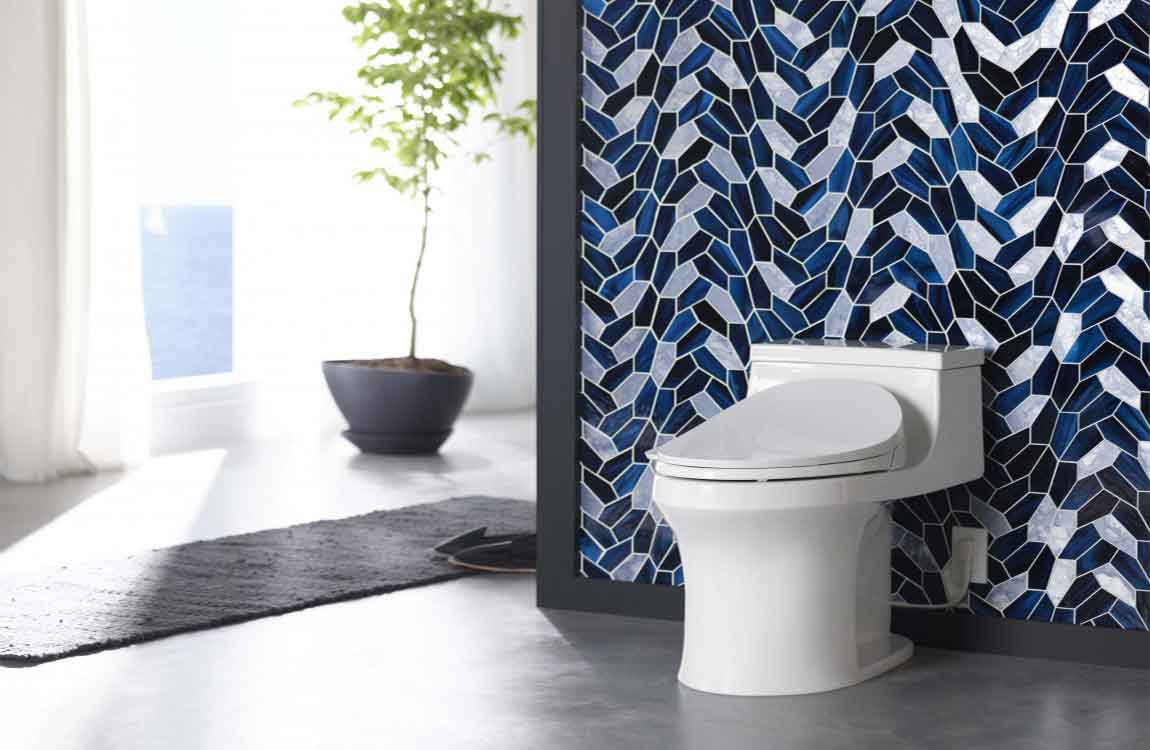
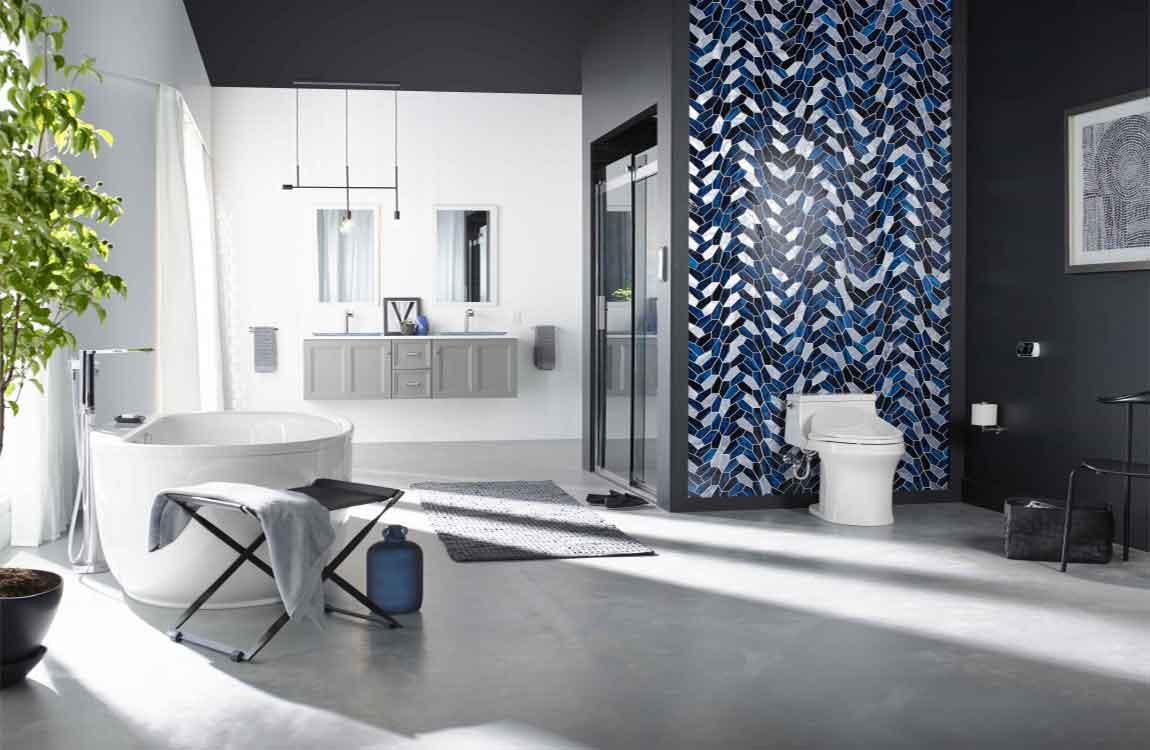
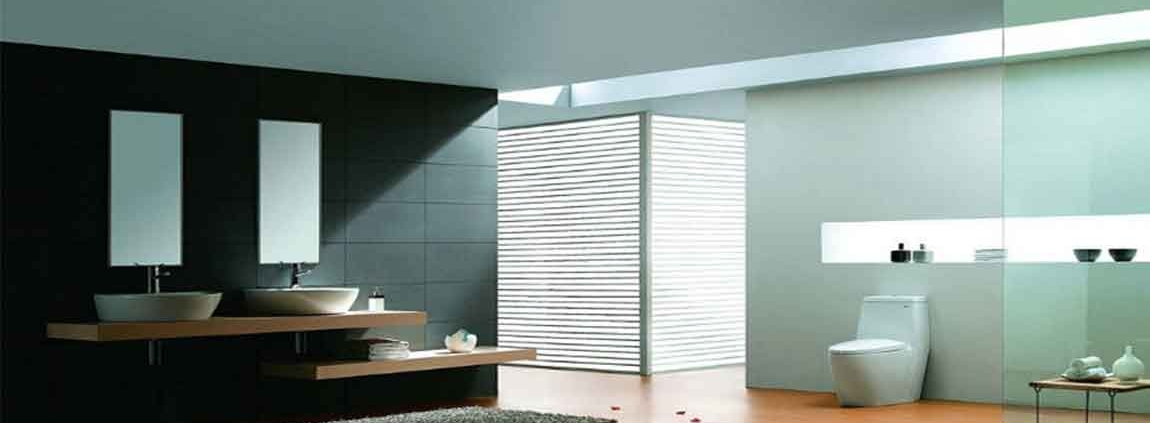
Mosaics are images that are created by gluing glass, china or ceramic pieces to a surface. Although they often form distinct images, they can also be done in geometric or abstract patterns. Mosaics are popular in interior design because they add character and color to a surface while being durable. Ceramic tile mosaics are a great way to decorate a bathroom or kitchen countertop. You can do this project yourself with some tiles, cement, grout and a few tools. You must take care to arrange your mosaic exactly how you would like it to look before the cement dries. Learn how to make your own mosaic bathroom countertop.

Remove the current bathroom countertop, if you choose to do so. You will need a crowbar to peel the countertop away from the bottom surface and wall. You can also glue your tile on top of your current countertop. Choose the tiles you want to use for your bathroom countertop. Ceramic tiles are a good choice, and they are available at hardware and home improvement stores.

Do not choose too many bright colors for your mosaic surface. A surface made mostly of shades of neutrals and 1 or 2 bright colors will match your décor without looking too busy. You may choose tiles in the same size or of varying sizes. Consider choosing a different colored tile for the perimeter. Measure the dimensions of the bathroom countertop you would like to tile.

Lay your tiles out on a dry surface. Arrange the design that you would like to use, accounting for the dimensions of your bathroom sink. If you are working with large tiles you can place them in a thick plastic bag and hit them with a hammer to break them into smaller pieces. This will give you a more hap-hazard, uneven look than if you use small square tiles. Use a ceramic cutter to clip your tiles into specific shapes. For example, you may want to clip your square tiles diagonally to fit them around a curved wash basin. Clean the surface of your countertop. Use a heavy duty cleanser. Allow it to dry.