Posts

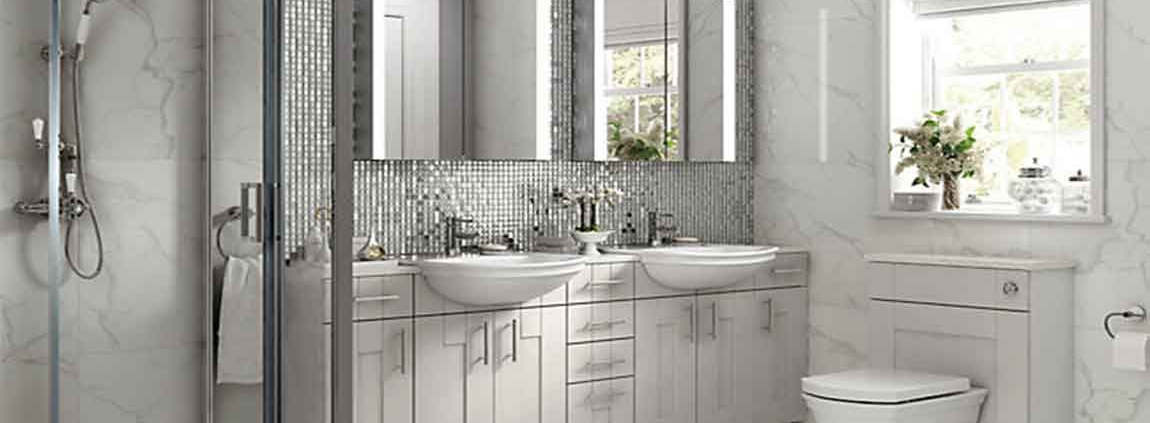
How to Deep Cleaning a Toilet?

Put on clean gloves and a plastic apron. Use a dedicated pair of waterproof rubber gloves to clean your toilet. A plastic apron will protect your clothing. Toilets can be a haven for bacteria – you’ll want to keep your hands as clean and dry as possible when you’re cleaning yours. Keep these gloves separate from your other gloves. It’s handy to buy your toilet gloves in a different color than your other rubber gloves – you don’t accidentally want to mistake them for your dish-washing gloves.

Wipe down the toilet with a damp sponge. It can be handy to give your toilet an initial once-over with hot water. While you’re cleaning the rest of the toilet, this will sink in, loosening up dirt and grime and making your later efforts easier. Moisten a sponge with hot water and wipe around the tank, lid, seat, base, and exterior of the bowl. Often, this will be enough to completely remove dirt without the need for special cleaning products.

Apply toilet cleaner to the inside of the bowl. Specially-formulated toilet cleaners can help you eliminate stains, rings, and mineral deposits in your toilet. Squirt or dab cleaner on the inside of the rim of the bowl, allowing it to drip down the sides of the bowl and into the water.

It’s important to apply cleaner to the inside of the bowl’s rim – this area is often ignored, which can lead to gross brown mineral buildup along the rim. Read the manufacturer’s instructions for the cleaner you use. Many cleaners work best if you allow them to soak in the bowl before proceeding. If so, take a short break before the next step.

Scrub the bowl with a toilet brush. Using a firm-bristled toilet brush, scrub the entire bowl thoroughly, paying special attention to any mineral stains that may accumulate along the water level and at the back of the bowl.

How to Replace a Bathroom Sink?

Bathroom sinks may become chipped, stained or scratched. You may want to install a new sink to enhance the ambience of your bathroom and create a fresh, clean look. Replacing a bathroom washbasin may be time consuming, but should not be difficult to accomplish, and could revitalize the entire room.

Measure the dimensions of the old bathroom sink with a measuring tape. When you install a new sink, you want one that will fit in the old countertop. Write down the length, depth and width of the sink, as well as the length and width of the countertop. Buy a new washbasin. Bring the measurements of the old sink and countertop with you to ensure you purchase the correct size before putting in a bathroom sink.

Turn the water off to the sink. The cut off handle is usually located under the sink. When replacing a bathroom washbasin, you want to test the faucets to make sure the water is completely off. Place a bucket underneath the P-trap. When you install a new sink, you have to remove the drainage pipe first. Loosen the bolts that attach the P-trap to the bottom of the sink with channel lock pliers. Hang the P-trap over the bucket, carefully pulling it from the sink.

Unfasten the hot and cold-water hoses from the faucet with a crescent wrench. Replacing a bathroom washbasin entails spending a little time underneath the sink removing hardware. Remove the clips under the sink that attach it to the countertop with a screwdriver. Cut any sealant or putty between the sink and the countertop out with a utility knife. Lift out the old sink from the counter. When putting in a bathroom sink, you want a smooth surface, so clean the countertop off, removing any residual silicon.

Remove the faucet and drain from the old sink if you plan to use it in your new sink. Install the old faucet and drain on the new sink. To install a new sink, you should seal the hardware. Be sure to apply a bead of silicone caulk to the faucet and drain base. If you bought a new faucet, follow the manufacturer’s directions. Apply silicone caulk to the underside of the washbasin’s rim when putting in a bathroom sink. Lower the sink into the hole in the countertop. Push the washbasin into place and wipe off any excess silicone with paper towels.

Attach the sink to the countertop with fastener clips from beneath the counter. You need to make sure it is secure. Reconnect the water lines with a crescent wrench and the P-trap underneath the sink with channel lock pliers. Be careful not to tighten the valves too tight. Turn the water valves back on. Leave the bucket under the P-trap while you test the sink for leaks. Sometimes, putting in a bathroom sink creates water leakage. Twist on the hot water and then the cold water. If there is a leak, shut off the water and re-install the connections wrapping plumber’s tape around the stem of the hose. Let the bathroom  set overnight.