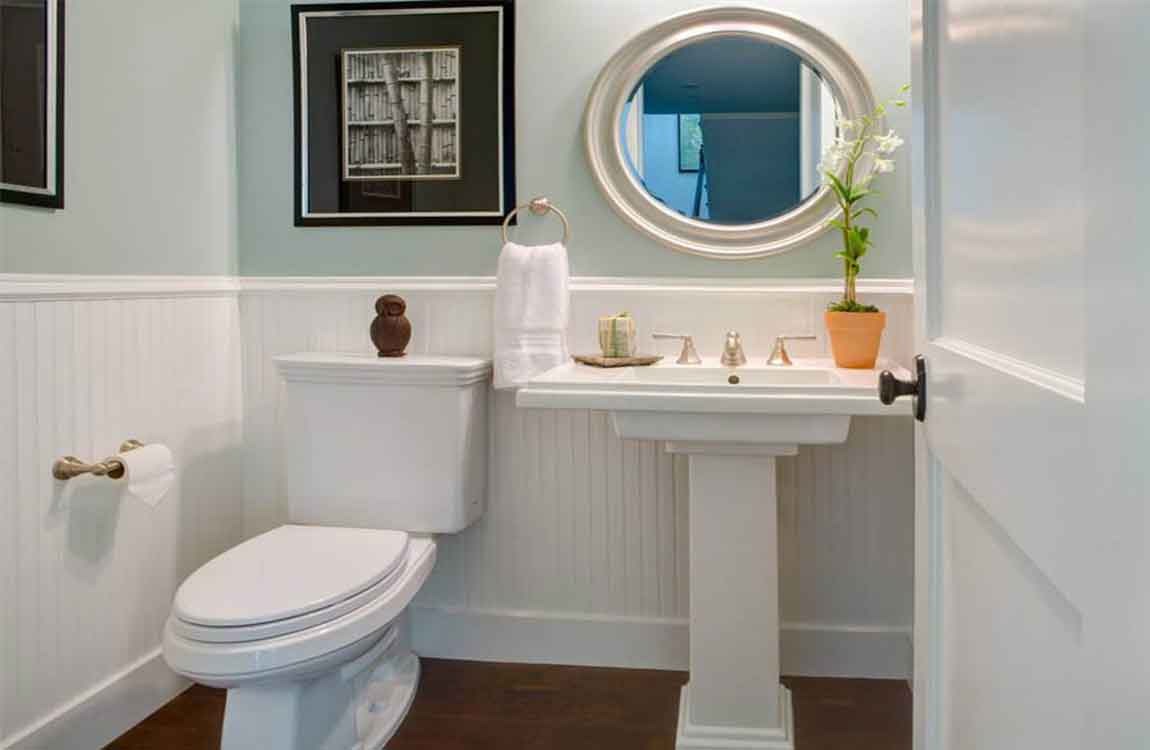
Use baking soda as a last resort. Although it is very mild compared to other abrasive cleansers, baking soda (sodium bicarbonate) can still scratch up your sink. Use it only if you can’t take off the dirt with soap and water or lemon juice.
Apply baking soda to dirty areas with a shaker. You can use a repurposed sugar shaker, or make your own shaker by punching a few holes in the lid of a jar. Shake on a generous quantity of baking soda. Make sure the sink is only slightly damp when you apply the baking soda. Baking soda dissolves quickly in water, which makes it ineffective as an abrasive.
Use enough water to make a paste. If you don’t mix in enough water to make a baking soda paste, the cleaner won’t work. The paste requires the power of scrubbing just as much as it does the power of baking soda.
Carefully scrub with a sponge. Use a slightly damp (not soaking wet) scrubber to gently rub away the dirt. The baking soda should form small clumps that take the dirt with them as they come up. Use a non-scratch scrubbing sponge. Avoid steel wool or pumice stones for this purpose, as both can do a lot of damage to ceramic or porcelain sinks.
Rinse away the baking soda. Run some cold water into the sink and rinse away any remaining dirt and baking soda. Wipe down with a clean, dry towel or rag. Attach the grille. Return to the bathroom and install the motor blower assembly by plugging it into the receptacle and screwing to secure. Attach the decorative plastic grille, then turn the power back on to test if your new bathroom fan is working.
https://baranasanitary.com/wp-content/uploads/2019/11/Buildup-with-Baking-Soda-1.jpg7501150adminhttps://baranasanitary.com/wp-content/uploads/2017/01/logo-3.pngadmin2019-11-18 08:00:512019-11-20 06:53:32How Removing Stubborn Buildup with Baking Soda?
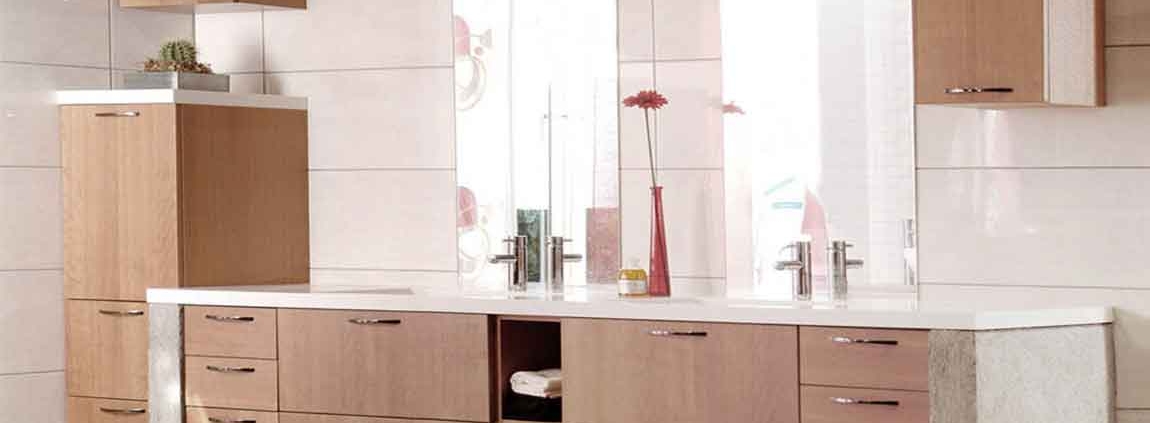
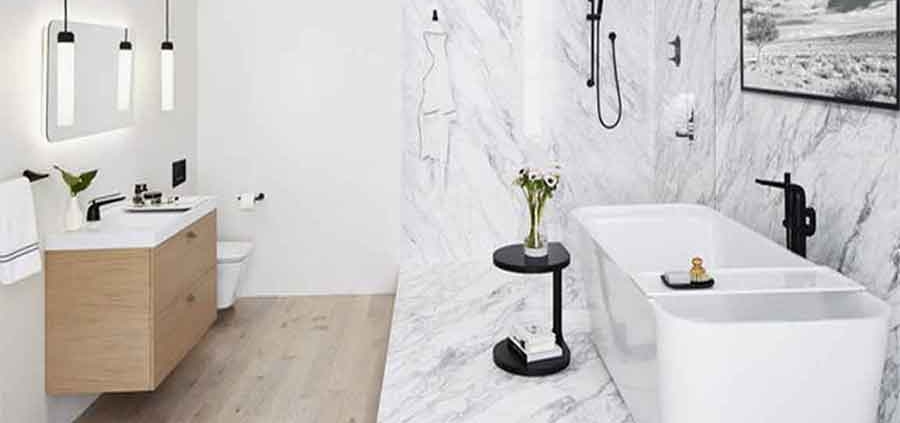
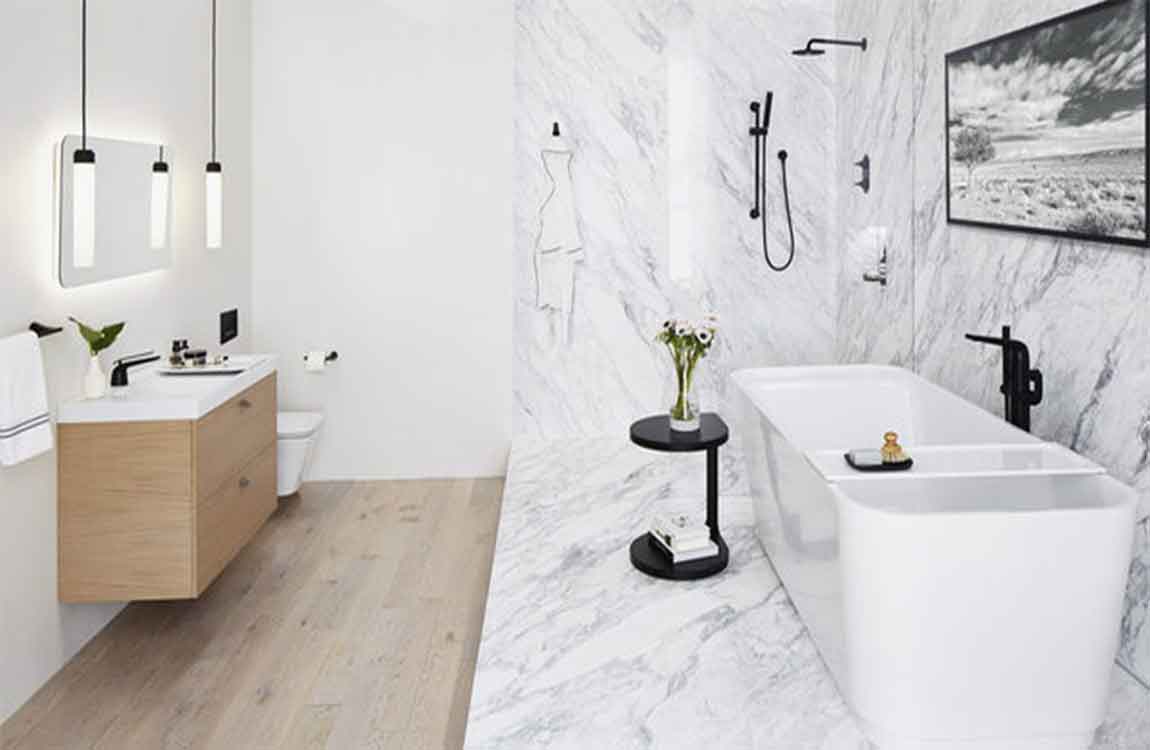
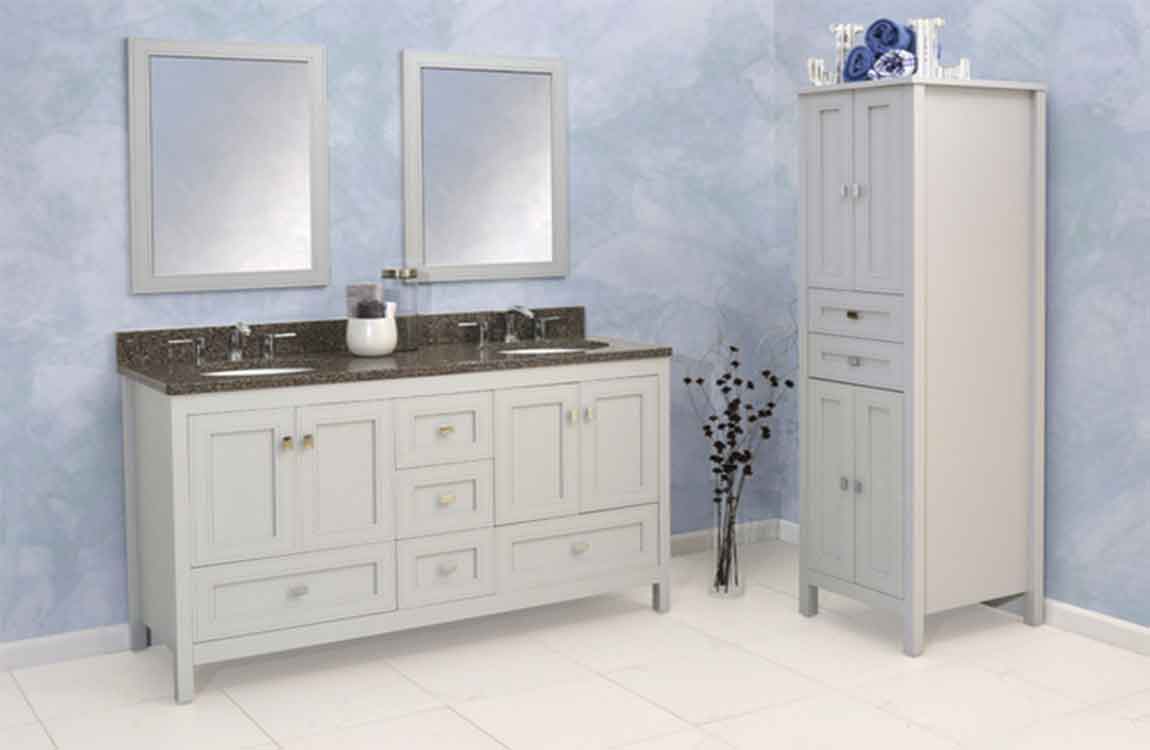
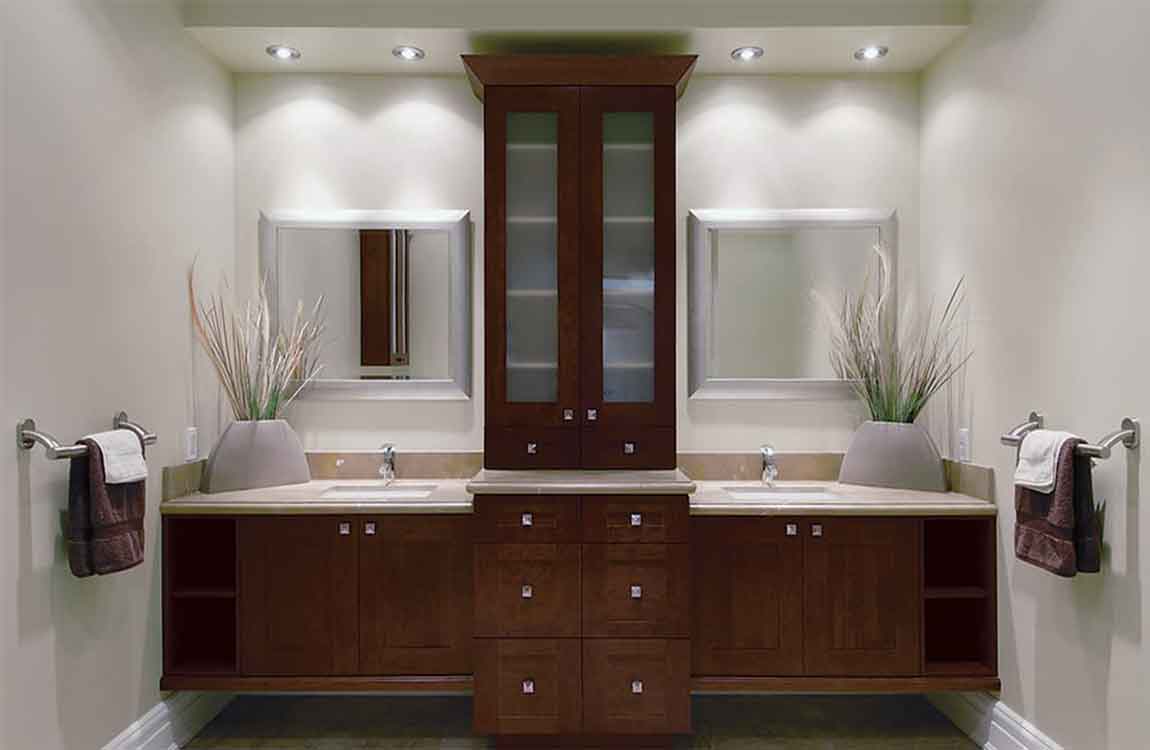
Like any room in the house, the bathroom can benefit from a makeover every once in awhile. If you want to update the look of your bathroom but aren’t enthused about the idea of dropping an untold sum of money on new installations, consider simply repainting your cabinets or vanity. A fresh coat of paint can drastically change the appearance of your bathroom without the difficulty or expense that comes with extensive renovation. Simply pick a color, then line, prime and paint, and you’re guaranteed to develop a new appreciation for your cozy washroom overnight.
Clean the cabinets first. Before you sand, prime, or paint, you need to thoroughly clean the cabinets. Put on gloves and mix trisodium phosphate (TSP) and water according to the instructions on the box. Dip a sponge in the solution, wring it out, and wipe down each cabinet. Then, wipe down each cabinet with a clean cloth to remove any residue. Be sure to clean the inside and outside of each cabinet.
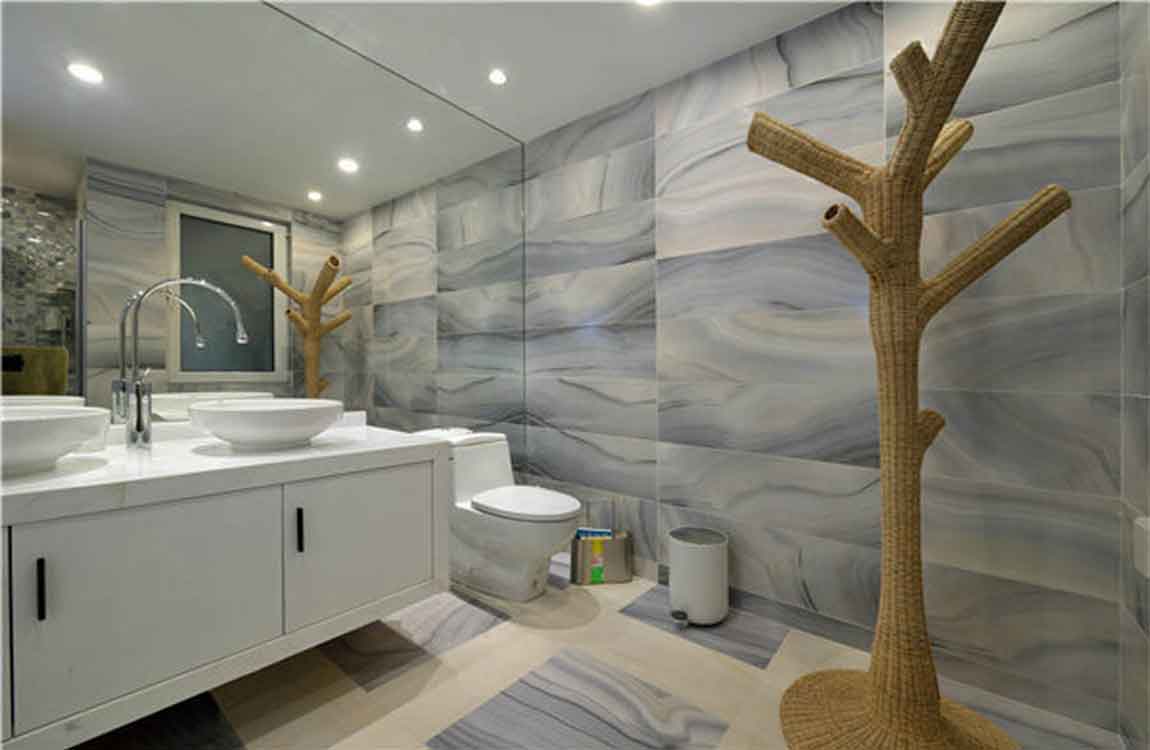
Remove all doors and hardware. Before you get started, take off the cabinet doors, pull out drawers and pop off false drawer plates. You’ll also want to unscrew any handles, pulls, stops or hinges that might get in the way while you’re painting. This way, you’ll be able to work without obstructions. Keep everything together in one place to avoid losing important pieces.
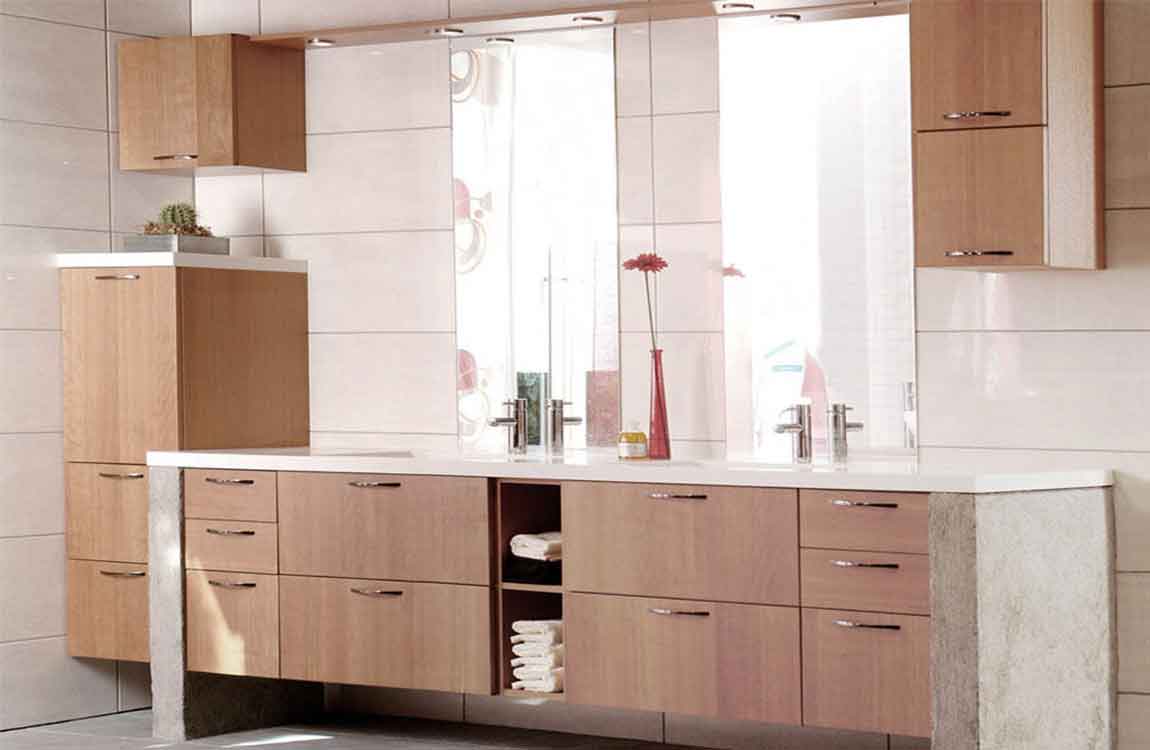
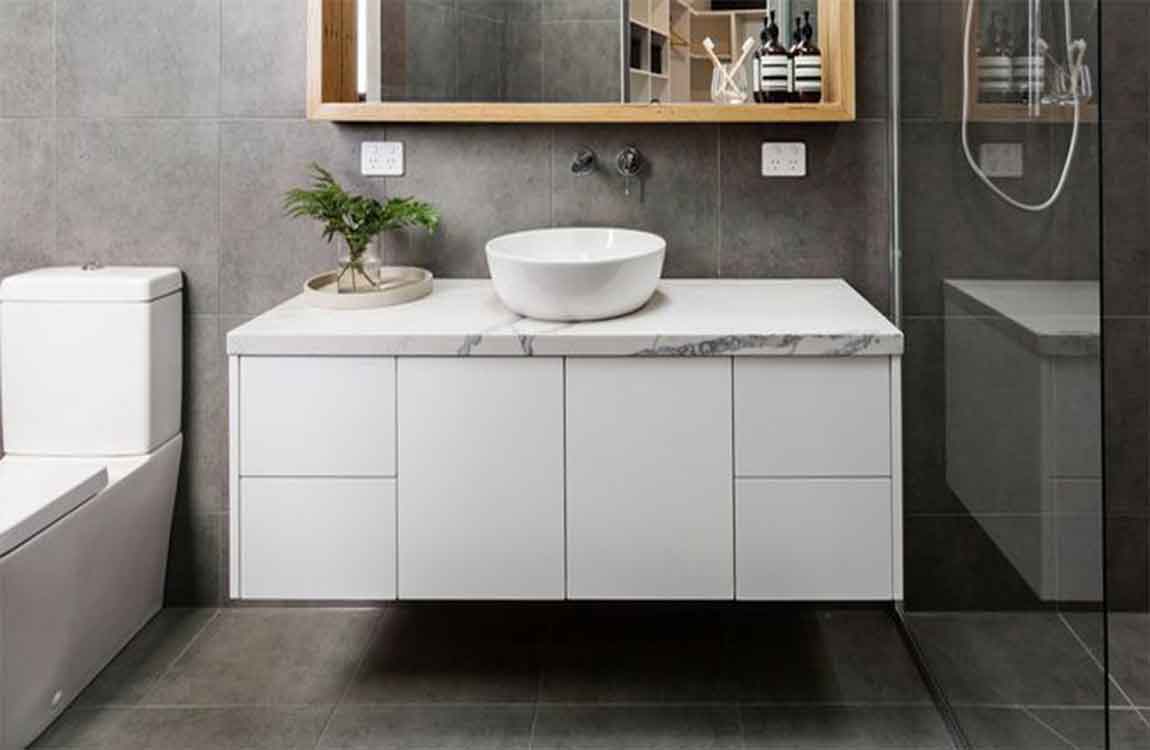
Labeling the individual bits of hardware or placing them in separate plastic bags can make it easier to keep track of everything. If you’d also like to use this project as a chance to install new hardware, this would be an opportune time. Sand the cabinets to remove existing paint. Go over the outside of the doors, panels and baseboards with a high-grit sandpaper. There’s no need to remove every trace of paint or lacquer—you just want to make the cabinet’souter surfaces coarse enough for the primer to cling to. Work out any rough edges or irregularities and aim for a smooth finish.
Put on gloves and eye protection before sanding. Sand using smooth, circular motions, moving outward as you progress. Run the sandpaper straight along edges and narrow panels. Don’t forget to get inside corners and along the inner edges of the cabinet doors. Use a Shop-Vac to deal with the dust and debris when you’re done.
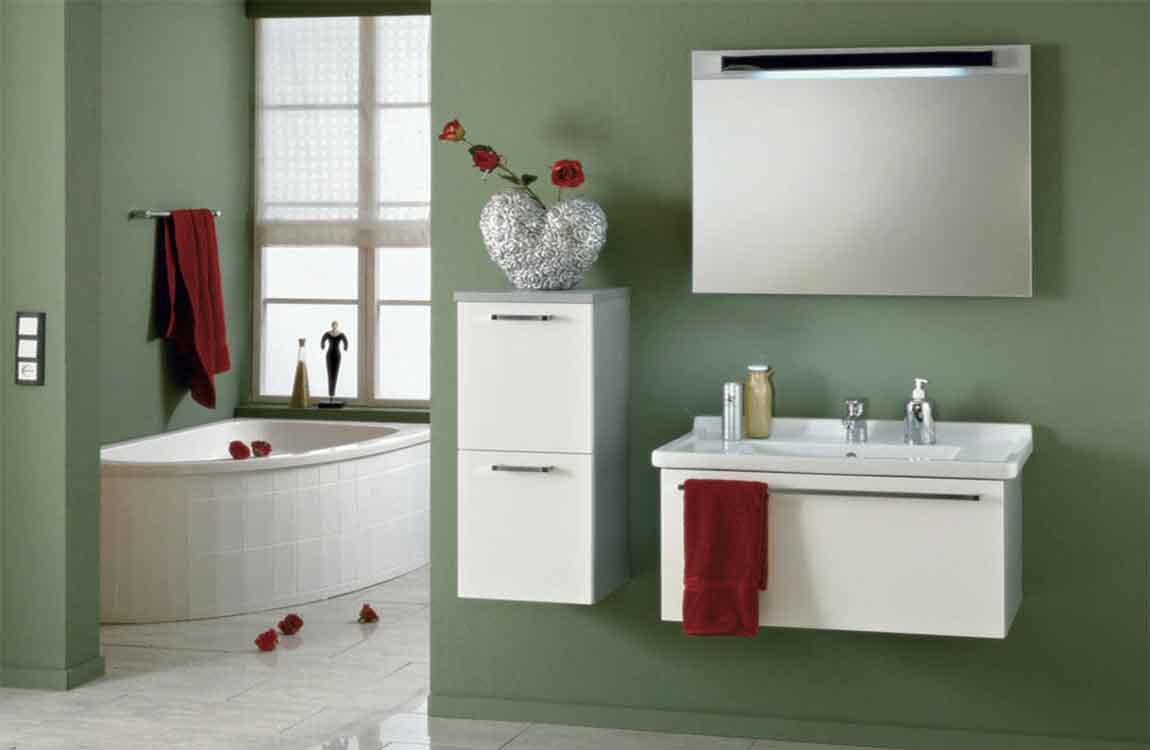
Brush on a coat of primer. Apply a basic primer to the areas you plan on painting. One thin, even coat should do the job. Primer will be useful for protecting the cabinet’s underlying materials and getting the paint to hold better. Primers should be specially formulated for use with the type of paint you’re working with. Water-based primers, for example, should be used only with water-based paints. Lightly sand dry primer to make the painting surface more uniform.
Put down painter’s tape. Use a few strips of painter’s tape to mask the underside and inner edges of the cabinets, including the area where the cabinet meets the wall. Mask the countertops as well. Make sure the tape is straight and even to avoid glaring mistakes. Painter’s tape will allow you to establish exact boundaries for your paint job and cover areas that you want to keep clear.
Wider tape will give you a greater margin of error and can be useful for painting near walls and trim. If you’d prefer not to remove your cabinet doors prior to painting, fold a piece of painter’s tape over the hinges to keep paint from getting on them. If your bathroom is small, consider painting the drawers and cabinet doors in another space that has better ventilation.
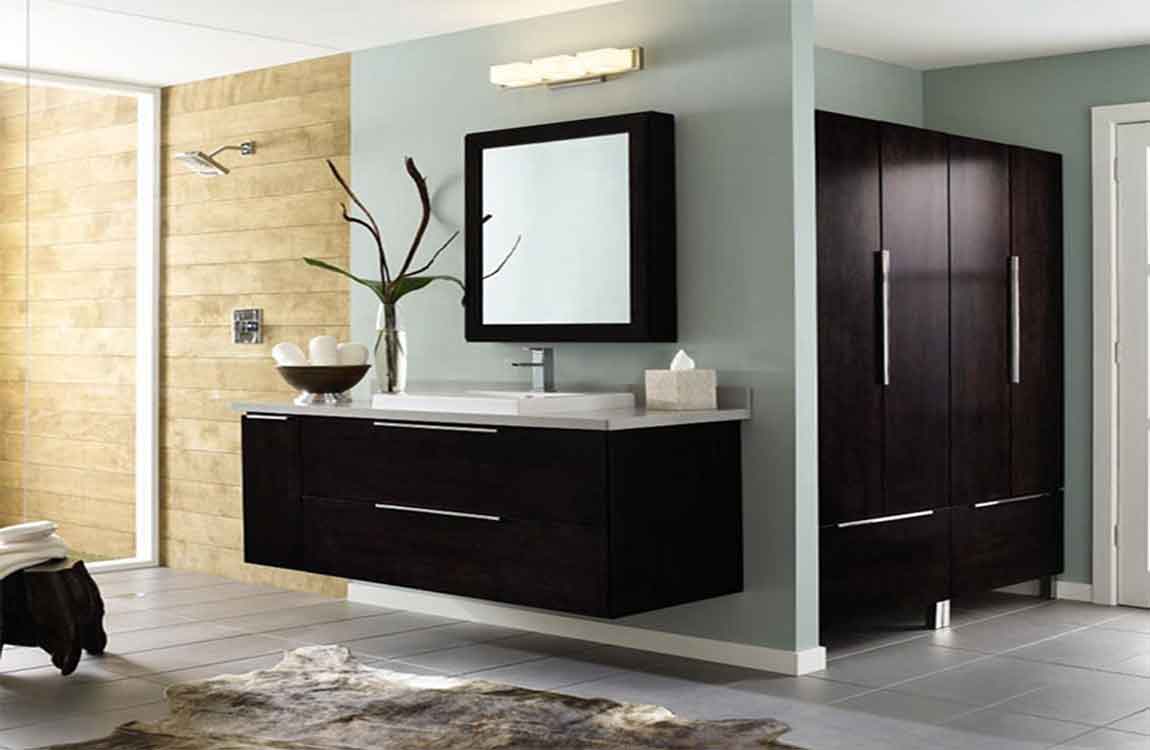
https://baranasanitary.com/wp-content/uploads/2018/11/How-to-Sanding-and-Priming-the-Cabinets-Before-Paint-Bathroom-Cabinets-09.jpg600900adminhttps://baranasanitary.com/wp-content/uploads/2017/01/logo-3.pngadmin2018-11-28 08:53:492019-07-31 07:38:12How to Sanding and Priming the Cabinets Before Paint Bathroom Cabinets?