Posts

How to Seal Around a Basin or Bathtub with Silicone?


Learn how to seal a basin or bathtub using silicone or caulk. This process of silicone sealing stops water penetration into joints around wash basins, bathtubs or shower trays. Prepare the area. Remove any old silicone from the work area. This can be done with a utility knife. Any contaminants like oil and grease could prevent the silicone from bonding so clean the area thoroughly with alcohol.


Load the silicone gun. With a knife, cut the tip at 45 degrees, keeping the hole fairly small. This will give you better control over the amount of silicone released. The opening should not be so big that a bead cannot be formed, and it should not be so small that caulk tube seems highly pressurized. Pop the silicone seal. Most tubes have a thin barrier inside the tube to prevent the caulk from curing.


Many silicone guns have a tool to do this built on them. However, if yours does not, then a long nail or something similar will work. Load the tube of silicone into the gun. Test the sealing. Silicone sealing can be tricky. Hold the caulk gun over trash and depress trigger to move caulk forward, filling the tip. Caulk should flow out, not squirt or drip. Release the trigger lock to relieve the light pressure inside the tube.


You may want to first practice on a test piece if you have never done it before. Use the corner of a cardboard box. This will give you a feel for the gun and the rate of the silicone flow. The tip should be slightly above the surface, nearly touching. As you begin to press the trigger, watch the flow of caulk. With one steady motion, move the caulk gun straight along seam, creating a uniform bead.


Before flow stops, quickly release the trigger and begin to press again as you continue to create a uniform bead the entire length of seam. Do not stop until you reach the corner. Begin to gently apply seal around the desired area. For best results, hold the gun at a 45 degree angle. You want to apply the caulking in an even and steady manner. Be careful not to apply too much as it can be tricky to remove the excess.

How to Fix a Chipped Bathtub


Fixing a chipped bathtub is a do-it-yourself project that will save you from hiring an expensive professional. Whether your tub just has a few small chips, or it is badly damaged and needs to be refinished, these are both projects that you will find kits for at your local home improvement store. With a little elbow greasy, your tub will look like new in just a matter of days!


It’s easiest to start with a small amount of epoxy and add more layers than it is to put too much on and remove it. Let the epoxy dry, then sand down the surface with 400-600 grit sandpaper. Follow the directions on your epoxy kit to let it fully dry. Gently sand the surface with 400- or 600-grit sandpaper until it feels smooth like the rest of the tub.


Some epoxy will set in 2-3 hours, at which point you can sand. Other kits may advise you to wait up to 24 hours before sanding. You can add another layer of epoxy after sanding if you can still feel the chip. Then repeat the process. Your refinishing kit should come with sandpaper to use. If your kit didn’t come with sandpaper, then start with 400-grit sandpaper and work your way up to 2000-grit.

Increase the grit of the sandpaper in increments of 200 until you reach 1000-grit sandpaper, then go up in increments of 500 until you end using 2000-grit sandpaper. Repair any chips or cracks in the tub with a 2-component epoxy chip repair kit. Follow the instructions to mix the two parts of the epoxy in a small tray.


Use a small brush, spatula, or the bottom end of a matchstick to apply thin layers of epoxy to any chips. Wait 2-3 hours until the epoxy dries and sand the patches down with 2000-grit sandpaper to match the finish of the rest of the tub. This will ensure that the tub has no chips or cracks and seal the surface before you apply the new finish.

How to Clean Soap Scum from Glass Shower Doors?


If you have glass doors in your shower, you’ve probably noticed that after a while, a white film tends to build up on the glass. This soap scum is caused by the mixture of animal fats in soap with some of the minerals in your shower water. Fortunately, you don’t have to put up with this scum on your door! You can easily clean off the scum with a commercial cleaner or ordinary household products. Then, all you have to do is make a few simple lifestyle changes in order to keep the scum from building up again.

Mix vinegar and baking soda to clean stains as well as soap scum. Pour 1/2 cup (115 grams) of baking soda into a small bucket, then add about 1⁄4 cup (59 mL) of white vinegar to the bucket. Use a spoon to stir these ingredients into a paste. Dip a clean sponge into the paste and wipe it on your shower door. Let it sit for 15 minutes, then rinse the paste off the door while scrubbing it with a microfiber cloth.


The paste that forms in the bucket should be about the consistency of pancake batter. You may need to add a bit more baking soda or a bit more vinegar to the mix in order to get it to this consistency. This is the best method to use if there are also hard water stains on your shower door that you want to get rid of.


Go with toilet bowl cleaner if that’s all you have. Although it’s not designed for cleaning glass shower doors, toilet bowl cleaner is occasionally effective at removing soap scum. Soak a sponge in hot water, then apply a small amount of toilet bowl cleaner to the sponge. Wipe the shower door with the sponge to clean off the soap scum, then rinse off the residue once you’re done.


Be sure to keep your bathroom well ventilated when using toilet bowl cleaner. The odors from the cleaner can be pretty powerful, especially in a small room. Use lemon juice and salt if the door frame is made of metal. This is the best cleaning method to use to also remove any rust on your door’s metal frame. Mix 1 tablespoon (15 mL) of lemon juice with 2 tablespoons (34 grams) of salt to form a cleaning paste. Use an old toothbrush to scrub this mixture into the door frame and let it sit for about 5 minutes. Finally, rinse it off with warm water.

How to Select a Bathroom Cabinet?

Bathroom cabinets are important to both the function and the design aesthetic of a bathroom. Therefore, it is important to choose cabinets for your bathroom that meet your practical needs, fit well inside the space you have and appeal to your tastes. Follow these guidelines for how to select a bathroom cabinet.

Assess your needs. Cabinets in a bathroom may be used for decorative purposes, for storage or to house plumbing or utility features. Decide what, exactly, you want out of your bathroom cabinet design. For example, a typical bathroom cabinet may serve as a place to hang robes, store folded towels and display a perfume collection.

Establish a budget. Setting a cost limit before you shop can help you narrow down your options and settle on a cabinet that is well-suited for you. The more specific your budget is, the easier it will be to identify which cabinets you have to choose from. Measure your space. Also measure door and window openings, as well as existing fixtures.

Appeal_Bagno_Flo_Anice 016

Create a layout plan. Remember that bathroom cabinet units average from 18 inches (45.72 cm) to 48 inches (121.92 cm) wide. You will need ample wall space for the width and height of the cabinet you choose, plus enough space to open any cabinet doors and to allow for easy passage through the bathroom. Follow these instructions to create a to-scale floor plan:

Sketch the bathroom measurements on a piece of graph paper. Mark the doors, windows and bathroom fixtures on your sketch. Make to-scale templates for a variety of bathroom cabinet sizes and arrange the templates on the sketch until you are satisfied that you know which cabinet size will fit comfortably into the bathroom.

How to Replace a Bathroom Faucet?

Install the gasket. The gasket is a rubber or plastic piece that sits between the faucet and the sink to ensure a proper seal and prevent leaks. Fit the gasket over the bottom of the faucet, matching the holes in the gasket with the tailpipes and valves on the faucet. Plastic gaskets generally snap onto the faucet, so be sure to seat them properly so the faucet is tightly sealed. If your faucet didn’t come with a gasket, you’ll need to apply sealant or plumber’s putty before installing the faucet. Follow the manufacturer’s directions and lay down a thin layer of sealant or putty right before you put in the faucet.

Wrap all the threads with plumber’s tape. Plumber’s tape is designed to lubricate fittings and create a better seal between components. Wrap the end of the faucet tailpipes with a layer of plumber’s tape, making sure the tape doesn’t extend beyond the end of the pipe. The tailpipes are where the water supply hose will attach to the faucet, and the tape will prevent leaks.

Insert the new faucet. Hold the faucet in both hands and carefully set it into the mounting holes. Match the tailpipes and valves with the proper holes, and place the faucet into position. Once the faucet is in the mounting holes, insert a washer over each tailpipe, and then twist on the nuts by hand. To tighten the nuts, turn them to the right (clockwise). When you’ve tightened the nuts by hand, finish tightening them by turning them another quarter turn with the adjustable wrench if necessary. Avoid tightening the nuts any further, or you could damage the sink.

Attach the water supply hoses. Start by attaching the hoses to the faucet first. Attach each hose to the tailpipe of the faucet, and then tighten the nut by hand. To finish tightening the nuts, use the basin wrench to turn each nut a quarter turn to the right (clockwise). Once the hoses are attached to the new faucet, reattach them to the water supply. Turn the nuts by hand to the right (clockwise), then tighten them the rest of the way with the adjustable wrench.

If you are attaching the supply lines to copper pipes with threaded fittings, hold the copper pipe securely while connecting the supply lines to ensure the pipes don’t twist or break. Turn on the water and test the faucet. When everything is connected and tightened, turn the water back on by turning the shutoff valve to the left (counterclockwise). Then turn on the taps to flush out the new faucet. When the water is running, check for leaks and drips. To flush the faucet, simply let the hot and cold water run for 1 to 2 minutes.

How to Caulk a Bathroom Sink?

Drop-in sinks are made to hang from the top of a counter by their rims. While these rims appear to sit flush to the counter, there is actually a small gap between the rim and counter where water and debris can collect. Caulk fills this gap to make your counter and sink watertight, while helping to eliminate any movement of the rim of the sink. To help prevent leaks or damage to your counter, seal and fill this gap with waterproof caulk whenever the old caulk begins to crack, discolor or peel.

Wipe a clean cloth around the edge of the bathroom sink and the counter it rests on. Make sure the area is clean and dry and has no dust or debris to get in the way of the caulk. Remove any old caulk from the edge of the sink with a utility knife. Caulk is a soft material that cuts easily and stretches when pulled.

Cut away the old caulk where it meets the counter and the sink‘s rim. Pull the caulk free from the sink and counter. Use denatured alcohol to clean up any leftover caulk. Let the sink‘s rim dry completely and ensure no water has seeped into the crack. Use a utility knife to cut the tip off the tube of caulk at a 45-degree angle. Cut just enough of the tip off to allow the caulk to fill the gap next to the rim; cutting away too much of the tip will mean too much caulk on your counter.

Insert the end of the caulk tube into a caulk gun and push the plunger of the gun into the back of the tube. Squeeze the trigger lightly to prime the tube. Hold the caulk tube at a 45-degree angle to the sink‘s rim where it meets the counter top. Squeeze the caulk tube gently until a continuous line of caulk fills the gap around the rim completely.

Wet your index finger with water and gently smooth the caulk against the side of the sink‘s rim and the counter top to completely seal the gap. When you are happy with the results, insert a small screw into the tip to seal the tube of caulk, so you can use it again in your next project. Let the caulk cure for at least 24 hours before using the sink.

Selecting the Bathroom Fixtures

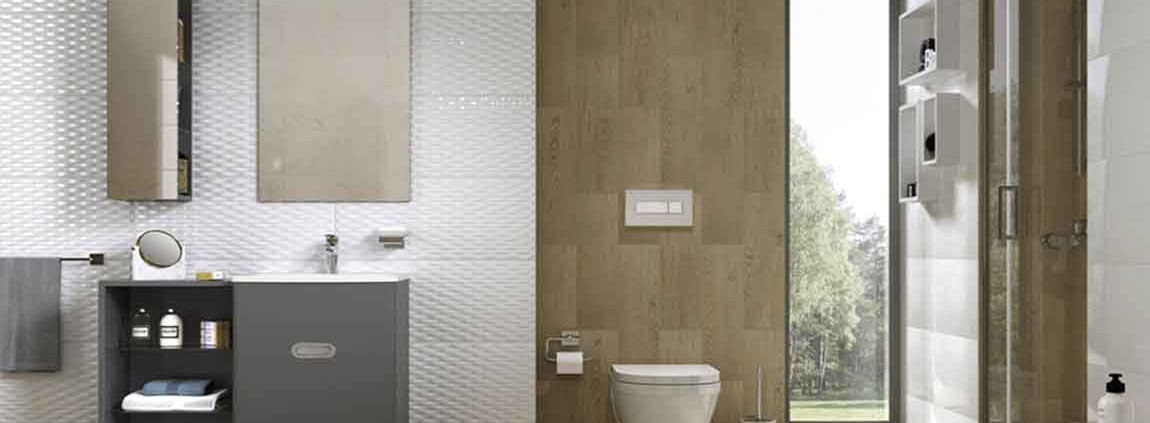
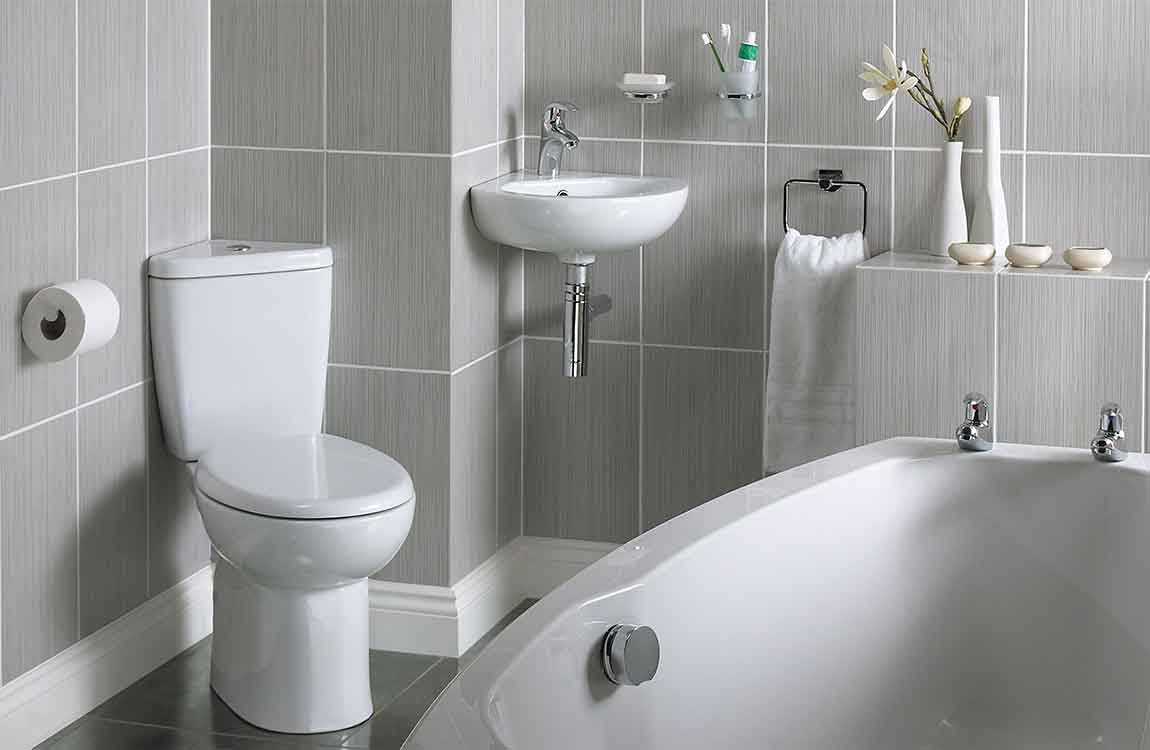
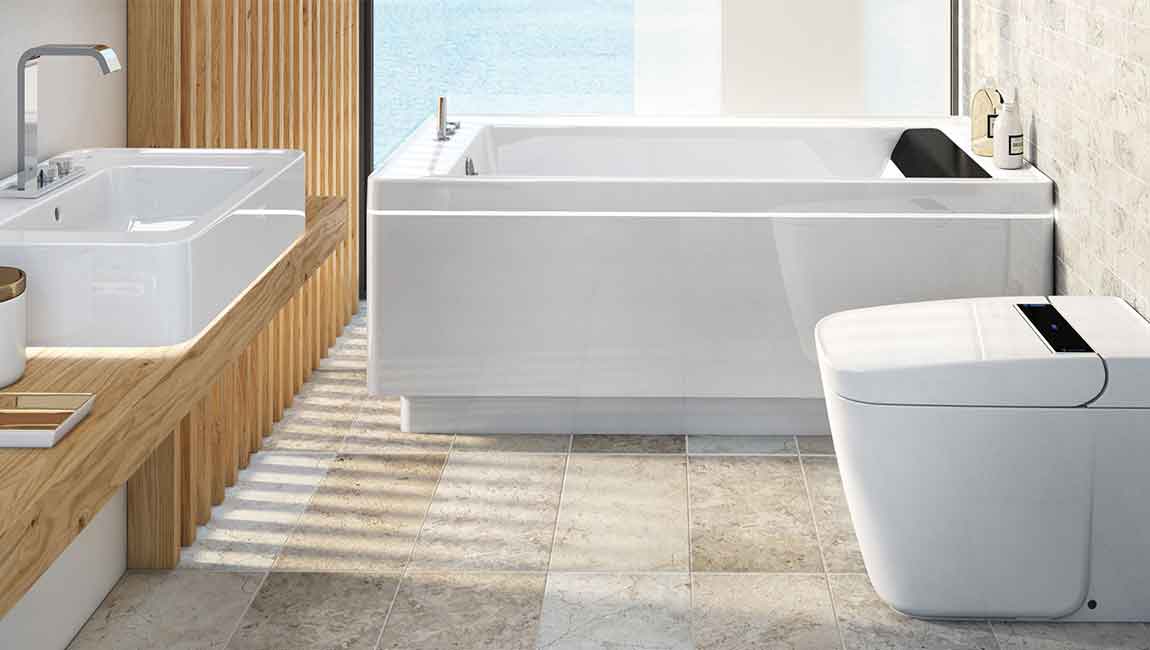
Get a high mounted toilet to save space. Mount the toilet on the wall if you want it to float off the ground. Mounting it high on the wall will allow you to conserve space, especially if the room is small. You can also mount the toilet on the floor if you prefer. However, this may take up more space. Mount the toilet at regulation height so everyone can use it.

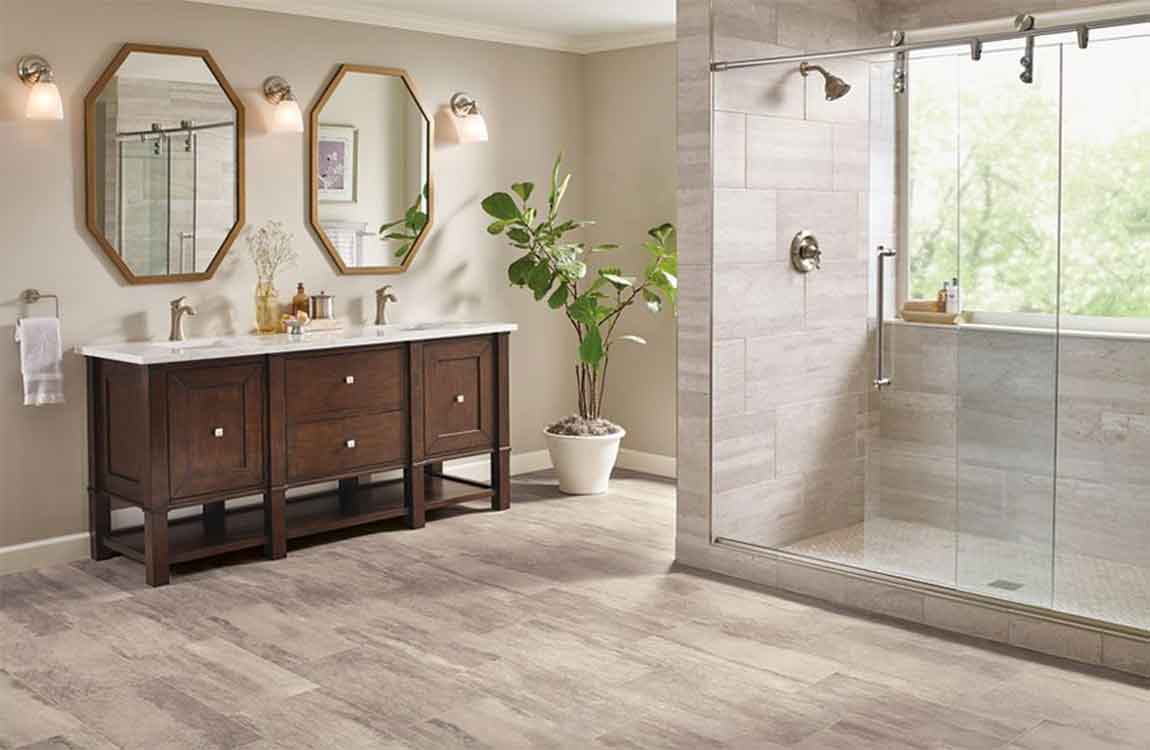
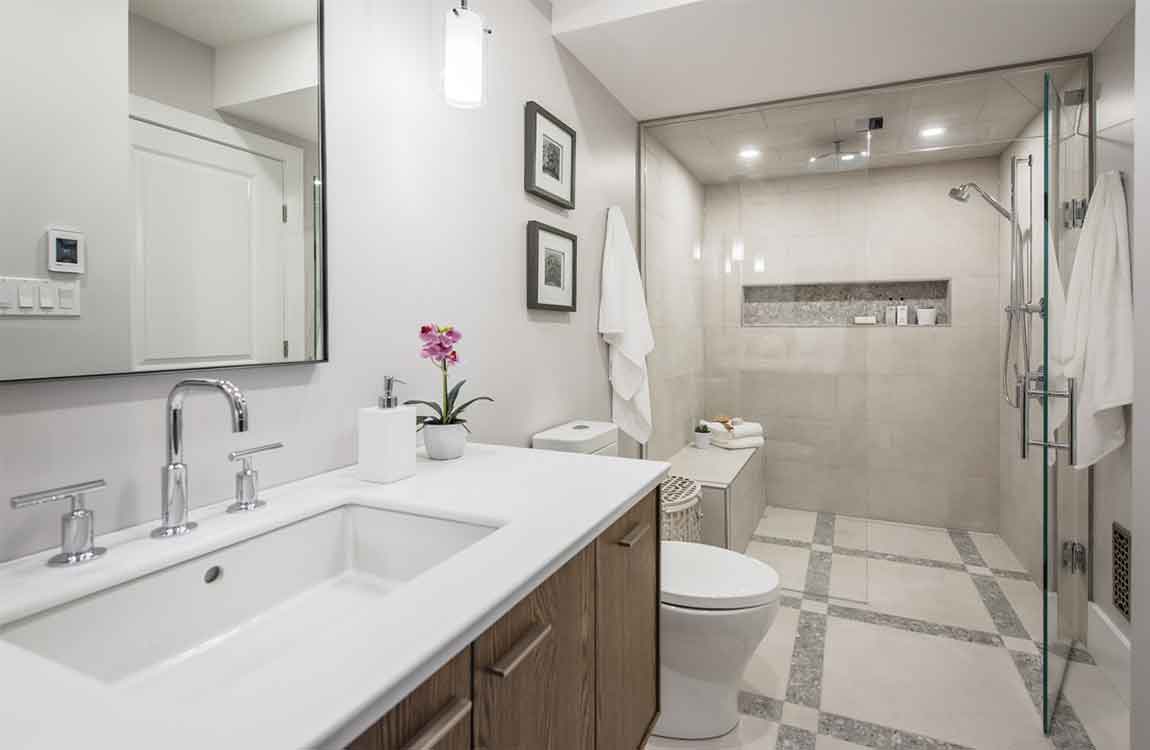
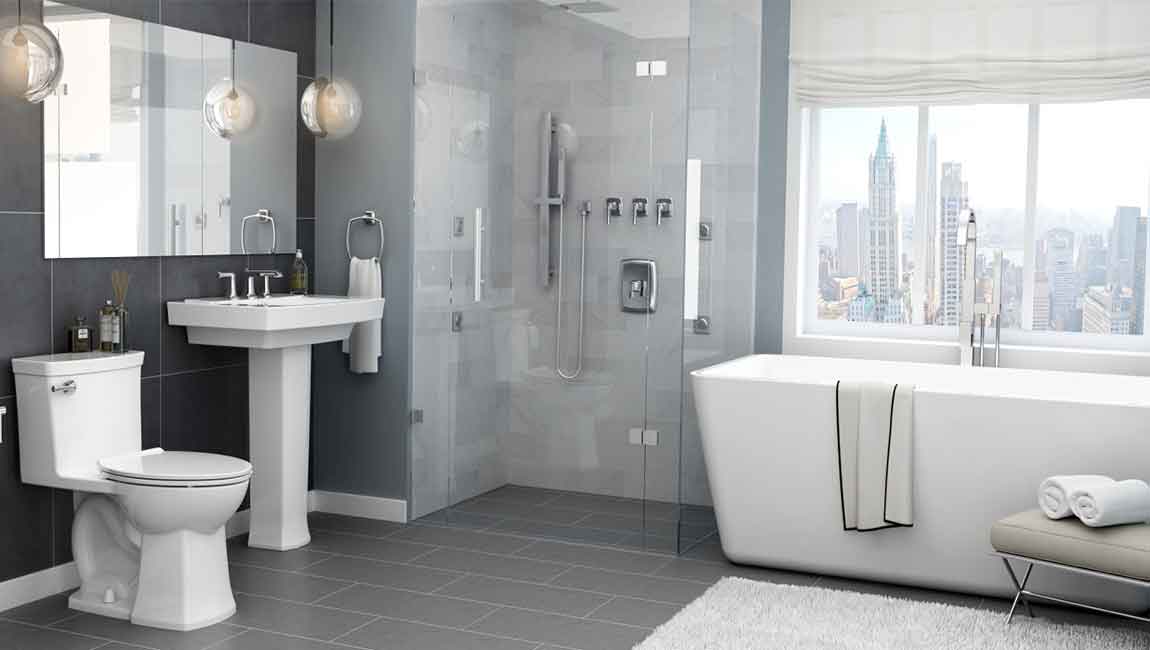
Use a sliding glass door for the shower for a sleek look. Make a stand-up shower more sleek and space conscious by using a glass door that slides, rather than opens. Get glass doors that fit the shower properly and slide easily open and closed. A sliding glass door can be more expensive than a shower curtain, so you may opt for the curtain if you are budget-conscious. In some cases, you do not need to put up a full door on the shower. Instead, having a long pane of glass on the front of the shower, with space for you to get in and out, is enough. You could also choose a seamless glass door that swings open on hinges for a sleek look.

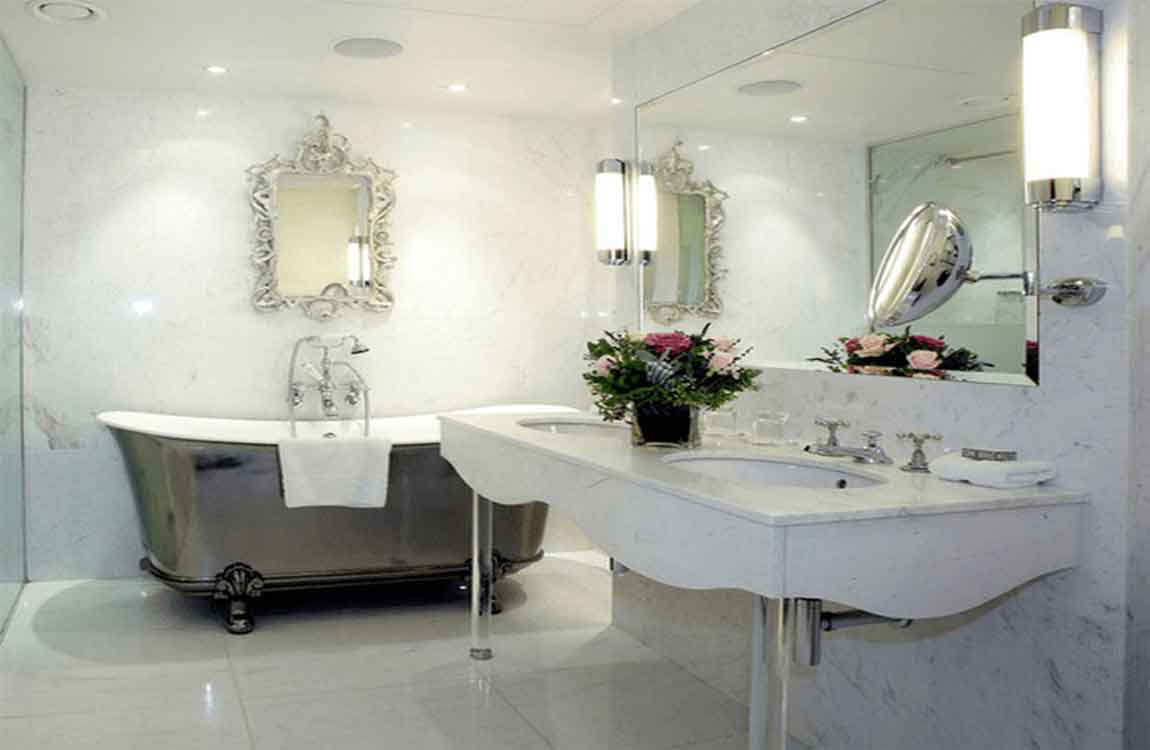
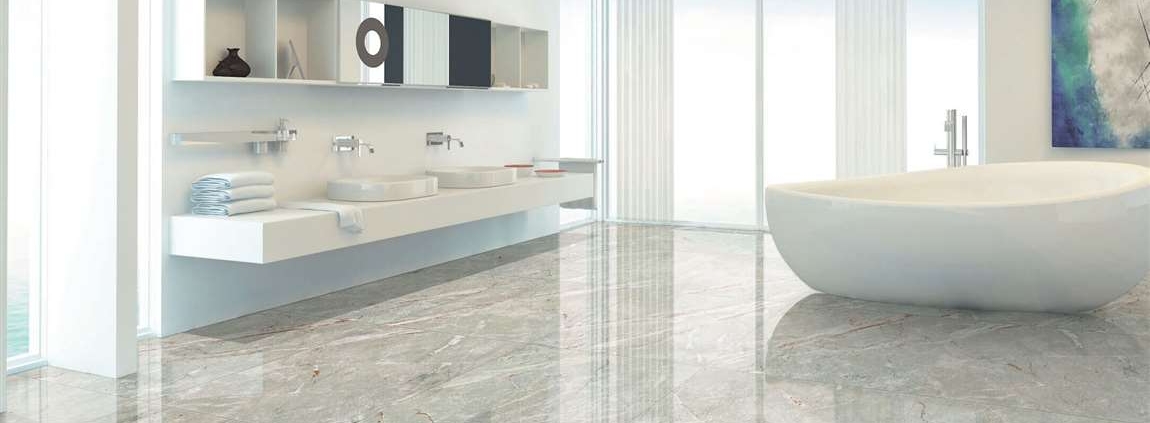
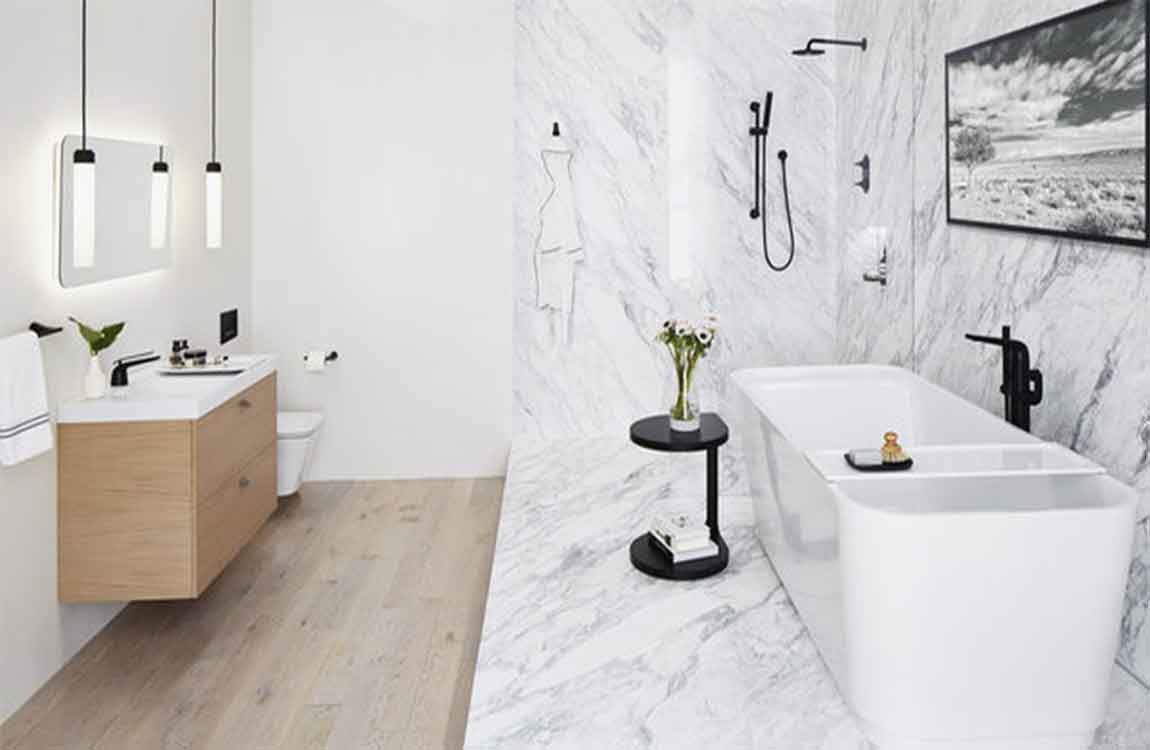
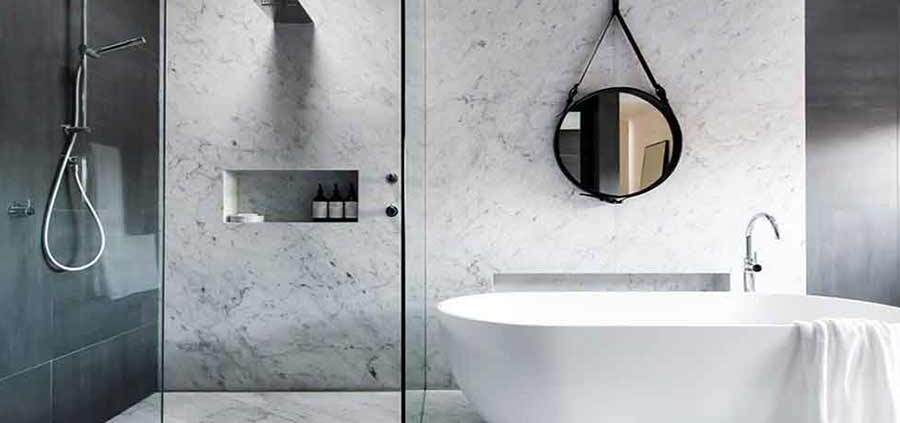
Get a free-standing tub for a more luxurious option. A tub that sits on the ground and is not mounted to the wall can be a great option if you like taking relaxing baths. Look for a rounded tub or a tub with claw feet for a luxurious design. Make sure you have enough room to fit a free-standing tub in the space before you get one.

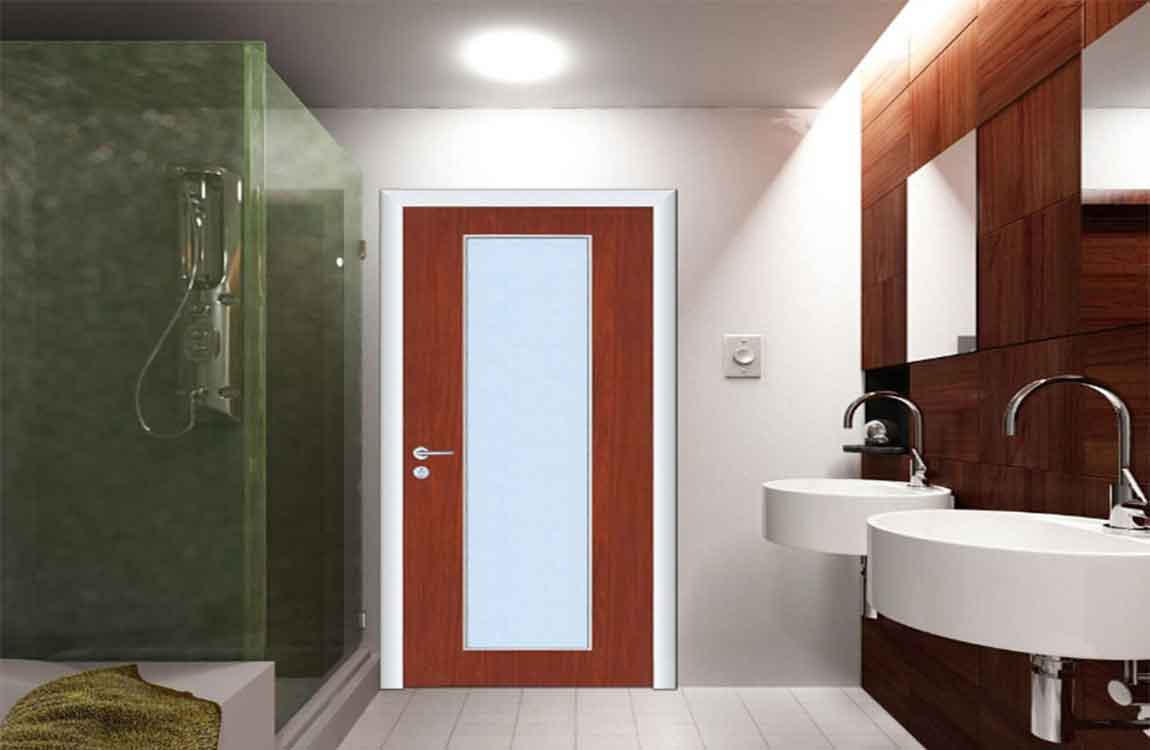
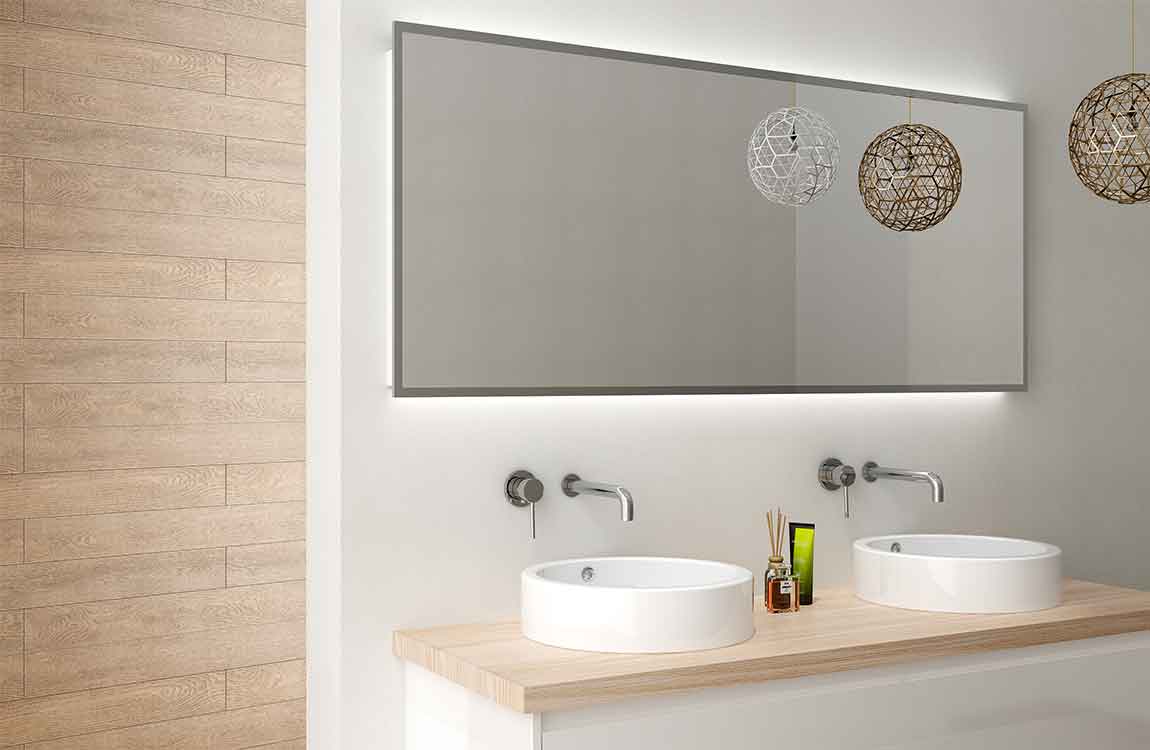
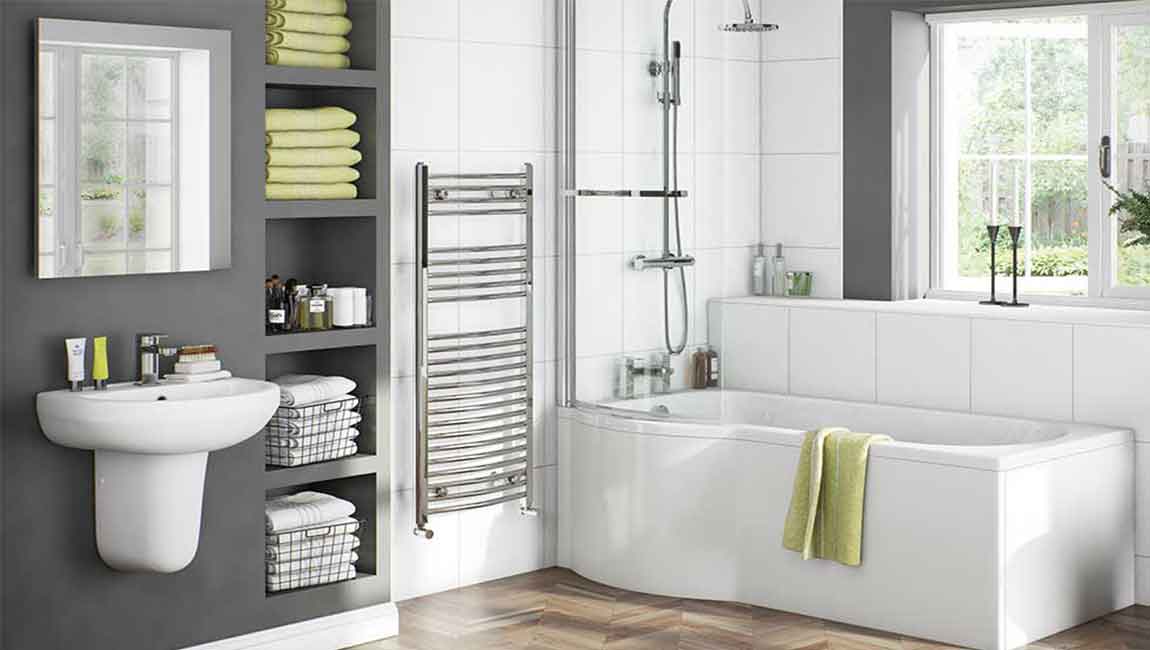
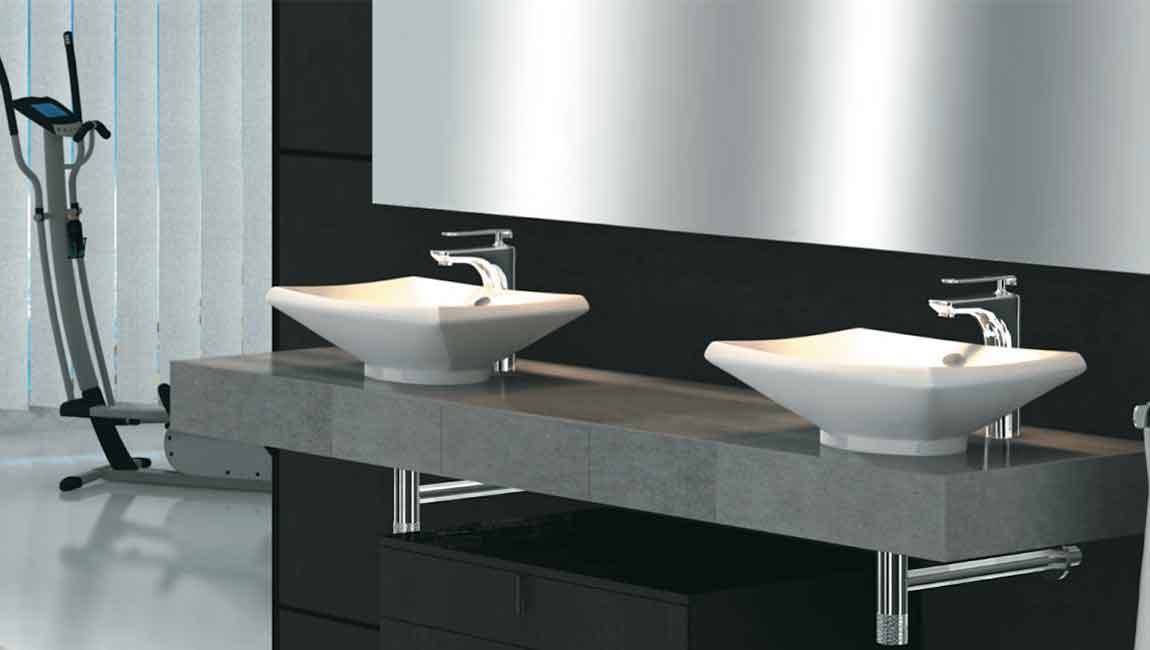
Float or round the sink to save space. Go for a sink that has rounded sides for a small space. Or mount it to the wall so it floats and takes up less room. A trough style sink that floats is a good option for a narrow space. A rounded sink on a skinny pedestal is a good option for a space that is wide, rather than narrow. Look for a sink with a vanity that has a shelf to save space and create more storage.

Go for towel racks that are flush to the wall. Look for towel racks that are slim and can be positioned close to the wall so they do not take up too much space. Have a towel rack for your larger towels and a smaller rack for a hand towel. Position the towel racks at shoulder height so you can hang towels on them easily.

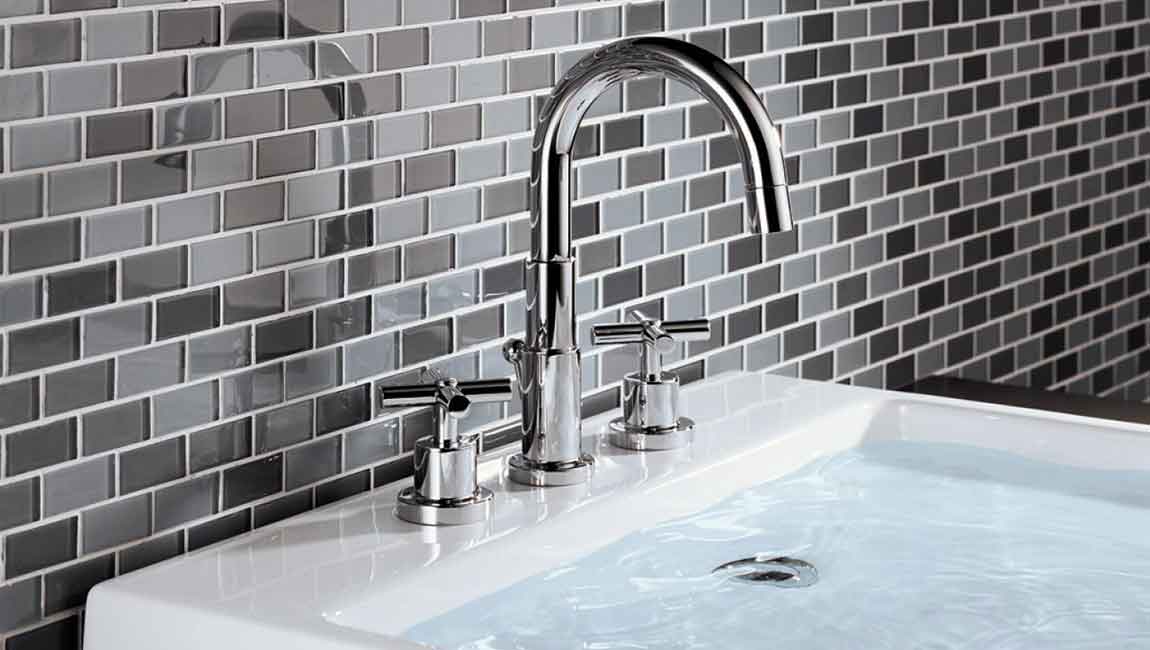
Put the towel rack on the back of the bathroom door if you do not have space on the walls in the bathroom. There should also be a towel rack close to the shower or tub so you don’t drip water on the floor. Some glass shower doors have hooks or rods to hang towels. Pick a faucet and taps that are proportional to the sink. Look for a faucet that is not too big or tall for the sink. The taps should match the faucet and be big enough to twist easily. Go for a faucet that floats and is mounted into the wall to save space. Have the faucet and taps match the color and shape of the towel racks for a more uniform look.

Get a toilet paper holder that matches the rest of the decor. Look for a toilet paper holder that is the same color or shape as the towel racks. Place the toilet paper holder on the wall beside the toilet, within arm’s reach. Use a toilet holder on a stand if you do not want to mount it to the wall.