Posts

Installation a Bathroom Fan


Drill a reference hole and mark the ceiling. Take your power drill and use an extra-long, 3⁄4 inch (1.9 cm) spade bit to drill a reference hole in the ceiling, where you intend to place the fan. Measure the vent fan housing. Head up to the attic, find the reference hole and clear away the insulation surrounding it. Use the the fan housing measurements to ensure that the fan will fit in the chosen spot, between two joists.


Go back to the bathroom and measure the fan’s intake port. You will need these dimensions to cut the appropriate sized hole in your ceiling. Use a framing square and pencil to mark the outline of the fan’s intake port on the ceiling, using the measurements you just took. Cut the intake-port hole. Use your jigsaw to cut out the portion of ceiling you just marked. If you don’t have a jigsaw, you could also use a reciprocating or drywall saw.

Don’t let the cut section of ceiling fall to the floor after cutting, as it could pull additional pieces of drywall or plaster with it. Use your free hand to support the rectangular piece of ceiling and gently lower it to the floor. Remember to wear safety goggles and a respirator while sawing through plaster and drywall to protect your eyes and lungs.


Put the fan in position. Before you lower the fan into the hole you just cut, attach a 90 degree duct elbow (to which you will later attach the duct pipe) to the appropriate outlet port using foil duct tape. Insert a cable connector through the removable knockout hole on the side of the fan’s housing, then slide the supporting metal brackets into place.


Center the fan over the ceiling hole and lower it into place, making sure any connection points are oriented correctly. Secure the fan to the joists. Once the fan is positioned correctly, extend each of the metal brackets until they reach the joists on either side of the housing unit. Use drywall screws to firmly secure each bracket end to the joist.

How to Using Spice Racks to Add Storage Space?

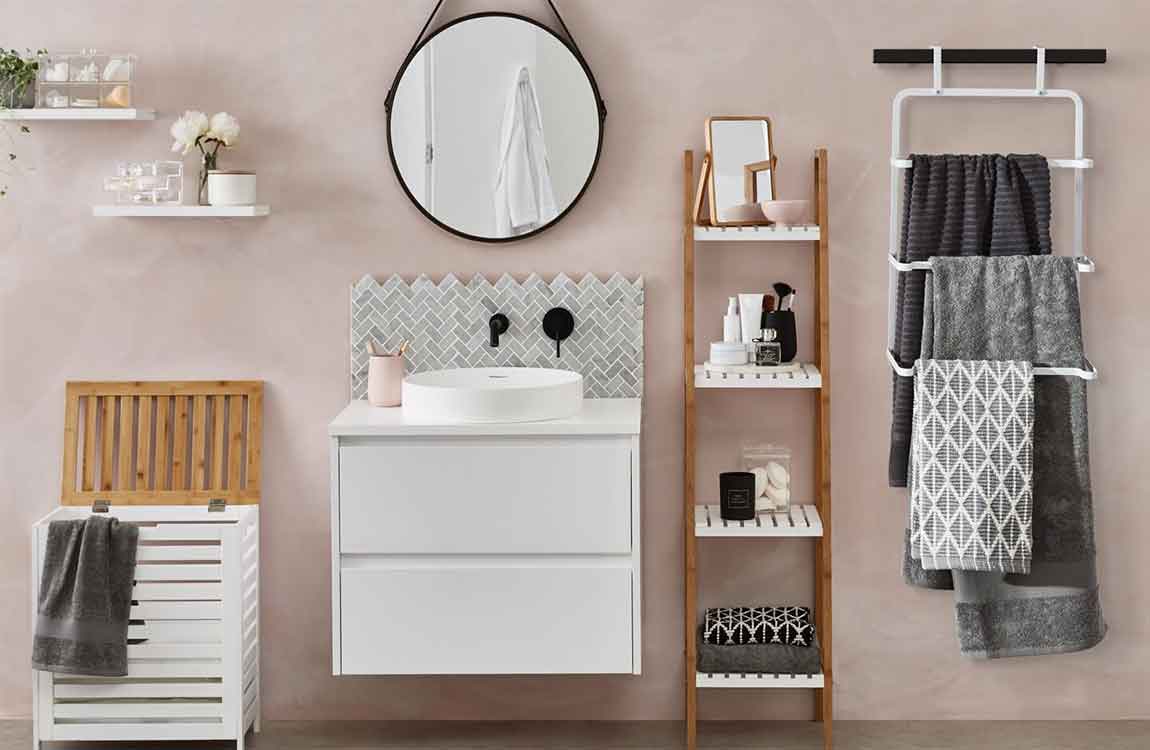
Determine if spice racks will work in your bathroom. If you have wall space above your toilet, to the side of your mirror, or in a similar location in your bathroom, extra spice rack storage will likely work for you. Use a tape measure to measure the available space so you know what size shelf your bathroom can accommodate. The narrow design of most spice racks along with their usually raised edges, intended to keep spices from falling, are perfect for holding toiletries and bottles. Spice racks are great for holding makeup and other cosmetics.

Purchase suitable spice racks. Your bathroom may only be able to fit a single spice rack, or it may fit a few shelves, but in both cases you’ll need to go purchase a spice rack. Pre-made racks are available at many big box retailers, furniture stores, and hardware stores. Be sure to check the dimensions of potential shelves against the measurements you took earlier of your available spice rack space.

Measure and mark your spice rack placement. Use a pencil and a tape measure to mark the placement of your shelf or shelves on your bathroom wall. Try not to hang the racks too high or low, as will make them less convenient. Generally, two marks measured to the same height, one for the right end of your spice rack and the other for the left, will be sufficient for hanging.

The distance between your marks should be the same as the distance separating the holes that will attach your rack to the wall. Don’t hang the spice racks too close to an electrical outlet or light switch. You don’t want to accidentally drill through some wiring in the wall.

Install the spice racks. Depending on your spice rack, your method of installment will vary. In many cases, you’ll have to attach some hardware to your wall with a drill. This hardware, usually some kind of simple holding bracket, will then support the shelf or shelves. In other cases, you may have to screw your shelf directly into the wall with a drill. Hanging the spice rack on your own, while possible, may be difficult. A helper would likely make installing your shelf or shelves easier.

Check the levelness of the spice racks. Once the spice racks have been installed, take a carpenter’s level and check that your shelf or shelves are level. If your shelf is uneven, this could cause your toiletries to slant toward one end of the rack or the other. If your spice rack isn’t level, remove it from its hardware or the wall, adjust it slightly, re-check its levelness, and if it is level, reinstall the shelf.