Posts

How Preparing to Remove Your Stuck Shower Head?

Determine why your shower head is stuck. When a shower head is in excellent condition, you should be able to remove it with your hands. If this is not possible, you will need to remove the shower head through other means. Before making any further attempts to remove your shower head, evaluate the fixture to determine why it is stuck:

Search for signs of rust—is there an orange or copper colored ring around the shower head’s connection to the shower arm? Search for signs of mineral build-up—is there a white ring around the the shower head’s attachment to the shower arm? If there are no signs of rust or mineral build-up, it is likely that your shower head is attached too tightly.

Turn off the water supply. Typically, if you are removing your shower head by hand, it is not necessary to turn off the water. Removing a stuck shower head, however, presents more challenges and risks. Therefore, it is advised that you shut off the water source. The water valves may be located in one of two places: Under the bathroom sink. In the basement directly below the tub.

Prepare your work space. Throughout this process, you will work with tools and chemicals that could damage your shower or tub. To prevent damage, cover the floor of your shower or tub with a thick work blanket. You will also handle small bits and pieces. To prevent the loss of parts, stuff a cloth down the drain.

Some kits may come with a spray-on finish. If you use a sprayer instead of a brush or roller, try to spray evenly and in 1 direction. Make sure your walls and fixtures are well-protected by tape where there is a risk of paint spray hitting them. Let your bathtub sit for 2-3 days before you use it. The new finish needs to set completely before you run water over it.

How to Decorating the White Walls of Your Bathroom?

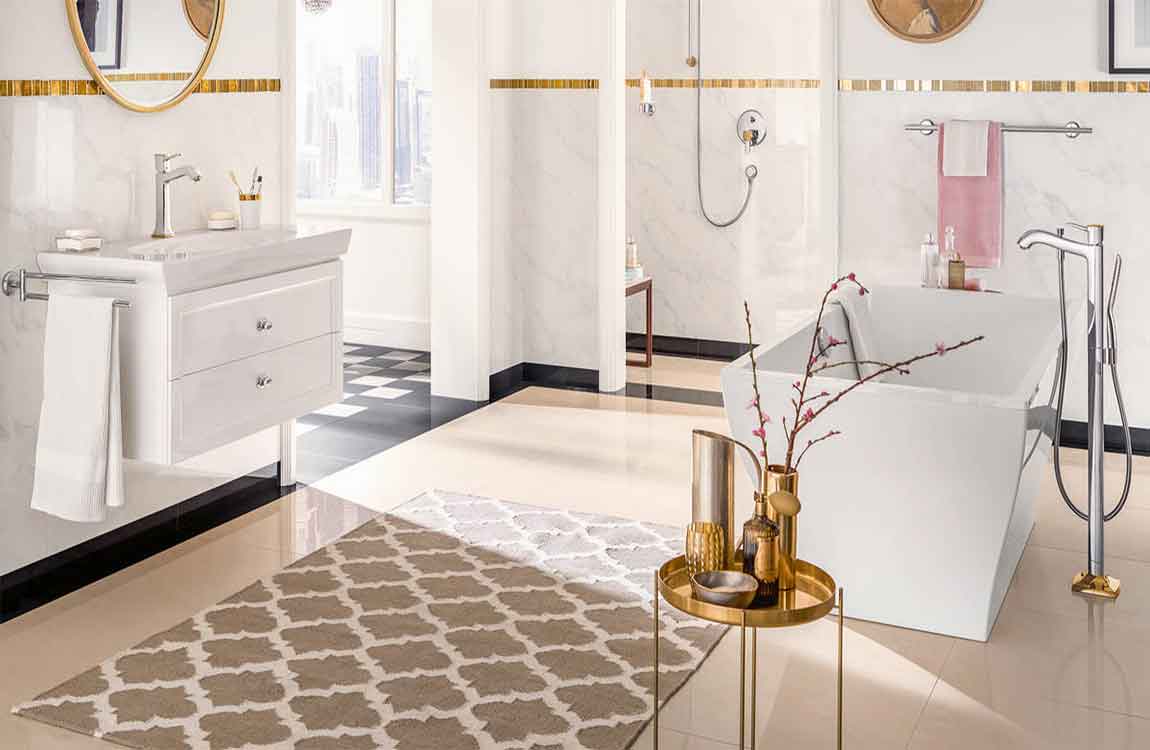
A white bathroom is all about simplicity and clean lines. The last thing you want to do is fill it with a riot of color and interfere with that simplicity. A white bathroom can also seem too plain if you’re not careful, however. But, there’s no need to worry! As long as you know how to add simple touches when decorating, adding accents of color, and renovating your bathroom, you can make your white bathroom look like it was professionally designed!

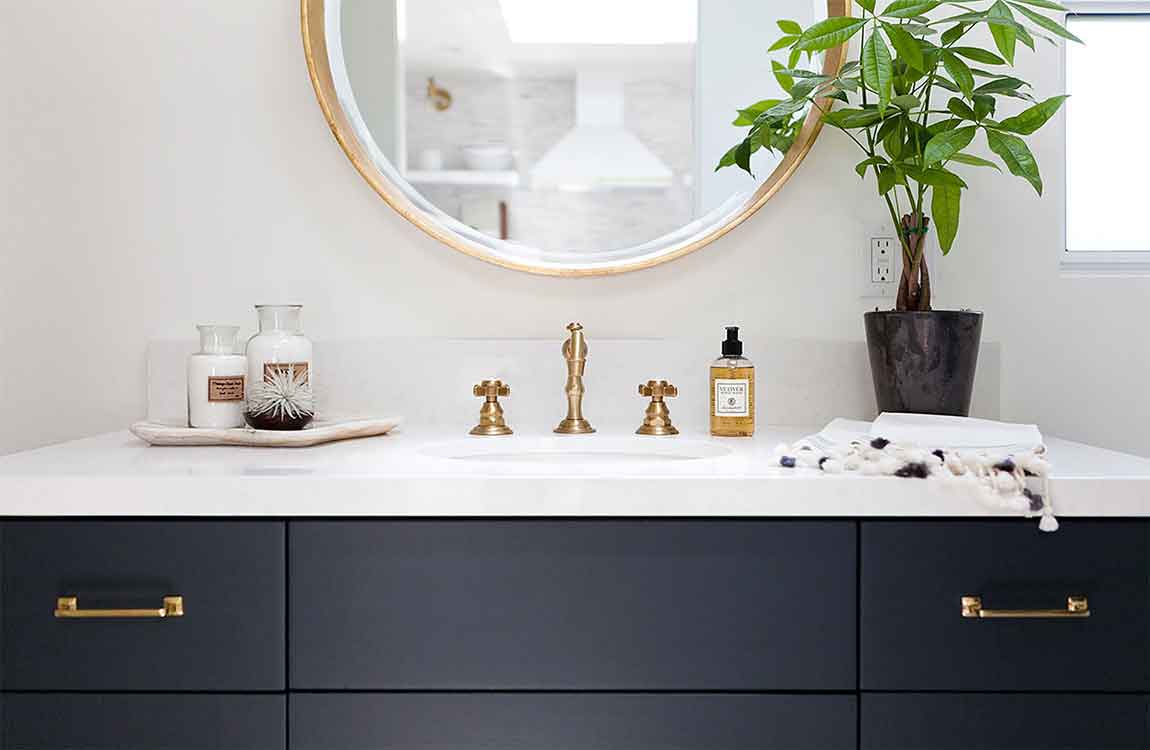
Add a mirror with an embellished frame to add depth to your bathroom. Adding mirrors to your bathroom helps give the illusion of depth to what could be an otherwise monochromatic and potentially claustrophobic space. A mirror with an embellished frame not only adds depth, it adds a touch of character to the space as well. You can add a single, large mirror over your vanity or try hanging a few smaller mirrors around your bathroom. You could also try hanging several small mirrors in a pattern on one wall. Try choosing an unconventional shape or painting the outside of the mirror to add a pop of color.

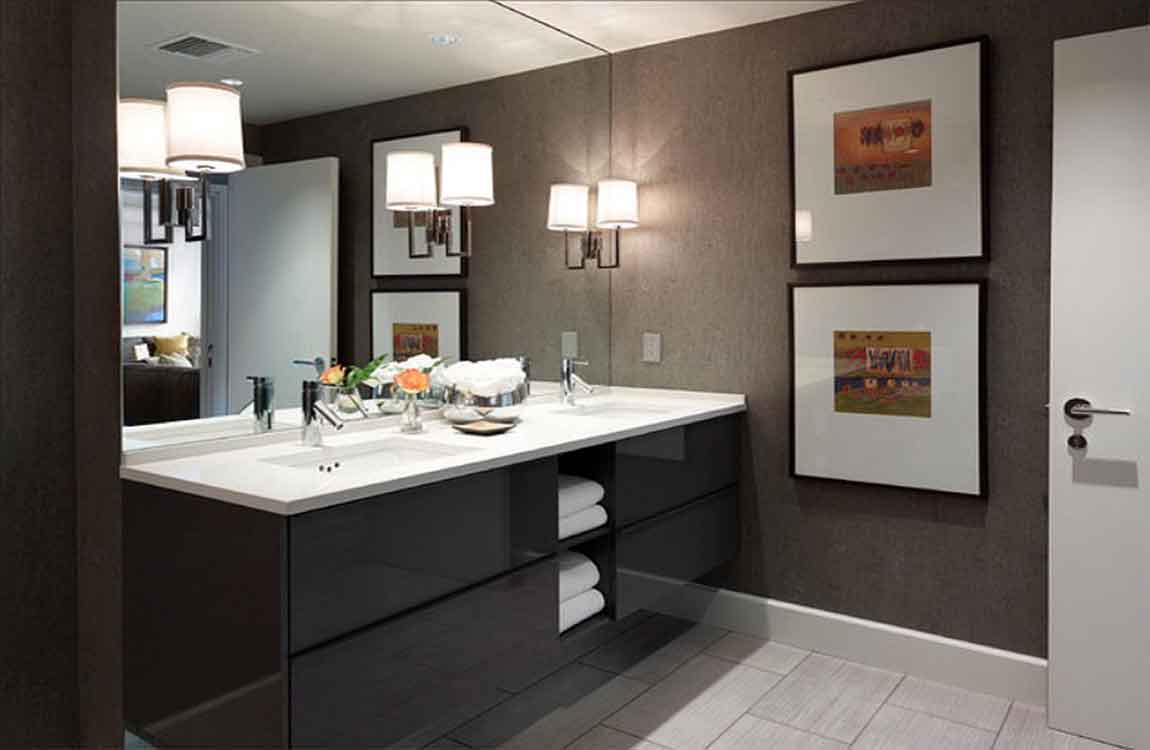
Put up some wall art if you want to add a splash of color. Wall art can help add a splash of color to your bathroom and help you express your artistic side. You should avoid loud colors, however. Try for pieces of art with softer, lighter colors with lots of white space. You could also hang black and white photographs, since they won’t interfere with your white color scheme at all. Avoid frames with glass over them or anything else that might not do well with the humidity. Opt for art that is on a canvas with a wood frame.

Hang up a tiered towel rack with antique linens for a classy storage option. Antique linens will soften the hard lines of your bathroom, add a touch of class, and serve as a conversation point for guests. Hang your hand towels on a tiered towel rack, and then intersperse them with the linens to add some texture to your bathroom design. If you don’t have any of your own antique linens, you can usually find them in antique stores. Look for linens with detailed hand embroidery.

Mount floating shelves on the wall to hold plants or mementos. Hang short floating shelves in a diamond pattern on one of the walls of your bathroom. Mark their position beforehand by drawing straight lines with a pencil where you’d like them to go. Then, drill pilot holes, insert hollow anchors, and screw brackets into place.

In addition to plants and mementos, you can also put books, framed pictures, or baskets for storage on your floating shelves. Make sure that you do not clutter the shelves with too many items! Try putting cotton swabs and cotton balls in jars, or roll up a few towels and place them on their sides to make your bathroom look like a spa.