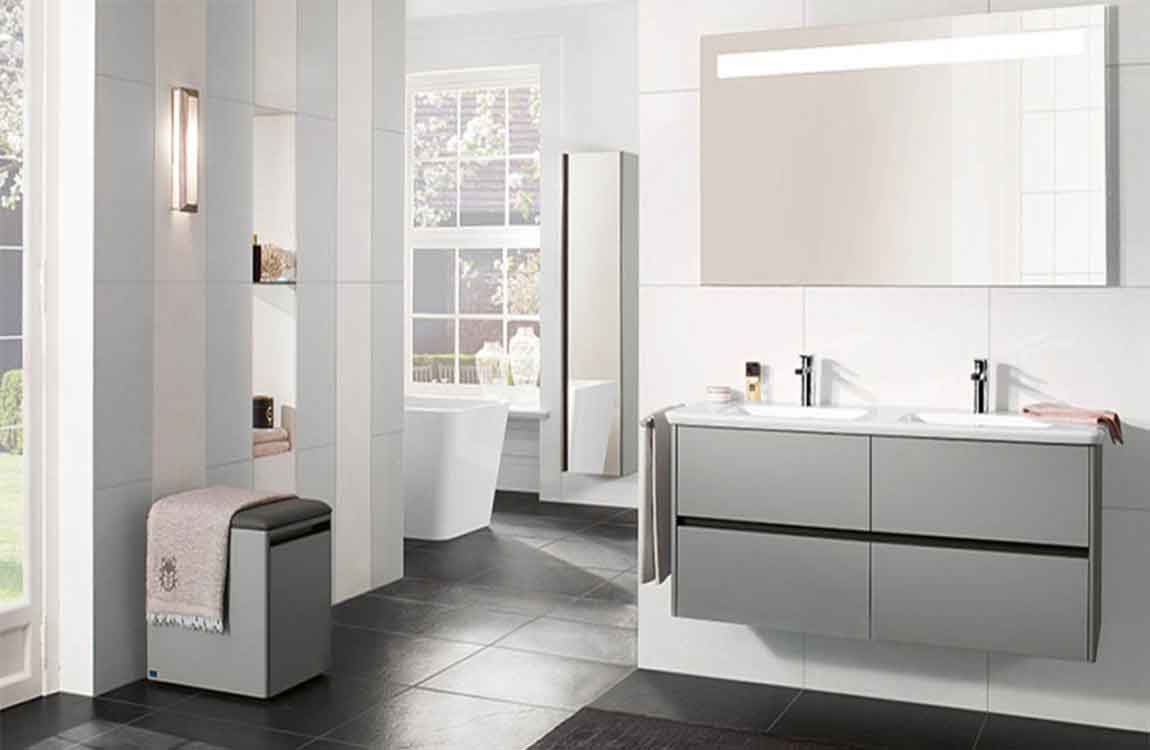
The decoration must be known: the bathroom waterproof process and precautions
The bathroom is the most humid place in the house. To prevent the seepage of the sanitary room wall and the ground is the problem we need to consider. BARANA brings detailed bathroom waterproof process and points for attention to show you. If there is any doubt about this, you must be sure to look at it carefully.
Brush the first waterproof coating: ensure that the construction site is clean and dry before construction. The waterproof coating should be covered with no omission. It is firmly combined with the base, without cracks, no bubbles and no shedding. The brush height is uniform and the thickness must meet the bathroom space requirements. Brush second times: pay attention to brush the first and second times waterproof paint need to have a certain time interval. After the first coating is dried, it can be carried out for second times. The specific time depends on the coating. The interval is too short, and the effect of waterproofing will be greatly reduced.
Protective coating for bathroom: to prevent the subsequent construction from damaging the waterproof layer, we need to lay a protective layer on the surface of the waterproof coating. The protective layer should be fully covered with waterproof layer. It is firmly combined with the base, no cracks, no bubbles and no shedding.
Bathroom closed water test: when the closed water test, the waterline at the highest point of the ground should not be lower than 2cm. Preservation for at least 24 hours. There is no leakage is observed. If there is leakage, it needs to be redone. This is very important and can not be ignored.
Bathroom treatment and cleaning at the grass-roots level, making leveling layer, bonding layer, detail additional layer, acrylic waterproof layer, water storage test, protective layer construction, and two water storage test.
Ensure that the bathroom floor is relatively stable: if you need to replace the floor tiles of the bathroom, after the original ceramic tiles are chipped away, First of all, we should use cement mortar to make the ground flat (especially the newly renovated house), and then do the waterproof treatment. Do this in that way can avoid leakage of waterproof coating due to uneven thickness or puncture of waterproofing membrane.
The joints should be brushed in place: the joints between the walls of the toilet and the ground and the joints between the upper and lower pipes and the ground are the most likely problems. Therefore, we must pay special attention to these parts. We must be careful in dealing with them. You can’t have the slightest carelessness in this bathroom space.
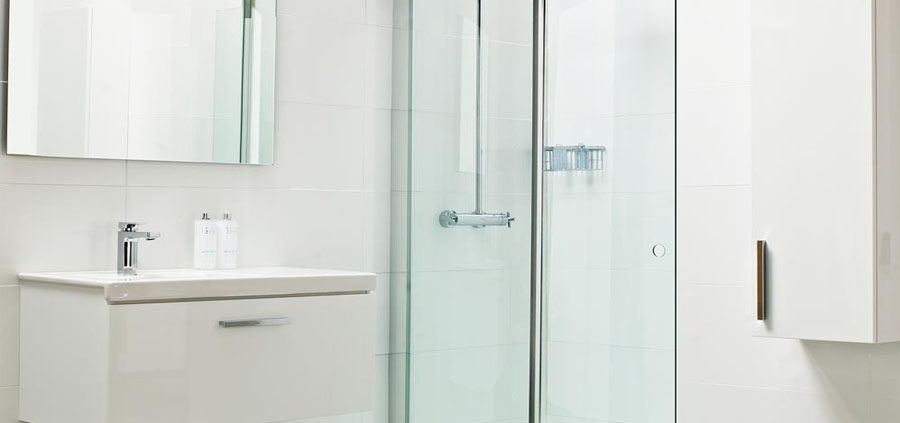
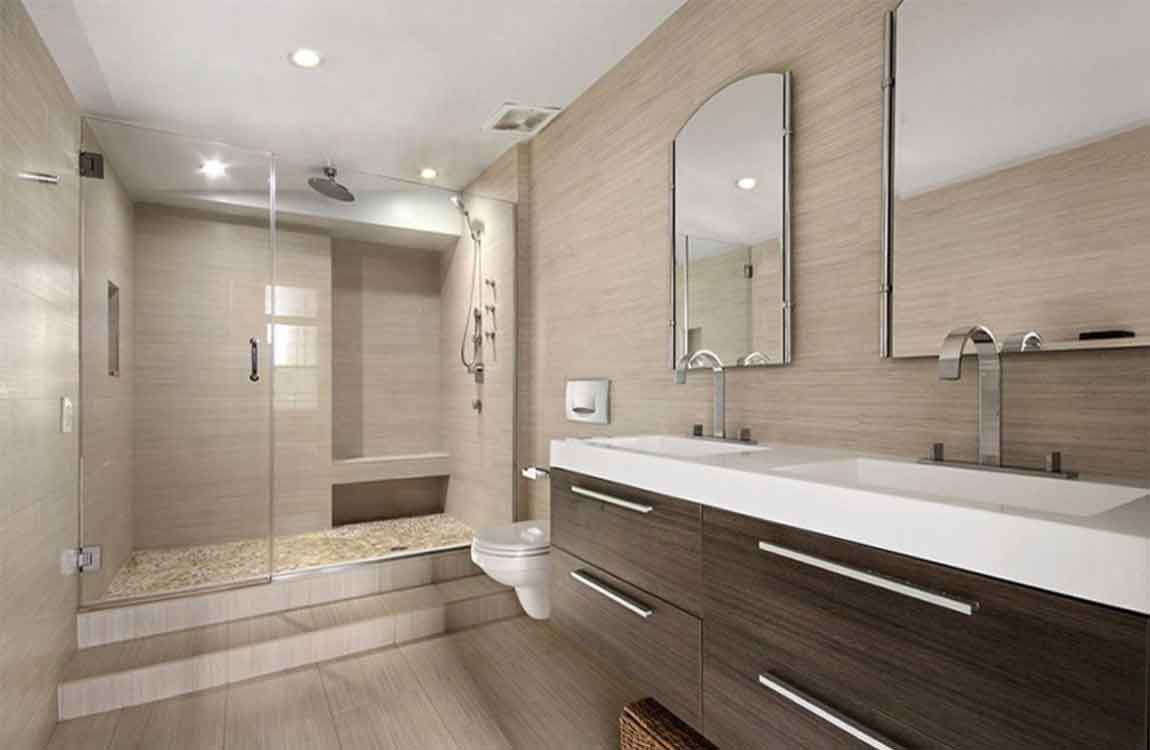
Wall processing is also very important: in order to achieve better waterproof effect, the general bathroom on the wall also should do about 30cm high waterproof treatment to prevent water accumulation to penetrate the wall. The wall adjacent to the bathtub is also higher than the height of the bathroom bathtub. The shower room is to reach the height of 180cm.
Waterproof test can not be omitted: after the waterproof construction is completed, all the sewers of the toilet should be blocked up for water injection test. After 24 hours of inspection, if there is no leakage on the walls and floors of the shower, the waterproof quality of the toilet is very good. On the other hand, we should find out the leakage and carry out maintenance. This step is especially important and can’t be ignored.
Keep the water flowing unobstructed: all the sewer pipes in the bathroom, including floor drain and sanitary pipes, must be kept unobstructed.