Posts

How Cleaning Sink with Baking Soda and Lemons?


Dampen your sink. Before you apply the baking soda, lightly dampen the basin of the ceramic sink. You can do this by allowing the sink to fill with water and then draining it, or using your hand to splash water around on the sides of the basin. Make sure that no standing water is left in the sink, as this will dissolve the baking soda and render it useless.
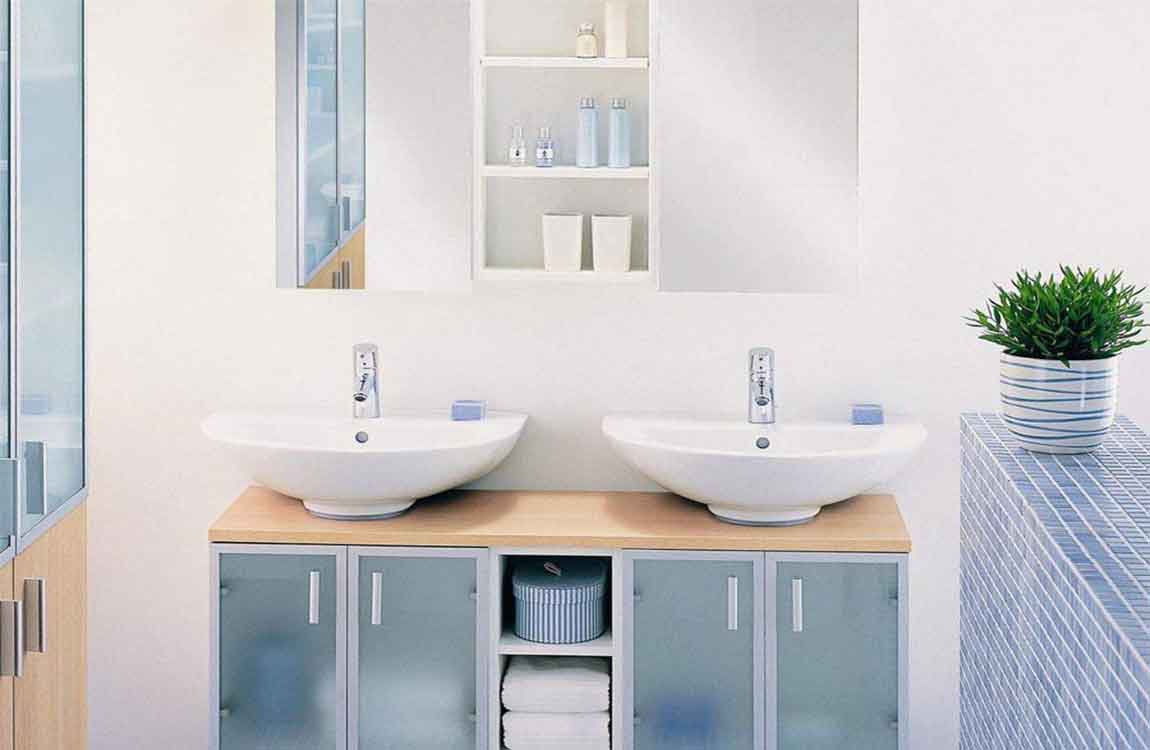

Also dampen the sponge that you plan to clean the sink with. You don’t want the sponge soggy, so wring it out well before you start cleaning. Sprinkle baking soda into the sink. You can start by adding about ½ cup (0.25 liter). Use your fingers or a spoon to sprinkle the baking soda in the basin of the sink, until the ceramic has been fully coated. Make sure to apply baking soda to any areas that are soiled or stained.


Scrub the baking soda with a damp sponge. Baking soda functions as a mild abrasive, and will be effective at cleaning mineral buildup, leftover toothpaste, and general dirt and grime off of the ceramic. Rinse the sponge as needed, and make sure to wring it out fully before you return to scrubbing the ceramic. Once you’ve cleaned the sink, rinse it well with water.


While you’re scrubbing, you should notice the baking soda clumping together into small lumps. This is a good sign: it means that the baking soda is not too wet, and that it’s effectively picking up dirt from your sink.


Whiten the sink with lemon slices. To naturally “bleach” your ceramic sink, start by cutting a lemon into several wedges. Take each wedge and rub it around the basin of the sink, making sure to squeeze out plenty of lemon juice on the ceramic. You can use the tough skin of the lemon to scrub at stains or other darkened areas.

How to Paint a Bathroom?

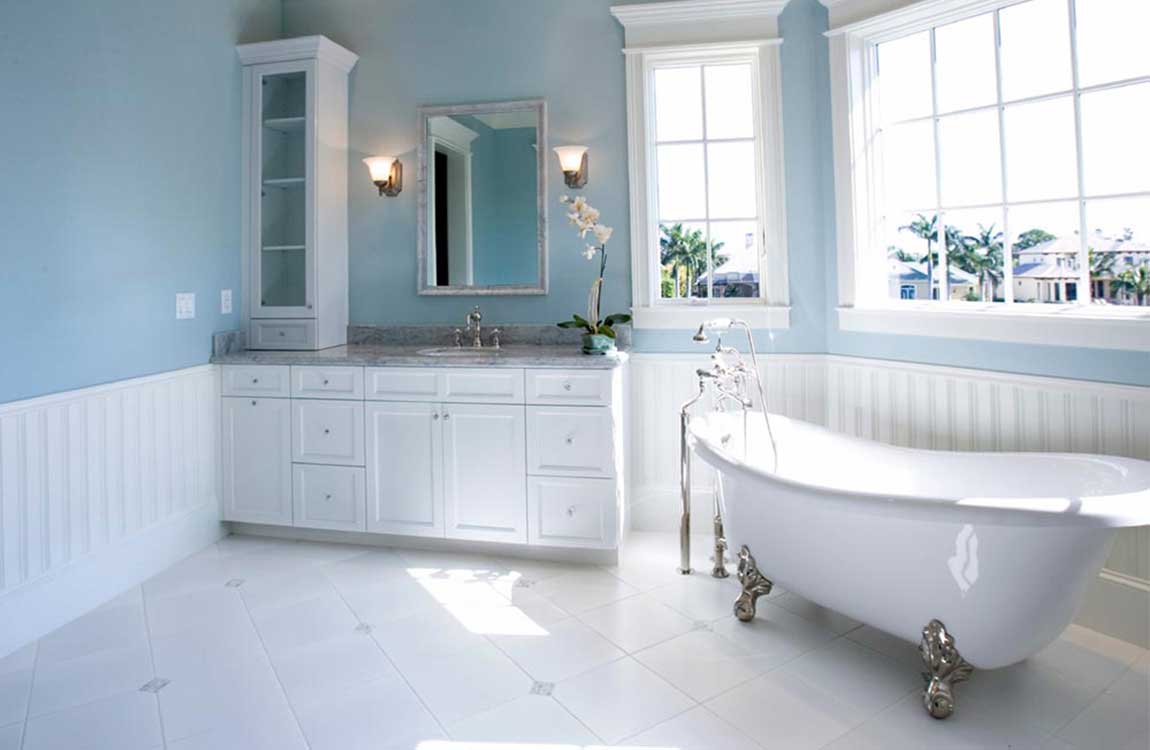
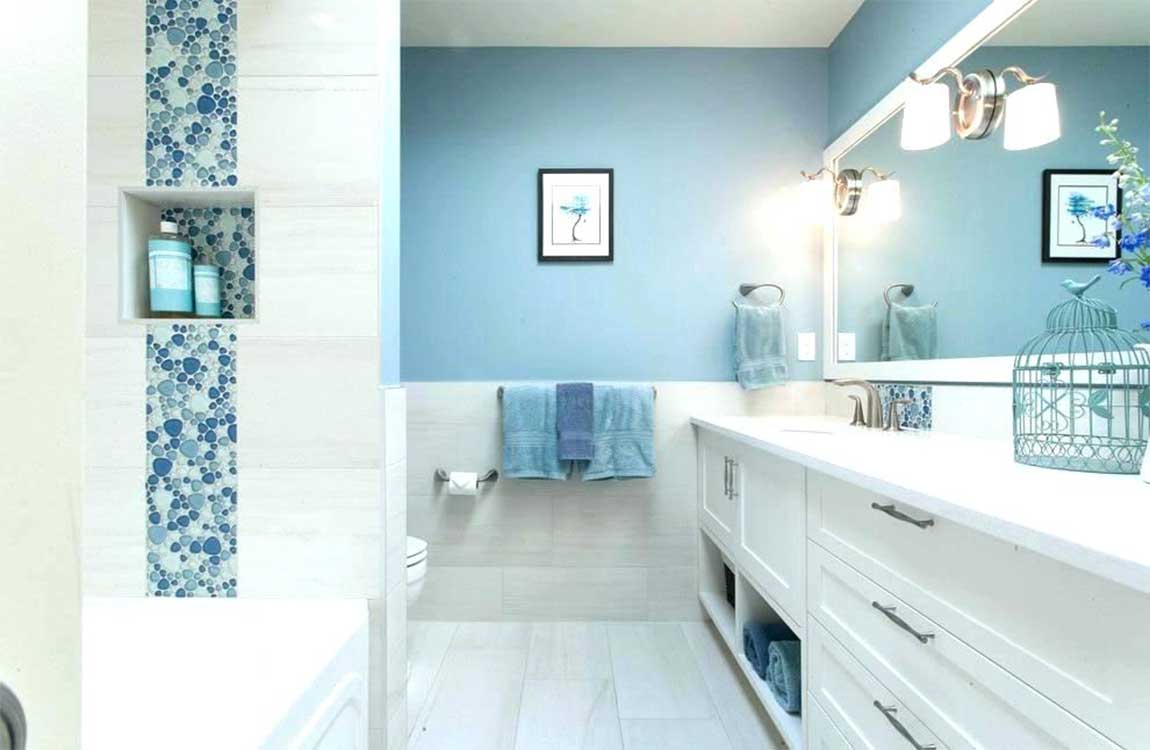
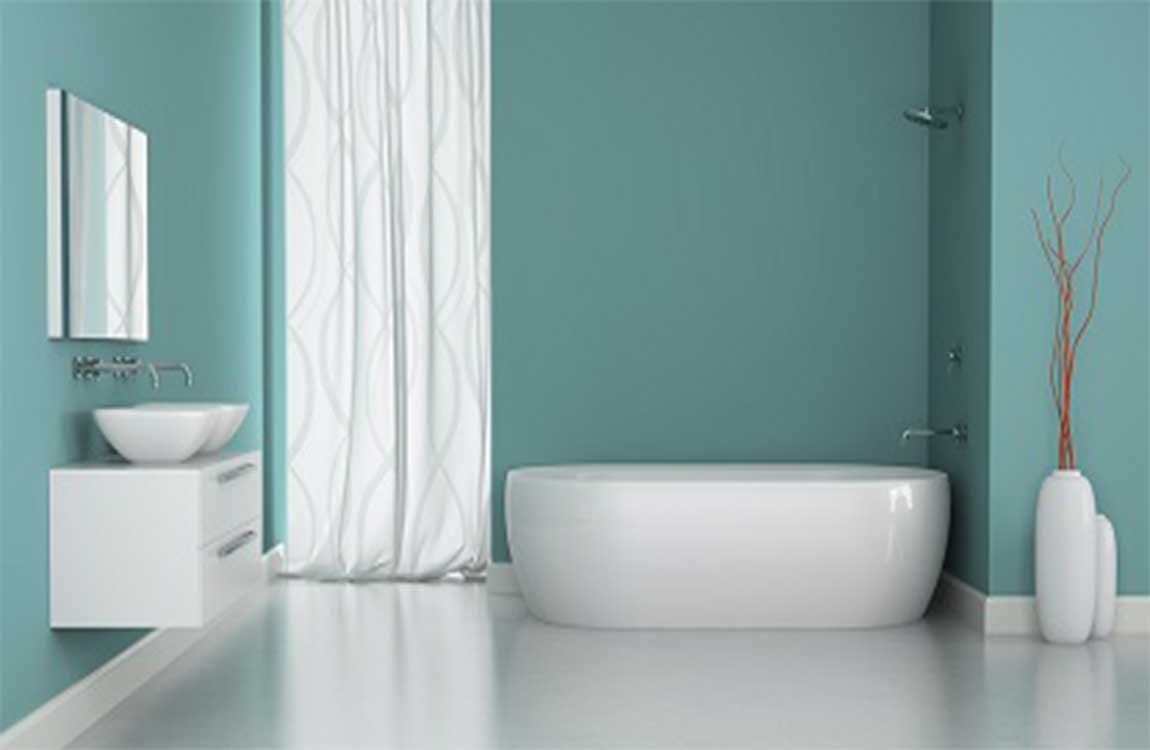
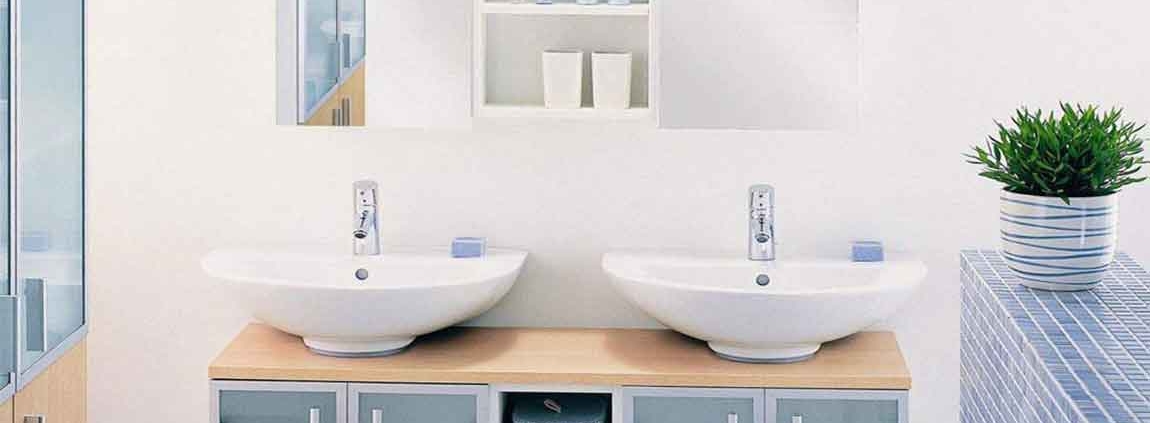
If your bathroom is due for a makeover, breathe new life into it with a fresh paint job. Since bathroom paint has to handle lots of moisture, go with a durable, mildew-resistant product. Before you get to work, lay down drop cloths to keep paint off of the floor and fixtures. Then use a good angled brush to tackle the trim, and cover broader surfaces with a paint roller. With the right tools and a little effort, you can brighten up your bathroom in no time at all.

Use wood filler to repair any holes or nicks in the baseboard, chair rails, or trim around windows and doors. Allow the filler or drywall compound to dry for 6 to 24 hours (check the instructions for specific drying times). Then sand the surface with fine, 320-grit sandpaper until it’s smooth and level with the surrounding surface.

Place drop cloths on the floor and over bath fixtures. Tuck or tape the edges of the drop cloths against the baseboard to protect the floor. Canvas drop cloths are best for the floor, but you can tape sheets of plastic over the sink, tub, and other fixtures. Canvas is heavier and less slippery than plastic. It also absorbs paint, which makes it less likely that you’ll step in a spill and accidentally make tracks around your house.

Check your product’s instructions if you’re not sure about the recommended drying time. Apply a second coat for best results. Use the same techniques to apply the second coat of paint. Paint around the edges of a wall with a brush, then use a paint roller to finish the wall. Remember to paint 1 wall at a time to avoid painting over dried paint.

Wait 24 hours to replace wall hangings, curtains, and socket covers. After the paint has dried completely, cut along the edge of the taped trim with a utility knife, then pull back the tape. Fold up and store the drop cloths, remove the coverings from the bath fixtures, and replace any wall art, curtains, electrical covers, and towel racks. If necessary, replace the toilet and turn on the water supply. If you pull up the tape without cutting it, you might peel off dried paint from the wall that’s bonded with the tape.