Posts

The Knowledge of Bathtub Installation


For a fiberglass surround, set the entire piece in place so it covers the tub flange. Drive screws with an electric screwdriver into the divots along the sides and top of the surround so it’s secured to the studs. Seal the gap between the tile and tub with silicone sealant. Once you’ve secured the tiles to the backerboard, place a thin bead of silicone around the bottom of the of the tiles to fill in the gap.


Put the tip of the sealant dispenser into the gap, and pull the line slowly so it applies smoothly. Wipe any excess sealant away with your finger. Use your finger to press the bead of caulk into the crack and create a smooth finish by running it over the caulk from one end to the other. Be sure to give the caulk enough time to completely dry before using the bathtub as well.

Drying time will vary based on the type you use, so read the instructions included carefully. Get a 2-component epoxy chip repair kit from the bathroom remodeling or adhesive section of a home improvement store if your kit did not come with it. Put painter’s tape on the walls and around any plumbing fixtures.


Tape along the edges of the tub where they touch the walls and around the faucet and other fixtures. Even if you have a steady hand, it’s easy for paint to go astray! Painter’s tape is the blue masking tape that you can find at hardware and paint stores. Apply 1 coat of primer with a brush and roller.


Use a roller to roll on the primer onto the large, flat sections of the tub like the floor and sides, then use a brush to get into the corners and curved parts. Let it dry for at least 2-3 hours before you start to paint on the new finish. Priming the surface is an important part of ensuring that the new finish adheres correctly so that you end up with the correct texture. Make sure that the primer is completely dry to the touch before you paint over it.

How Removing Stains from the Ceramic Sink?


Soak the sink with a bleach solution. In an empty plastic spray bottle, combine a 1:1 solution of bleach and water. Lightly shake the bottle to mix the solution. Open the window or turn on your bathroom fan before you start spraying the bleach solution, as this will provide ventilation. Then, spray the bleach solution over the entire interior surface of the ceramic sink. Let the bleach mixture sit and soak for about 10 minutes. Then, use a sponge or an old rag to wipe the sink clean.


Bleach is a strong chemical and can be very harmful if ingested or sprayed in the eyes. Use caution when spraying bleach, consider wearing safety goggles or at least rubber gloves, and wear clothing that you don’t care about. If there are young children in your house, make sure that they’re not near the sink when you’re spraying bleach.


Apply cream of tartar and vinegar. If you would prefer to not use any chemical cleaners, you can remove stains from the ceramic with a mixture of cream of tartar and vinegar. Combine the cream of tartar and the vinegar at a 1:1 ratio in a small mixing bowl, and stir them together. Then, spoon some of the mixture onto the stains on your ceramic. Let this sit for about 10 minutes, and wipe clean with a sponge.


This method will also work if you substitute hydrogen peroxide for the vinegar. All three of these ingredients can be purchased at your local grocery store or supermarket. Scrub the stain gently with a pumice stone. Pumice stone is quite abrasive and can scrub stains off of your ceramic. Before using, run the pumice under water, and make sure that the stone stays wet while you’re rubbing out a stain. Then, lightly scrub at the stained area of your ceramic sink. The pumice should remove the discoloration.


Be careful when using this method. If you apply a pumice stone to a ceramic sink, the stone may scratch or damage the surface. Begin by rubbing gently, and stop if you see any scratches forming.

How Securing the Tub and Surround?

Set the tub in place and level it. Carefully position the tub in the alcove so that the drain rests over the drain opening in the floor. Place a level on each side of the tub. If any spots are uneven, position hardwood shims underneath the tub and glue them in place. Some manufacturers may advise you to spread mortar on the floor and set your tub on the mortar to secure it in place.

Secure the tub to the studs. There will be a small flange, or vertical lip, around the outside of the tub. Follow the manufacturer’s directions to secure the flange to the studs in the wall. In most cases, you can use a hammer to drive roofing nails through the flange to secure it to each stud in the wall.

Fit a new tub surround. The surround is made up of the panels that protect the wall around your tub from moisture and mildew. First, dry-fit the surround and mark the location of the accessories, including the faucet and water handles. Ensure that the faucet will line up with the water lines in the wall. Then, cut out the accessory openings with a jigsaw.

Make sure you measure the location for accessories multiple times before cutting into the surround!A one-piece surround is the easiest type to install. Caulk the tub to the surround and secure the surround to the studs. Place a bead of silicone caulk around the entire perimeter of the tub on the ledge next to the flange. Then, carefully set the surround on top of the silicone caulk.

Next, use a drill to screw the surround into each wall stud. Aim to use a screw every 6 inches (15 cm) up the length of the surround. Be sure to choose silicone caulk meant for use in bathrooms.

How Removing the Old Bathtrub?


Turn off the water at the main line. The first step is to shut off the water for the bathroom you’ll be working in. Locate the main line and turn it all the way off. Then, turn on the faucet in your tub to drain the lines. Remove the accessories and disconnect the water lines. Use a screwdriver to unscrew the faucet and disconnect it from the water lines by unscrewing it.


Remove the handles, overflow drain cover, and the drain cover on the bottom of the tub. If you have a showerhead, remove that as well. You may need to pry off a plastic cover to gain access to the screws. You may be able to reuse some of these accessories, so keep them if you don’t want to buy new ones.


Remove the existing tub surround or tiles. You need to expose the studs in the wall in order to install a new bathtub, so you must remove the existing surround and the drywall behind it. Using a utility knife, cut through the drywall around the outside edge of the entire surround. Then, use a pry bar to pry the drywall and surround or tiles out of place. Be careful not to damage any pipes or wires.


Be sure to wear safety gear, including goggles and a dust mask, throughout this process. Work from the top of the surround down to the bottom. Gain access to the plumbing. In some homes, you may be able to access the plumbing from the room next to the bathroom. In other cases, the plumbing may be situated in the floor under the tub. Most likely, you’ll need to cut a hole in the wall or floor in order to access the plumbing.


Take out the old tub. First, unscrew the tub drain and overflow from the P-trap underneath the tub. If your tub is acrylic or fiberglass, cut it into pieces with a jigsaw to make the removal process easier. If you want to try to keep the tub in one piece, use a jigsaw to cut away the tub flange that’s nailed to the studs, then tip up the tub and pull it out. You may need to slice through the caulk that connects the tub and floor before removing the tub. Use a utility knife to do so.

The Knowledge of Bathroom Caulk


Let this solution dry fully before applying the new caulk. Leaving it overnight and keeping it well-ventilated is best. Get rid of any small ridges left by the tape by smoothing the caulk again. Use a damp paper towel or lint-free rag again to smooth over the caulk. This will ensure that the whole caulk edging is seamless.


Focus particularly on areas where 2 pieces of tape met, and these leave a small ridge. Let the caulk dry for at least 48 hours before using the tub. The specific amount of time that it will take for the caulk to dry will be listed on the instructions on the caulk tube. Keep the area well ventilated and dry as the caulk cures.


You will be able to tell when the caulk is dry because the consistency will change to look firm rather than wet, and it will be completely dry to touch. Let the cleaner sit for 5-10 minutes. After a few minutes, the dingy messes that have built up on the surface of your acrylic shower will begin to dissolve. This will allow you to wipe them away with ease.


If you’re dealing with particularly heavy soap scum or stains, it may help to reapply the cleaner once or twice. Use this time to take care of any other cleaning tasks you need to complete, like detailing the faucet or shower head.


Rinse and wipe out the shower. Turn on the shower head and direct the flow of water over the areas of the acrylic you just sprayed. Wash away as much liquefied grime and cleaning solution as you can. Once you’ve given the shower a preliminary rinse, go over the acrylic using a soft microfiber towel or sponge to remove any remaining residue. For stubborn residue, use an old toothbrush to scrub it away.

How Using Vinegar and Water?


Mix together vinegar and water. Ordinary vinegar makes a versatile cleaning solution that’s both safe and all-natural. Combine equal parts distilled white vinegar and warm water in a small spray bottle. Shake the bottle to make sure the two liquids are thoroughly blended.


The heat from the water will be even more helpful for releasing dried stains from the surface of the shower. For even better results, add a few drops of mild liquid dishwashing detergent. The soap will emulsify dirt and oil while the vinegar brightens and disinfects.


Treat problem areas with the vinegar solution. Mist the inside shower with the vinegar solution. Be sure to address spots with the worst buildup. This may include unexpected places like the shelving at the top of the shower or the area around the drain. Don’t forget to get inside cracks and crevices and along recessed panels and soap dishes. Pure vinegar makes the perfect antidote to mold and mildew growth.


Leave the vinegar to break down stains. Vinegar is an effective natural solvent, but it requires a little time to work effectively. For most light or moderate messes, the vinegar should sit for at least half an hour. To remove heavier buildup, you may even want to let it remain for 1-2 hours to ensure success.


If vinegar alone isn’t cutting it, sprinkle a little baking soda over the affected area before spraying it again. The foaming action produced by the two cleaners will eat away at stubborn gunk and grime. A mixture of hydrogen peroxide and cream of tartar can make a convenient substitute for baking soda and vinegar.

How Removing Deep Stains?

Mix 1 part baking soda with three parts water. Combine the baking soda with the water in a small bowl or cup. Continue to mix it together until the baking soda absorbs the water and forms a paste. If your paste is too thick, add more water to it. If the paste is too runny, add more baking soda.


Apply the paste to the stains. Wear gloves and use your hands to smear a good portion of the paste over the stains on your shower. Target any discoloration or built up mildew that you weren’t able to remove from a basic cleaning. Cover the paste with plastic wrap. Tape the ends of the plastic wrap so it stays in place.


Don’t cover all the edges in tape so that the marble can breathe. Let the paste sit on your shower for 24 hours. The paste will dry and absorb the stain under it. When the paste is ready, it should be dry and hard. Remind people in the house that you are doing a deep cleaning and that they won’t be able to use the shower.

Rinse and wipe down the baking soda. Remove the baking soda paste from your shower by rinsing down your shower and wiping the stained areas with a rag. If you notice that the stain is still visible, repeat the steps until it is fully removed. Clean your screen with saliva. Saliva contains enzymes and bacteria that literally consume the dirt on the shower screens.


This is useful if you want to clean a spot where dirt is concentrated. Use a bleach solution to remove any mildew or mold. Mix ⅓ cup (80 ml) of bleach with 1 gallon (3.79 L) of water. Wear gloves and scrub the bathtub and the edges where the caulk used to be with the solution. Make sure that the room is well-ventilated. Use a stiff scrubbing brush to scrub the bathtub with bleach.

How Mixing Your Cleaning Solution?

Pour ⅓ cup (79 milliliters) of liquid dish detergent into a spray bottle. The dish detergent will cut through the oils and grease that make up your soap scum, making it easier to wipe away the stuck on grime. You can use any dish detergent that is formulated to cut through grease. If you use too much detergent in your cleaning solution, it will not ruin your cleaner; however, the cleaning solution will be harder to wash away.

Measure out 1 cup (237 milliliters) of white vinegar. In addition to attacking bacteria and mildew, white vinegar is great for clearing away soap scum and lime deposits. While the smell may be off-putting, it evaporates away once the vinegar dries. If the smell of the vinegar really bothers you, try adding a few drops of a pure essential oil, such as lemon or orange oil.

Heat your vinegar in the microwave. Set the timer for 1 minute to warm the vinegar. Warm vinegar is easier to mix than cool vinegar, so it will help you create a better cleaning solution. You don’t need to boil your vinegar. Depending on the strength of your microwave, you may want to warm your vinegar in 30 second intervals to make sure that it reaches a slightly warm temperature rather than getting too hot or not getting warm enough.

Add the vinegar to the spray bottle and mix. Blend the two ingredients using a swirling motion. Continue moving the bottle until they are completely blended. Avoid shaking the bottle because it will cause excessive sudsing. Your end result should be a slightly foamy substance that is lightly tinted the color of your detergent.

You can increase or decrease the quantity of cleaner that you prepare by adjusting the amount of the ingredients as long as you maintain the 3 to 1 ratio of white vinegar to detergent. If you’d prefer, there are several non-abrasive commercial options available that are safe for fiberglass. Check the label to make sure that the product does not contain abrasive cleaning agents or bleach.

How Caring for an Enamel Bathtub?

Dry the bathtub after every use. Prevent staining and limescale, especially if you have hard water, by wiping the bathtub dry every time you’ve finished using it. Take a soft cloth and wipe it completely dry. Wiping the tub dry will prevent the soapy water residue from evaporating, which creates limescale buildup.

Avoid using harsh cleansers or tools on the enamel. Abrasive materials such as harsh cleansers, pure vinegar, bleach, scouring powders, and steel wool can damage the enamel on the tub. You should also avoid any cleansers that are highly acidic. Fix leaky faucets to prevent enamel damage. If the faucet leaks, the constant water dripping can stain the enamel and cause chalky limescale buildup.

To prevent this damage to the enamel, re-washer the faucets or pay a plumber to stop the leak. You may need to replace worn seals, gaskets, or washers in the faucet. Clean out your drain weekly to avoid a clog. Use your fingers or a wire to remove any hair or debris that’s caught in your drain. This is especially important if you have long hair, which can quickly clog a drain. If your drain gets clogged or slows down, you’ll end up with soap scum rings around your tub.

To help keep your drain clear, you can put a mesh drain strainer over the drain to collect hair and debris so it doesn’t go down the drain. Simply wipe the strainer clean every few days. You can find a strainer at a department store, home improvement store, or online.

Rub a sliced lemon over rust stains. Slice a fresh lemon in half and rub it directly onto rust stains. Keep rubbing the lemon until you see the stains lift and disappear. Rinse the tub and dry it immediately. Some people may recommend dipping the lemon in salt before scrubbing it over the stain, but the salt could scratch or damage the enamel.

How Doing a Basic Cleaning of Enamel Bathtub?


Mix hot water and liquid dishwashing soap. Get out a small bucket and pour 2 tablespoons (30 ml) of gentle dishwashing soap into it. Use a dishwashing soap that will cut through grease and grime. Pour 1 gallon (3.8 liters) of hot water into the bucket. Stir the mixture until it’s soapy and combined.
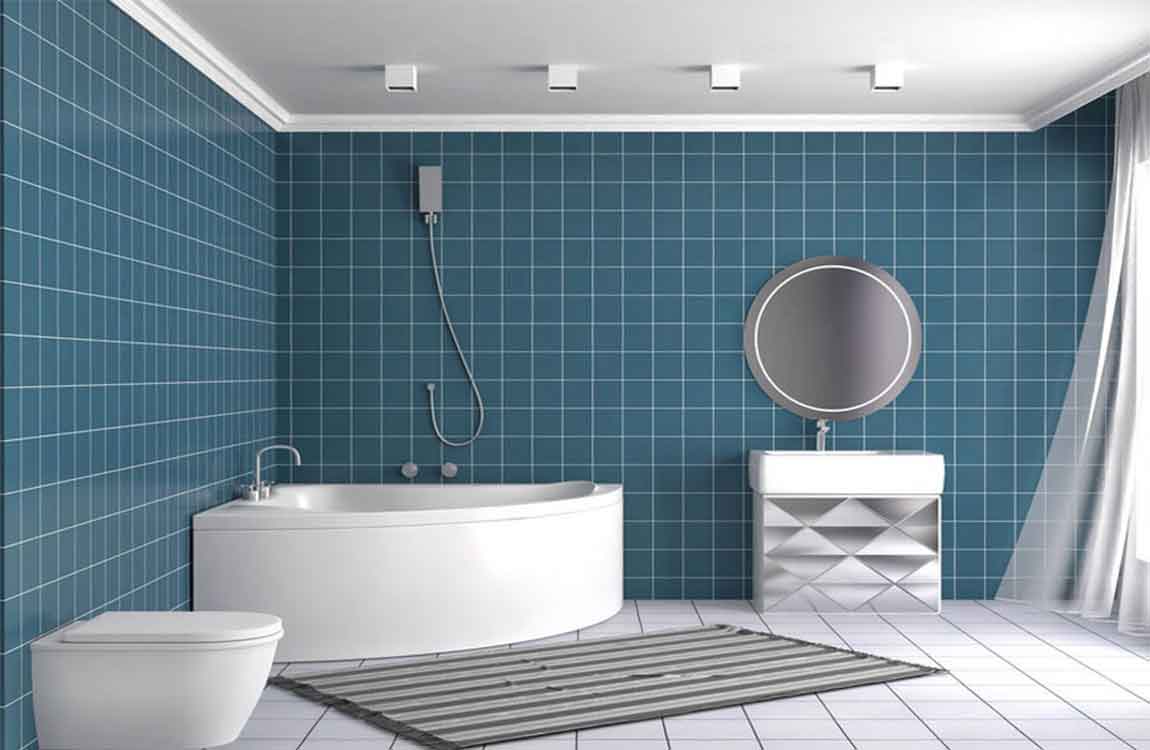

Rub the cleaning solution over the entire tub. Dip a sponge or soft cloth into the soapy cleaning solution. Wipe the solution along the bottom and sides of the enamel tub. Gently scrub the tub to loosen any grime or soap deposits. Avoid using sponges that have an abrasive side, which could damage the enamel.


Rinse the tub with clean water. Fill a clean bucket with clean water and pour it over the soapy tub to rinse it. You may need to fill the bucket a few times to remove all of the soapy residue. Wipe the tub dry. You could also turn on the shower and direct the nozzle to rinse away the soap. If your shower head is a handheld model, this is the easiest way to rinse the bathtub.


Since you’ll be drying the tub immediately, you can use any temperature of water to rinse it. Clean the enamel tub every week. Remember to clean your tub at least once a week or more, if you use it more frequently. If you keep the enamel tub clean on a regular basis, it’s less likely to develop stains or limescale buildup.


Scour the stains with a sturdy scrubber. Since porcelain has a hard, durable finish, you can scrub it safely with an abrasive implement without worrying about scratching it up. For best results, equip a pumice stone or stiff-bristled scrubbing brush. Work on the stains until they’re completely erased, then rinse the tub with clean water and let it dry before using it again.