Posts

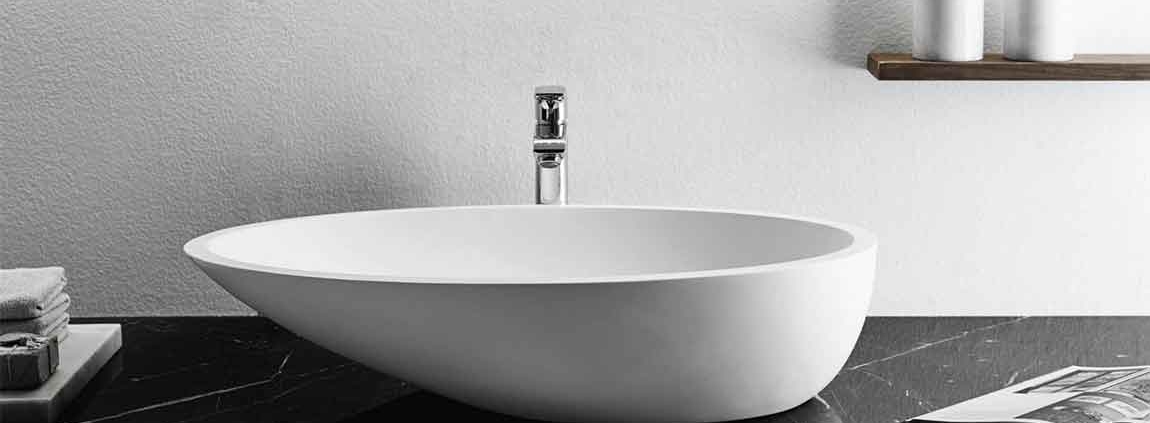
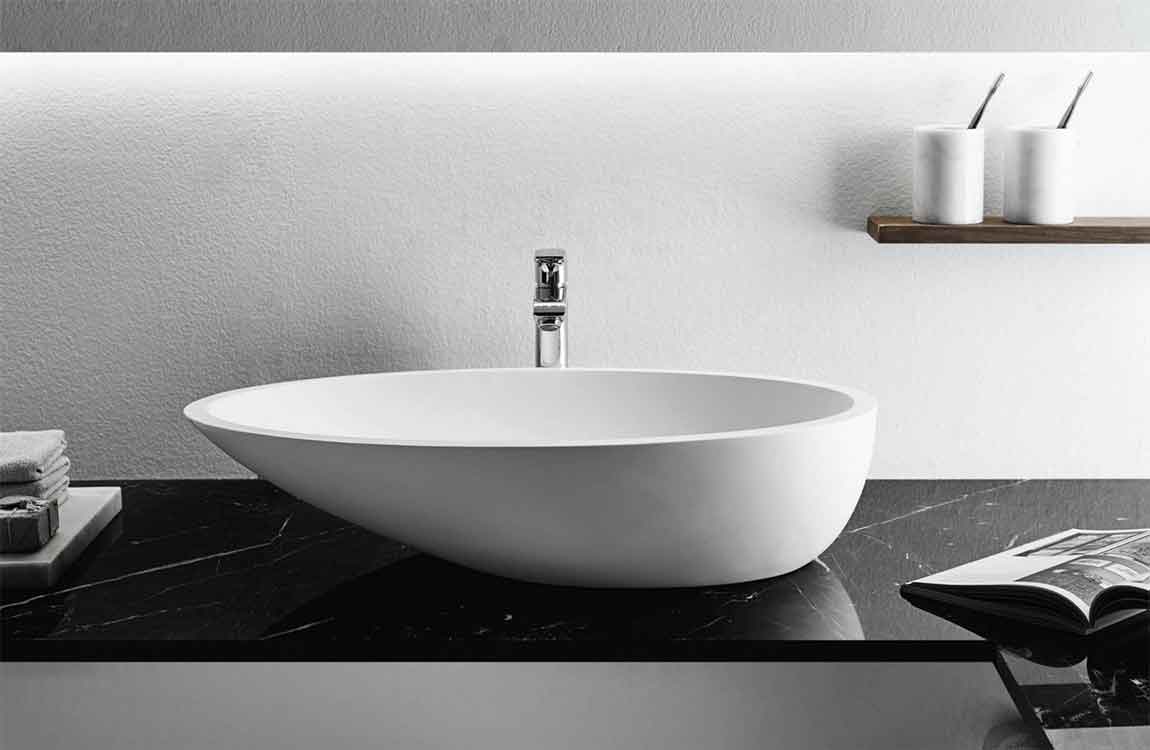
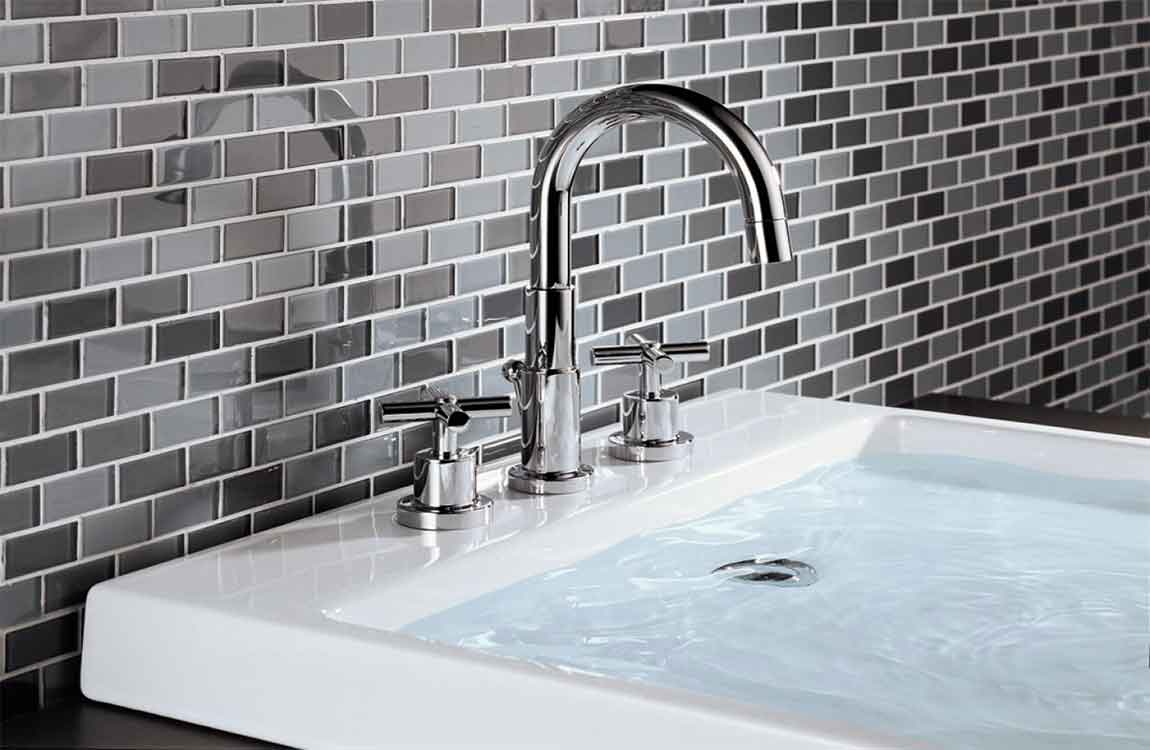
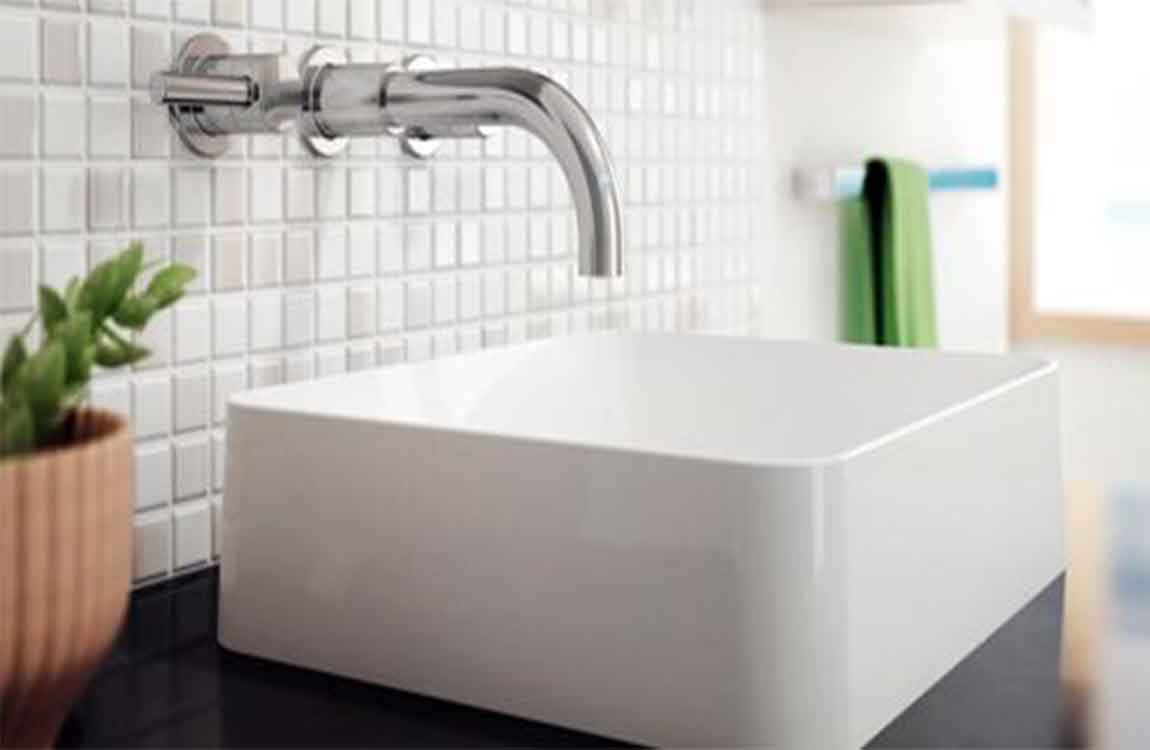
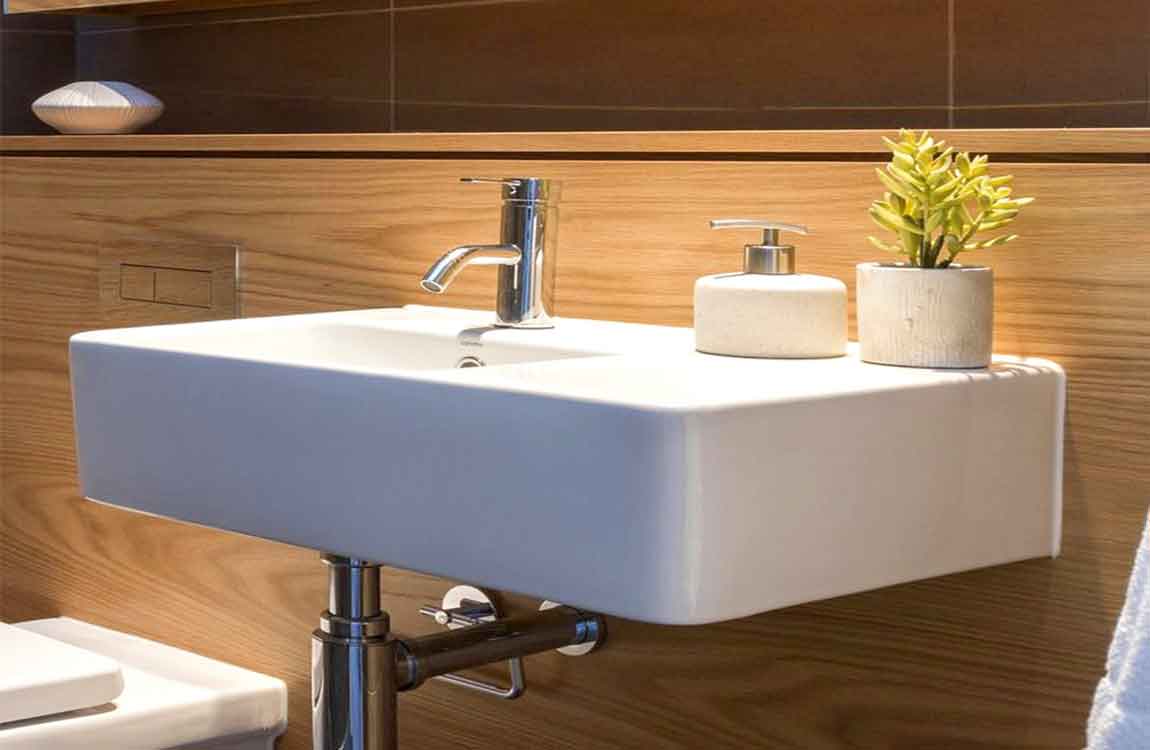
Protecting Your Sink from Scratches or Damages


Wash the sink with a soft sponge. Although ceramic is a tough, durable material, it can still be damaged if scrubbed with an abrasive material. Do not use scouring pads to clean your ceramic sink, especially any pads made of wire or metal. Also do not use scouring powders to clean your ceramic sink, as they could scratch or damage the surface. Instead of these, clean the sink with a soft, non-abrasive sponge.


Some cleaning companies manufacture scouring liquids. Also avoid using these on the ceramic sink. Clean with a gentle, ceramic-specific product. Do not use concentrated drain cleaners in your ceramic sink. Although these products are advertised as being safe on all surfaces, a chemically potent concentrated drain cleaner may damage or erode the surface of your ceramic sink.


If you would like to use a drain cleaner, look for a gentler cleanser that is specifically designed for use on ceramic or porcelain. You may be more likely to find such a drain cleaner at a health store or a natural foods store.


Wash dishes in the sink or in a metal container. Be careful to avoid washing dishes in large plastic bowls. Although the plastic bowls themselves will not harm the ceramic, the bowls will likely accumulate grit and dirt on their bottoms through normal use. This grit can scratch the surface of the ceramic on the bottom of your sink, and these scratches cannot be removed.


When you wash dishes, either fill the sink itself with soapy water, or find a large vessel that will not collect grit on its bottom. For example, use a large metal saucepan.

How to Replace a Kitchen or Bathroom Faucet?

Is it time for an update for your faucet? If it’s just dripping, you can usually just replace a washer or other seal. Don’t worry if you need to replace the whole thing though. The procedure is pretty straightforward, especially if you have the right tools.

Inspect your sink. Check to see how many openings there are and how far apart they are. You may have to look underneath to be sure. For bathroom faucets, in particular, the two handles may be joined with the spout to become a single unit or they may be spread apart from it. You will need this information to choose the correct replacement.

Review the instructions that come with the faucet. They can range from detailed and helpful to minimal and frustrating. When in doubt, defer to the manufacturer’s instructions rather than those you find elsewhere. Consider buying a basin wrench for under $20. It’s a tool designed to reach way up behind your sink and remove the two big nuts on each side of the faucet that hold the faucet tight against the sink. If you can’t loosen the nuts by hand or with the tools you have on hand, a basin wrench will make the job easier.

Remove everything from under the sink and store it well out of your way. Get plenty of light under your sink so you can see what you are doing up there. Arrange any portable lamp or use a drop light if you have one.

Turn off the water to the faucet. Under the sink, you will see two supply lines coming out of the wall and going up to your faucet. There should be a valve on each one, one for hot and one for cold. Turn both of these valves off by twisting them clockwise as though they were faucets. Loosen the tube nut that’s just above the valve on each tube and lift the tubes out of the valves. Water will come out of each tube now as they drain back from the faucet so you’ll need a towel to soak up this water.

It’s a good idea to replace the supply lines when you replace the faucet, if they are old, especially if they were the flexible sort. If you have solid tubing, it isn’t generally necessary unless it doesn’t reach the new faucet. If you’re not replacing the supply lines, you may only have to disconnect them at the top. A braided, stainless steel reinforced supply line will virtually eliminate the possibility of flooding from the line bursting.