Posts

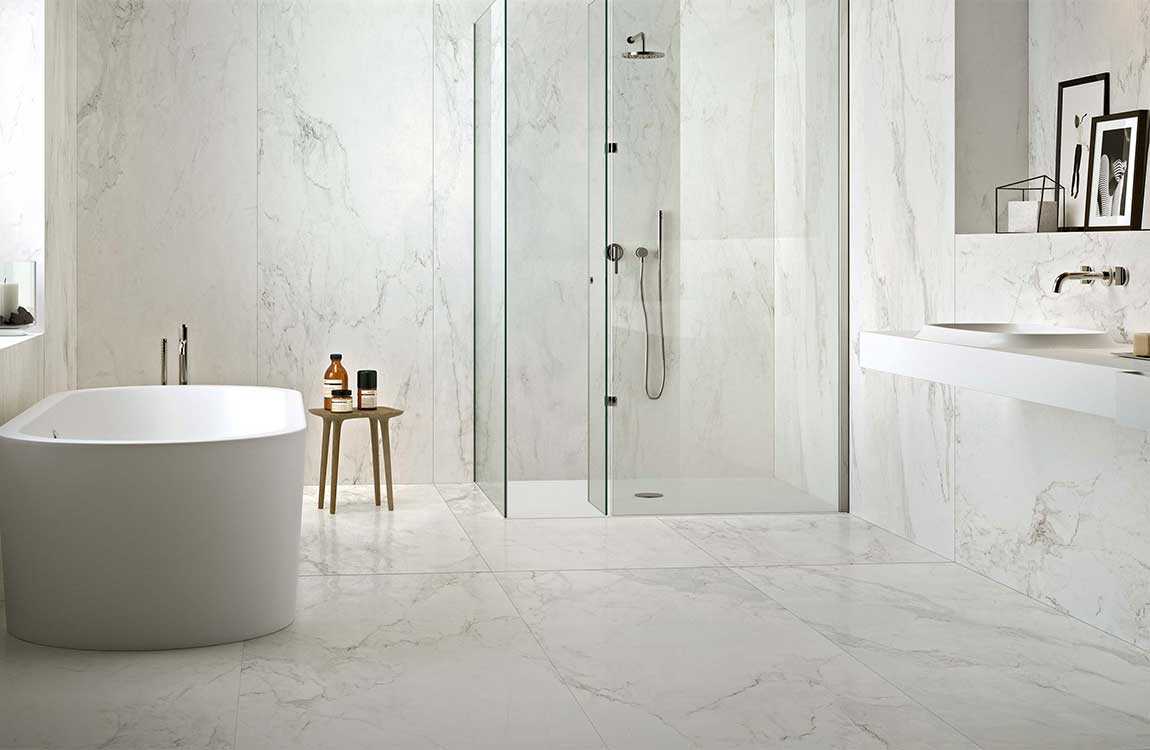
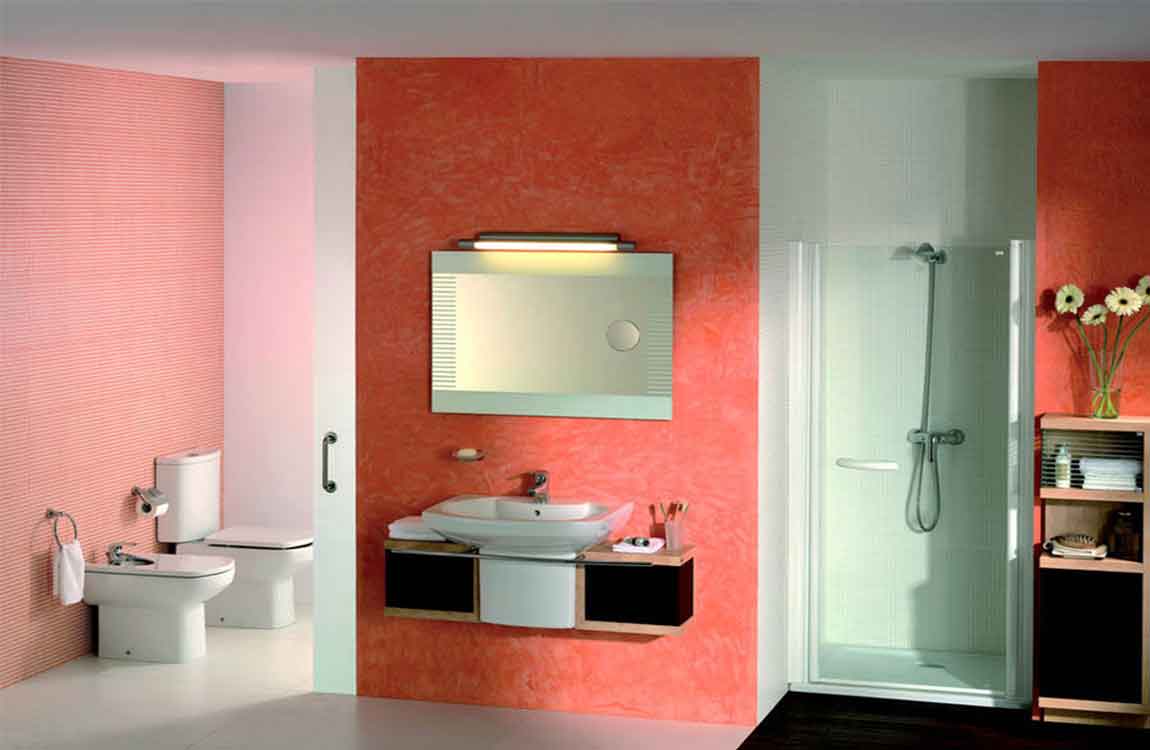
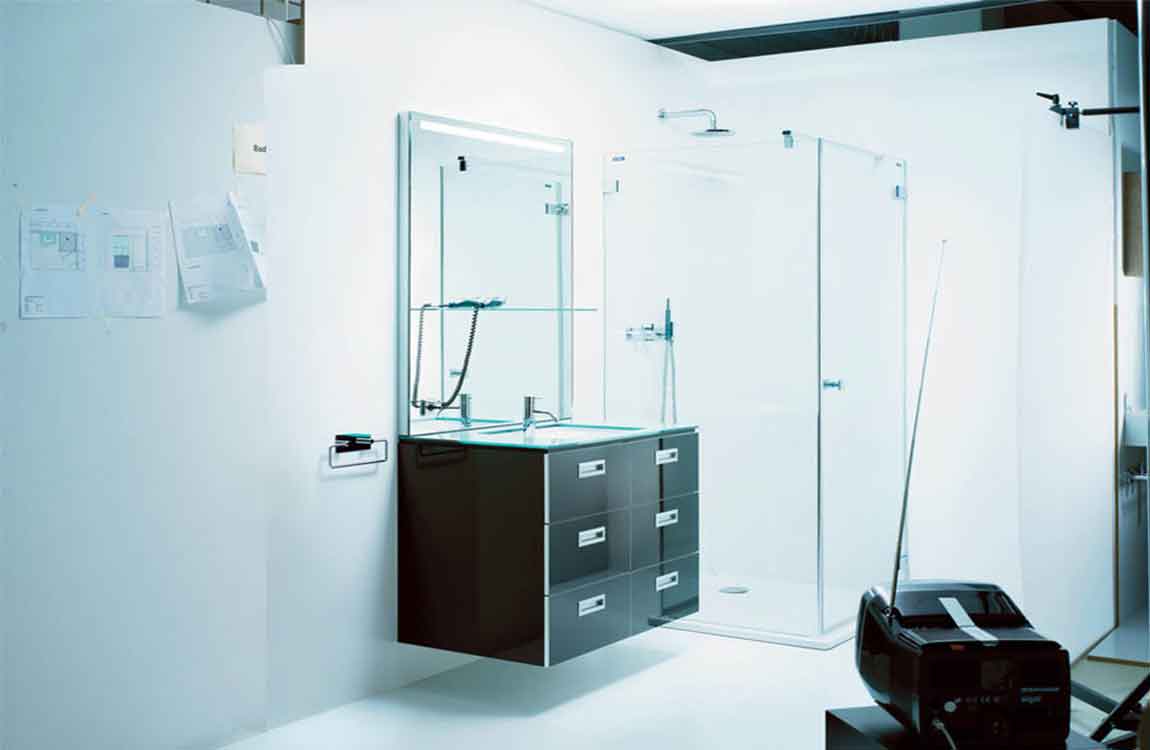
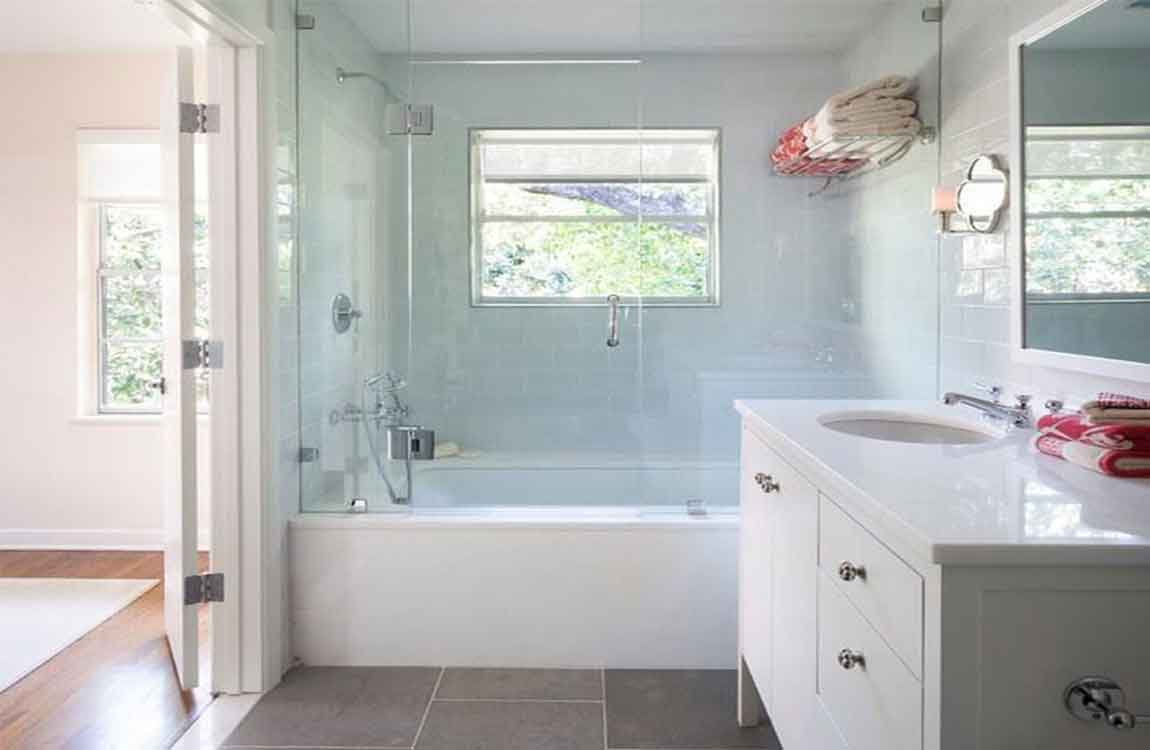
How to Replace a Bathtub?


If you have a bathtub that’s cracked, worn out, or not your style, you can tear out the old tub and install a new one to update your bathroom. Replacing your tub involves plumbing and carpentry skills, but with the right tools you can do it on your own or with a partner. After disconnecting the drains and pulling out the tub, all you need to do is level the floor and slide the new tub into place. With a little work, you can install a new and updated bathtub in the span of a weekend!


Drain removers can be bought from your local hardware store. Some tub drains have screens that you need to remove with a screwdriver before you can use the remover tool. Take out the drain shoe from the access panel you cut. The drain shoe is made up of the pipes that connect the overflow and the main drain to your tub.


Look for the T-shaped connector holding the pipes together, and use a pipe wrench to twist the drain shoe off of the main pipes. If the joint is stuck or won’t come out with a pipe wrench, cut through the pipes with a reciprocating saw or hacksaw.


Remove the tub surround and drywall around your tub. The surround is the tile or fiberglass on the walls around your tub. Use a pry bar or the back of a claw hammer to rip the surround away from your tub. When you reach the drywall, use a razor knife to cut out the area around that extends 6 inches (15 cm) from the top of your tub until the studs are exposed.


Wear safety glasses, work gloves, and a respirator to keep yourself protected. If your tub has a surround panel made from fiberglass, you need to take out the entire piece in order to install a new bathtub. Pull out the nails or screws connecting the tub flange to the studs. The flange around your tub is the raised edge that keeps water from draining into your walls.

How Painting the Ceiling and Trim?

Start with the ceiling, if you’re painting it. If you’re painting the ceiling, use a brush to cut in around the edges where it meets the walls. Finish the job by using a roller on the end of an extension pole. For best results, use a quality, plush roller cover, which will allow you to get as much paint onto the ceiling in the shortest amount of time.

Dip the roller into the paint tray’s well, then roll up the tray to remove excess. Start in a corner, and roll in a continuous stroke. Try to keep the roller wet, and overlap the painted edges and your previous strokes by about 3 in (7.6 cm). If you’re using a latex paint, you should be able to apply a second coat after 4 hours. For even coverage, apply the first coat in one direction, or north to south, and the second in the other direction, or east to west.

Cutting in is basically coloring within the lines; it’s when you hug a tight edge with the brush. Tip: Choose mildew-resistant ceiling paint, which is flat (not glossy), dries slowly, and spatters less. While mildew-resistant products are a bit pricier, but they hold up better to moisture and last longer.

Paint the trim with a brush before painting the walls. Use an angled brush to paint baseboards and other trim. Paint them first so you don’t have to tape off the walls, which is more difficult than taping off trim. Depending on the type of paint you’re using, apply a second coat after 4 to 24 hours.

Semi-gloss is a good finish for bathroom trim. Baseboards, chair rails, and window and door trim collect dust and grime, and semi-gloss is more durable and easier to clean than flat finishes. White is conventional for trim, but you could experiment with color, especially if your walls are white. Grays, blues, and black are trendy choices if you want your trim to make a statement.

Tape off the trim if you’re not confident about cutting in along edges. If you have a steady, practiced hand, you don’t need to tape around every edge. However, if you want to stay on the safe side, allow the trim to dry for 24 hours, then lay down painter’s tape at the edges where it meets walls. Additionally, tape around your bath fixtures and wall tile.

Even if you have a steady hand, you should still tape horizontal trim, such as baseboards, chair rails, and horizontal runs of tile. Paint will inevitably spatter on horizontal trim, but vertical trim, such as window and door trim, is less vulnerable.