Posts

How to Install a Bathtub?

Installing a bathtub is a complex job that shouldn’t be attempted by novices. However, if you have some plumbing and construction experience, this may be a DIY project that you feel comfortable tackling. If you’re looking for a starting point, this guide provides an outline of the job. If you’re unsure what to do at any point in the process, it’s best to call a plumber. They can install the bathtub for you and ensure it’s to code.
Attach the drain to the tub. Before you actually set the tub in place, secure the drain to it. Wrap the bottom of the strainer (the part of the drain you see on the inside of the bottom of the tub) with plumber’s putty and press it into the tub from the inside. Place a gasket around the strainer from the outside of the bottom of the tub, then screw the strainer to the drain chute, which a long pipe that includes the overflow drain.

Use pliers to tighten the strainer from the inside of the tub and remove any excess putty. Connect the overflow drain. Slip the trip lever stopper and linkage through the overflow drain opening on the inside of the tub. Use a screwdriver to secure the overflow cover with the trip lever to the inside of the tub.

The trip lever is what you move up to prevent water from draining out of the tub. The stopper and linkage go inside the pipe to stop or allow the flow of water. The overflow drain will prevent the tub from overflowing if you leave the water running as it directs the water into a drain pipe.

Connect the water lines and install your accessories. Screw the faucet into the coupling for the water lines through the hole in the surround. Then, screw the strainer cover over the drain opening in the floor of the tub. Add any other accessories you need, such as handles if they are separate from your faucet.

How Removing the Old Bathtrub?


Turn off the water at the main line. The first step is to shut off the water for the bathroom you’ll be working in. Locate the main line and turn it all the way off. Then, turn on the faucet in your tub to drain the lines. Remove the accessories and disconnect the water lines. Use a screwdriver to unscrew the faucet and disconnect it from the water lines by unscrewing it.


Remove the handles, overflow drain cover, and the drain cover on the bottom of the tub. If you have a showerhead, remove that as well. You may need to pry off a plastic cover to gain access to the screws. You may be able to reuse some of these accessories, so keep them if you don’t want to buy new ones.


Remove the existing tub surround or tiles. You need to expose the studs in the wall in order to install a new bathtub, so you must remove the existing surround and the drywall behind it. Using a utility knife, cut through the drywall around the outside edge of the entire surround. Then, use a pry bar to pry the drywall and surround or tiles out of place. Be careful not to damage any pipes or wires.


Be sure to wear safety gear, including goggles and a dust mask, throughout this process. Work from the top of the surround down to the bottom. Gain access to the plumbing. In some homes, you may be able to access the plumbing from the room next to the bathroom. In other cases, the plumbing may be situated in the floor under the tub. Most likely, you’ll need to cut a hole in the wall or floor in order to access the plumbing.


Take out the old tub. First, unscrew the tub drain and overflow from the P-trap underneath the tub. If your tub is acrylic or fiberglass, cut it into pieces with a jigsaw to make the removal process easier. If you want to try to keep the tub in one piece, use a jigsaw to cut away the tub flange that’s nailed to the studs, then tip up the tub and pull it out. You may need to slice through the caulk that connects the tub and floor before removing the tub. Use a utility knife to do so.

The Knowledge of Shower Head Clean


If you don’t have a detachable shower head, the easiest way to rinse your shower walls is to use a cup or bucket to splash warm water onto the areas that need rinsing. Never use abrasive scrubbers, such as wire brushes or rough kitchen sponges, to clean an acrylic surface. These will leave behind tiny scratches in the finish that will then trap dirt in the future, making it much harder to remove.


Scrub the acrylic with a soft cloth. Use a clean, dry washcloth, microfiber towel or sponge to erase any last traces of loose residue. Wipe with gentle circular motions and apply pressure where needed to break up tough stains. Afterwards, rinse the interior of the shower with hot water. Dig into hard-to-reach spots with your fingertips or the corner of a sponge.


Slice a large lemon in half. With a little creative application, a single lemon can serve as both cleaning solution and sponge. Cut the lemon down the middle widthwise. You can now grip it by the peel-side and use it as a handheld scrubber to treat yucky shower stains.


Pick out the seeds before you start scrubbing so they don’t end up at the bottom of your shower. The natural acids in lemon juice are safe enough for you to use them to clean your shower as often as you’d like without having to worry about wearing down the acrylic finish. You may also have success using another type of citrus, such as grapefruit.


Rub the lemon directly onto the surface of the shower. Work the exposed fruit over the acrylic surface. As you press the lemon into the acrylic, the juice will gradually squeeze out, breaking up hard water stains, mold and mineral deposits.

How Doing a Basic Cleaning of Enamel Bathtub?


Mix hot water and liquid dishwashing soap. Get out a small bucket and pour 2 tablespoons (30 ml) of gentle dishwashing soap into it. Use a dishwashing soap that will cut through grease and grime. Pour 1 gallon (3.8 liters) of hot water into the bucket. Stir the mixture until it’s soapy and combined.


Rub the cleaning solution over the entire tub. Dip a sponge or soft cloth into the soapy cleaning solution. Wipe the solution along the bottom and sides of the enamel tub. Gently scrub the tub to loosen any grime or soap deposits. Avoid using sponges that have an abrasive side, which could damage the enamel.


Rinse the tub with clean water. Fill a clean bucket with clean water and pour it over the soapy tub to rinse it. You may need to fill the bucket a few times to remove all of the soapy residue. Wipe the tub dry. You could also turn on the shower and direct the nozzle to rinse away the soap. If your shower head is a handheld model, this is the easiest way to rinse the bathtub.


Since you’ll be drying the tub immediately, you can use any temperature of water to rinse it. Clean the enamel tub every week. Remember to clean your tub at least once a week or more, if you use it more frequently. If you keep the enamel tub clean on a regular basis, it’s less likely to develop stains or limescale buildup.


Scour the stains with a sturdy scrubber. Since porcelain has a hard, durable finish, you can scrub it safely with an abrasive implement without worrying about scratching it up. For best results, equip a pumice stone or stiff-bristled scrubbing brush. Work on the stains until they’re completely erased, then rinse the tub with clean water and let it dry before using it again.

Bathroom Decorate

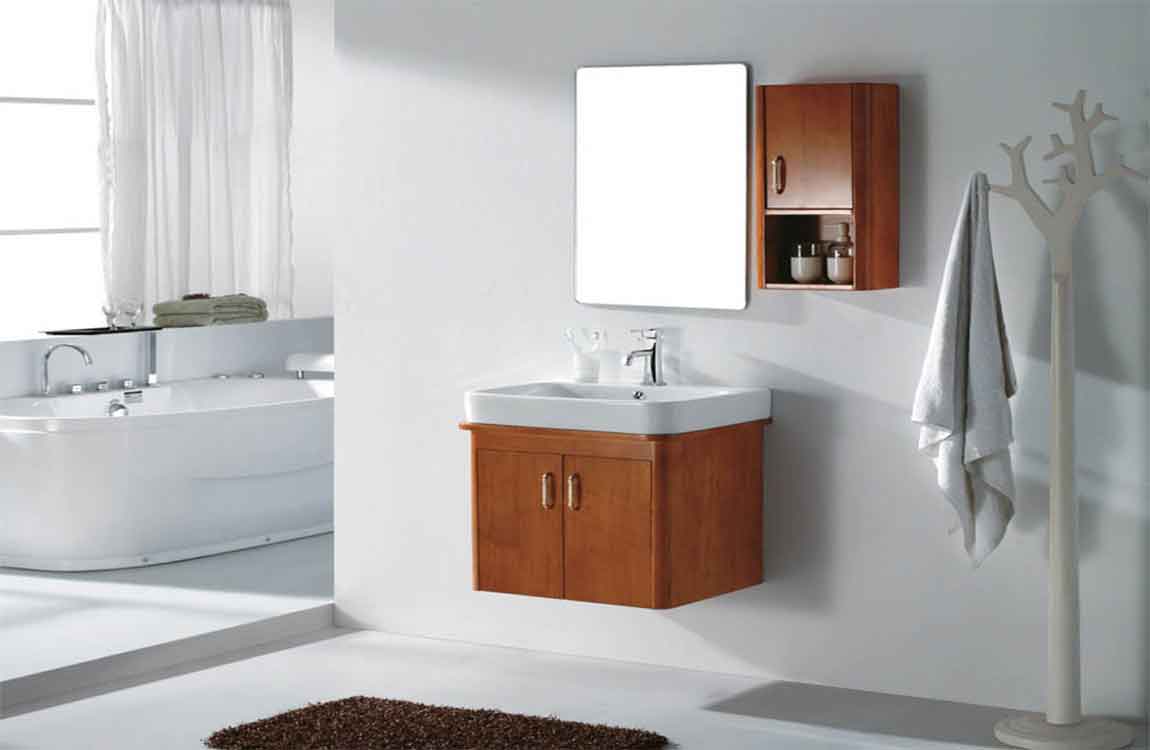
Decide on a style. A bathroom cabinet should fit into its environment, so you will want to choose cabinetry that complements your home’s existing furniture and architectural details. Consider the following design elements: Doors. You may opt for open-shelved cabinets, which have no doors, or for decorative glass or solid doors.

Material. Bathroom cabinets come in a wide array of materials, including wood, plastic, wicker, glass, bamboo, porcelain and laminate. Accessories. Pay attention to things like drawer pulls, door handles, cabinet tops and mirrors, as these details contribute to the cabinet‘s aesthetic and style.

Add another coat if the paint looks patchy and let it dry overnight. After letting the first layer dry overnight, you may notice that the paint has some patchy areas. Apply a second coat, brushing on paint over edges and corners and using a foam roller on flat surfaces. Let the vanity and all of the painted pieces sit undisturbed for a full night and check them in the morning.

Patchiness often occurs with darker paint colors. When applying extra coats of paint, you may need to let the vanity dry for up to 48 hours. Rinse the product away. Use warm water to clear away the chemical you used. Use a once-a-month cleaner. Products such as Scrubbing Bubbles Mega Shower Cleaner are meant to deep clean your shower once a month. To use, apply the product to the tub and walls. Leave it on for 3 minutes. Wash away the product.

Ensure the room is ventilated. Open a window. Keep the bathroom door open. Run a fan. Do what you need to do to create good airflow. Apply the sealer with an applicator brush or sponge. Put some sealer on the applicator, and work it into the grout. Only do a small area, so you can keep track of what you’ve done. In about 10 minutes, wipe off any excess. You need to remove the excess sealer from the tile and grout. The sealer should have soaked in during this time.

How Removing Stains from an Acrylic Bathtub?

Avoid abrasive chemical cleaners. When cleaning an acrylic bathtub, stay away from harsh astringent powders such as Comet and Ajax, as well as harsh chemicals like bleach. Acrylic is a soft material and is therefore easily damaged. These types of products are almost guaranteed to ruin your tub’s finish. It’s generally a good idea to start with the gentlest cleaning solution available to you and work your way up to more powerful options if that doesn’t work.

Spray the stains with vinegar. Distilled white vinegar makes an excellent natural cleaning solution, especially on smooth surfaces like acrylic that release stains easily. Fill a spray bottle with vinegar and keep it on hand for routine bathroom cleaning tasks. Apply the vinegar liberally to completely cover the affected area. Lemon juice makes a fine alternative to vinegar if you happen to have some in the refrigerator.

Allow the vinegar to sit for 10-20 minutes. As it sits, the acidity in the vinegar will break down mold, grime and discoloration so that they can wiped away with ease. You may even see stains begin to dissolve and run off on their own, before you even begin scrubbing. Make sure you give the vinegar ample time to begin working. For especially troublesome spots, sprinkle a little baking soda onto the vinegar as it soaks.