Posts

Give Your Bathroom with A Designing Permanent Bathroom Fixtures

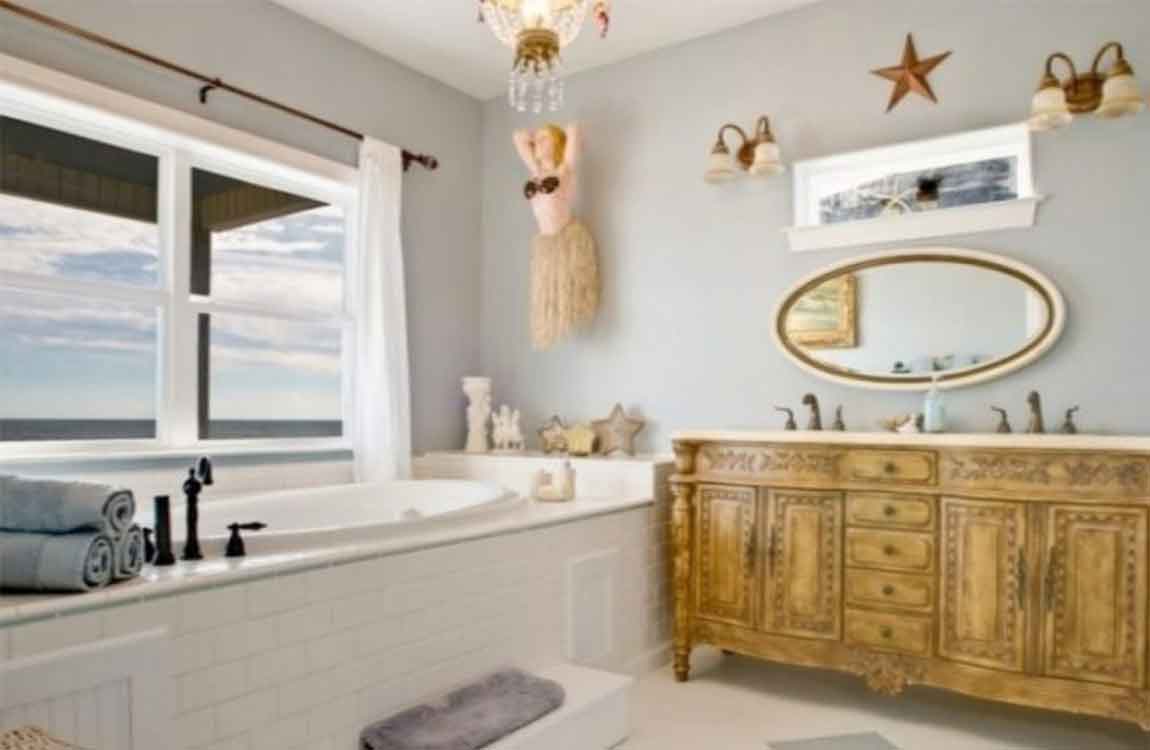
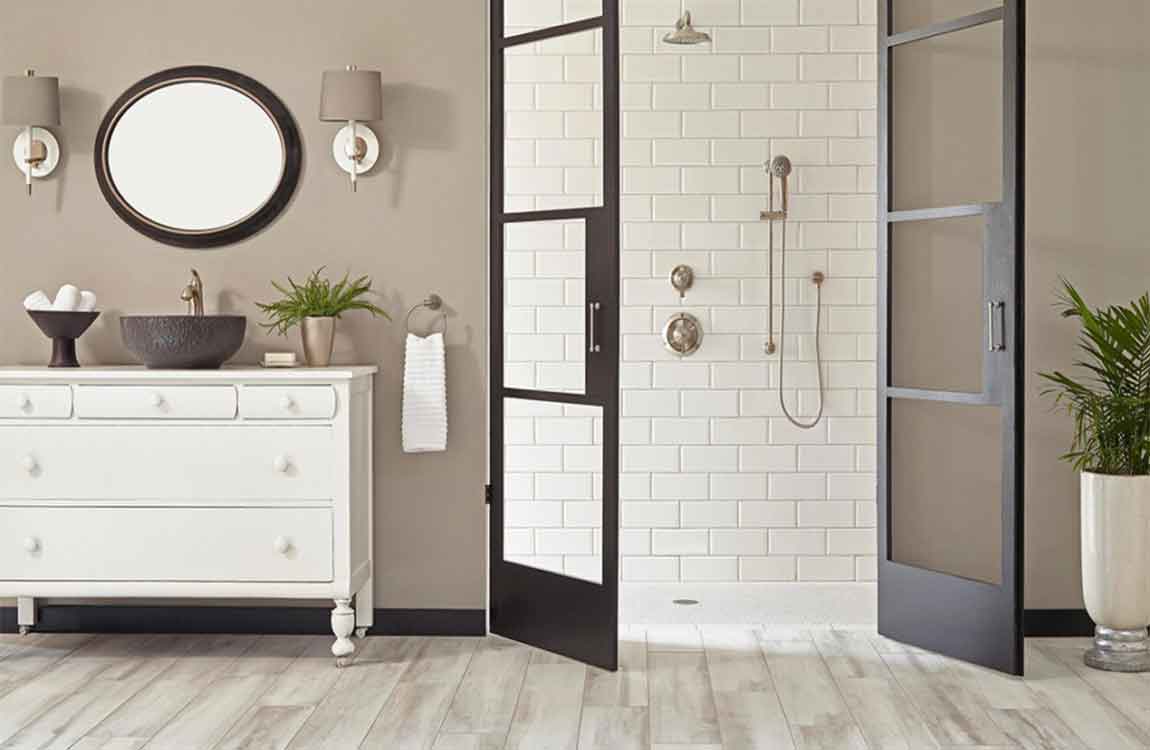
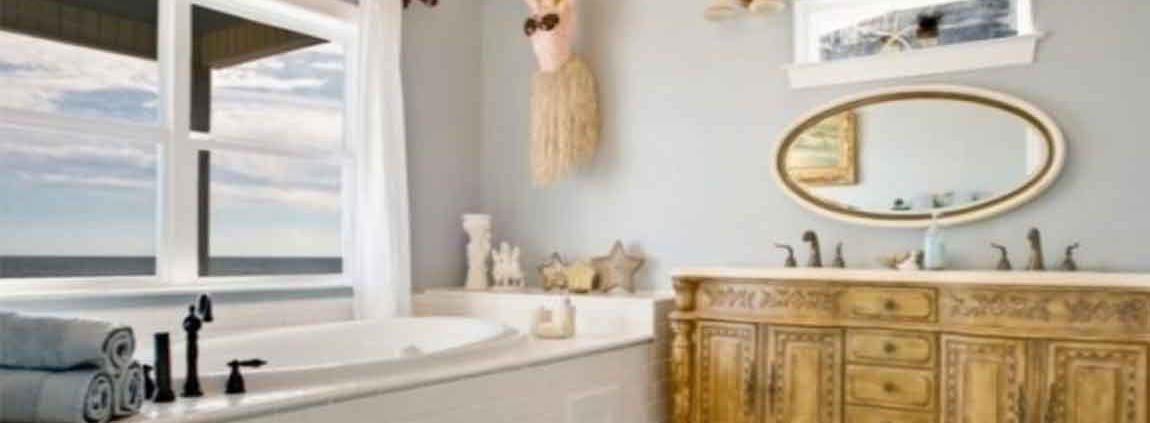
Make a DIY shell mirror. Many people collect shells from their travels, but don’t know how to incorporate them into their decor. An excellent way to do this is by framing a mirror with shells. Purchase a mirror with a wooden frame. Then, using super glue, attach a variety of shells to the frame. Cover the entire frame with shells. Mix and match a variety of different types of shells to provide more texture and colour. You can also use shells that you have purchased from a store.

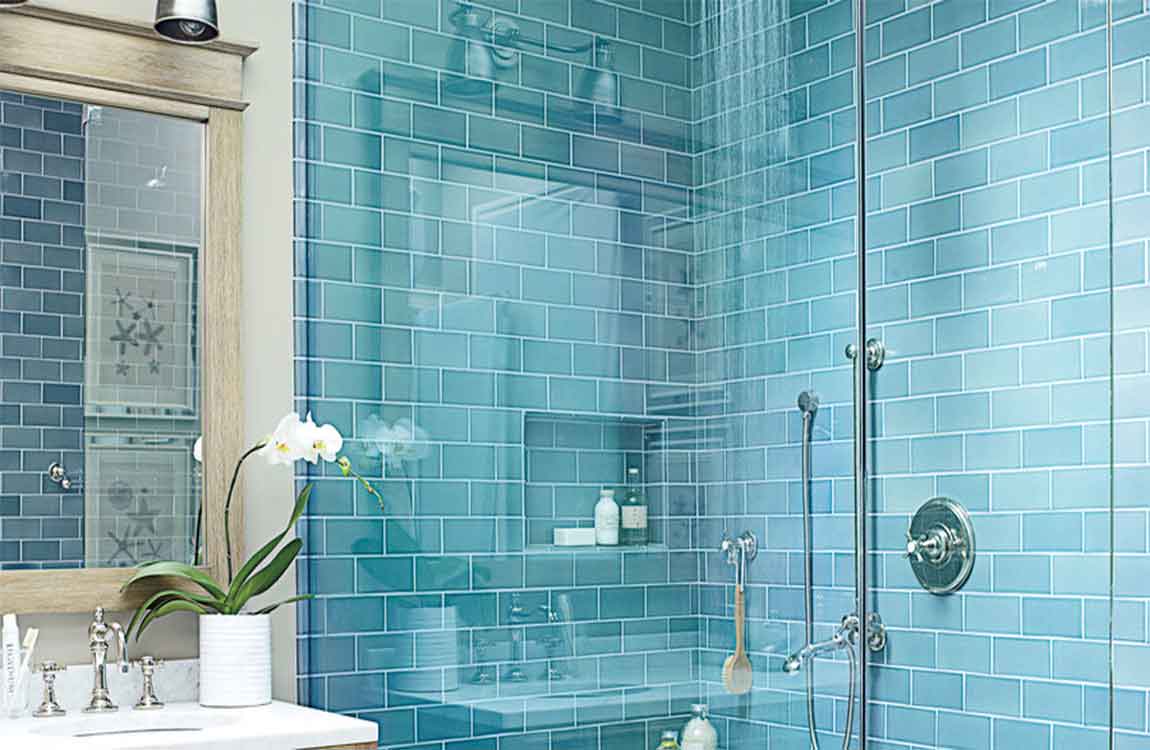
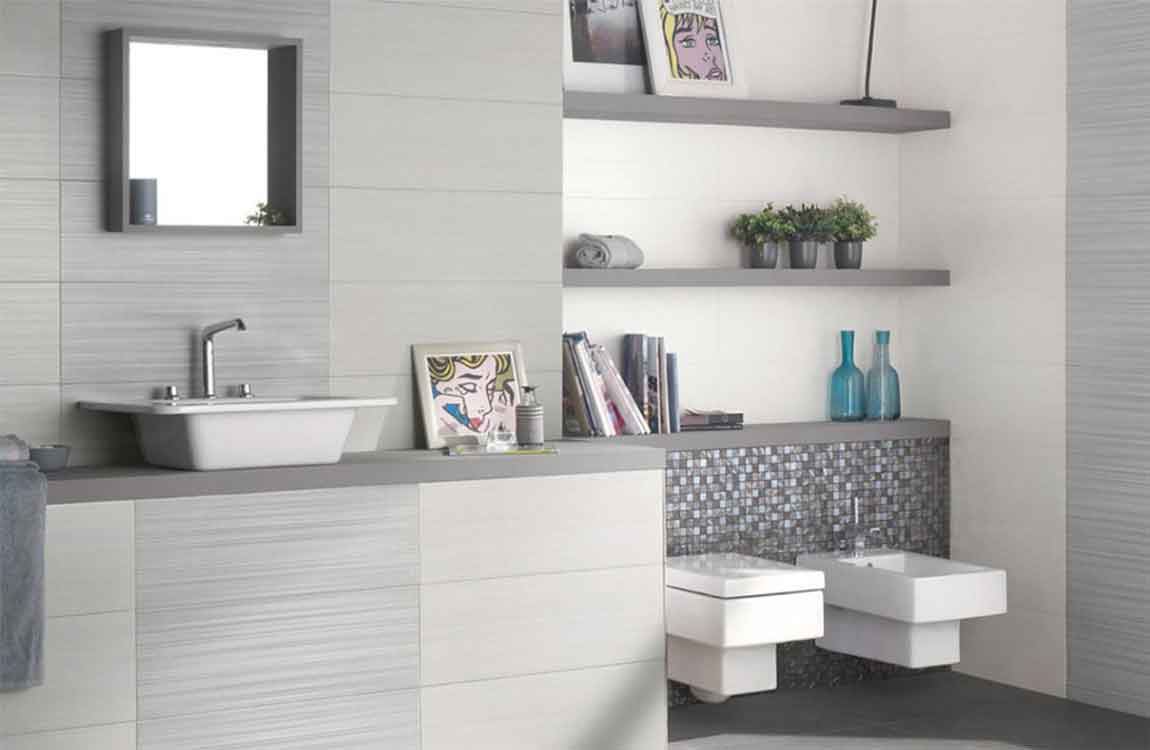
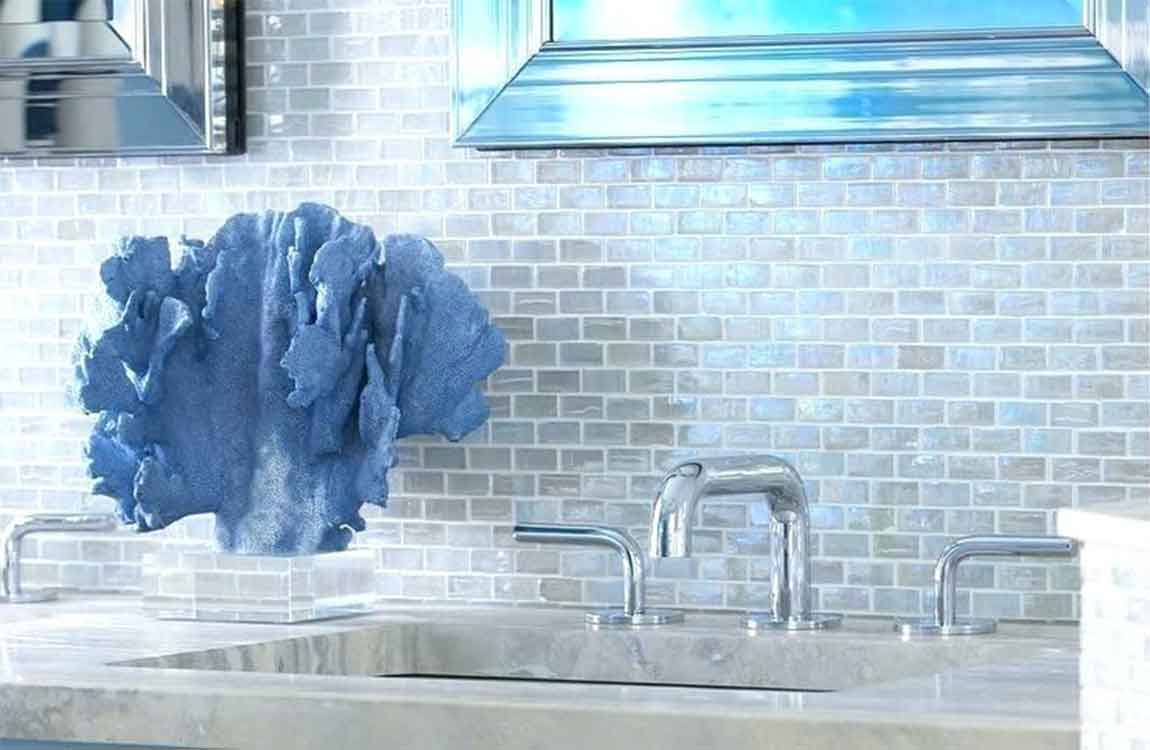
Use tiles to create an aquatic shower. Design an aquatic shower by using blue tiles. This will give the appearance of showering in the ocean. For example, you could use marble with a blue hue to give an underwater feel. Alternatively, you could use blue and green subway tiles or mosaic tiles to create an ocean feel. You may want to avoid using themed tiles or tiles with pictures on them. These are expensive to change out once you get sick of them or they become dated.

Install a boat tub. It is also possible to design a bathtub that looks like a wooden boat. This is a great beach themed embellishment that will give your bathroom design a unique, yet sophisticated look. You may need to work with a designer to create a custom boat tub.

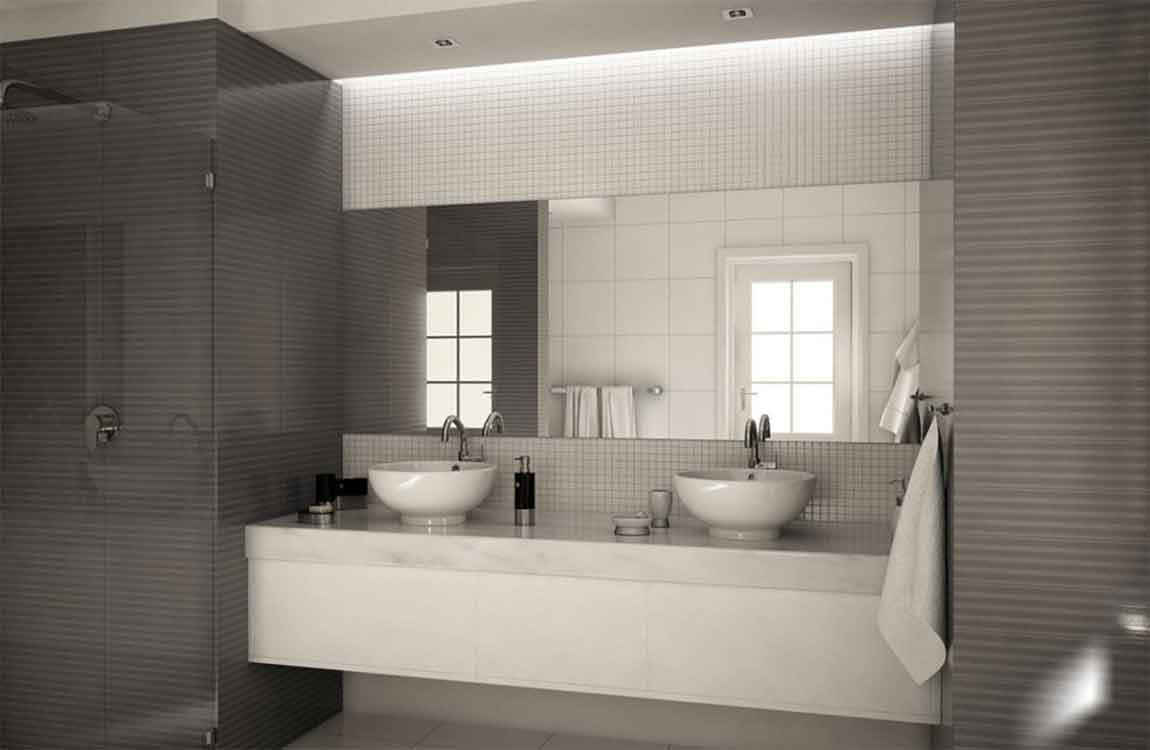
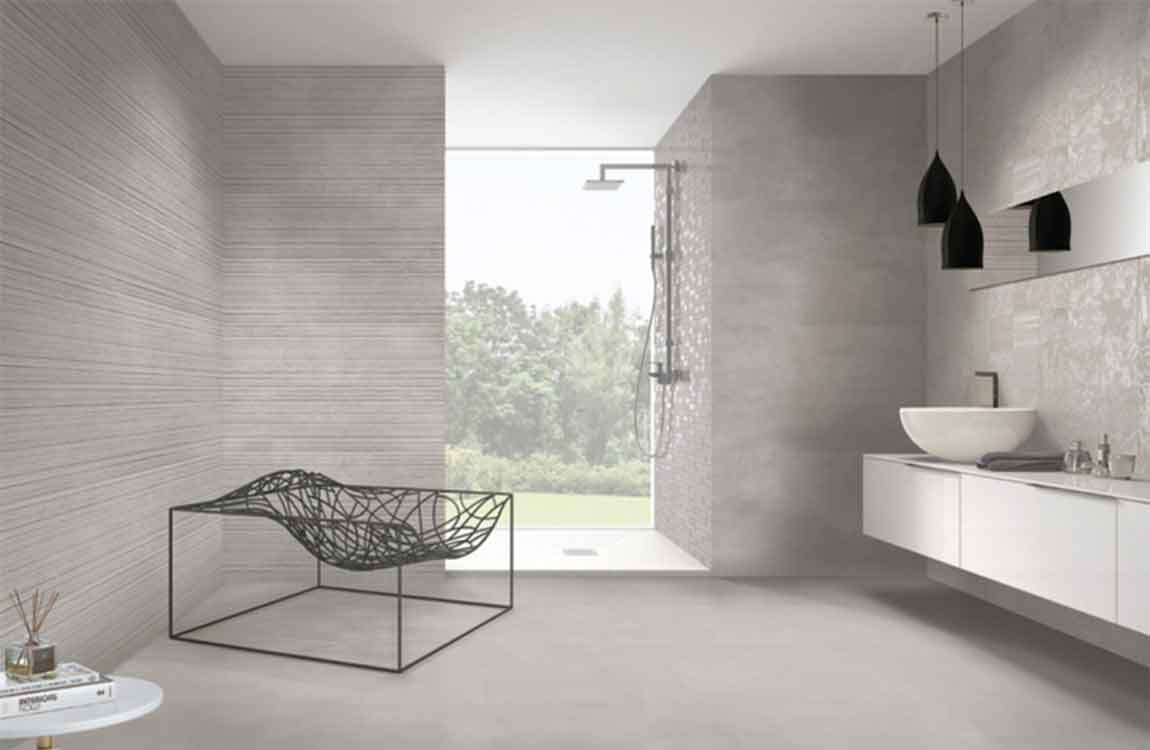
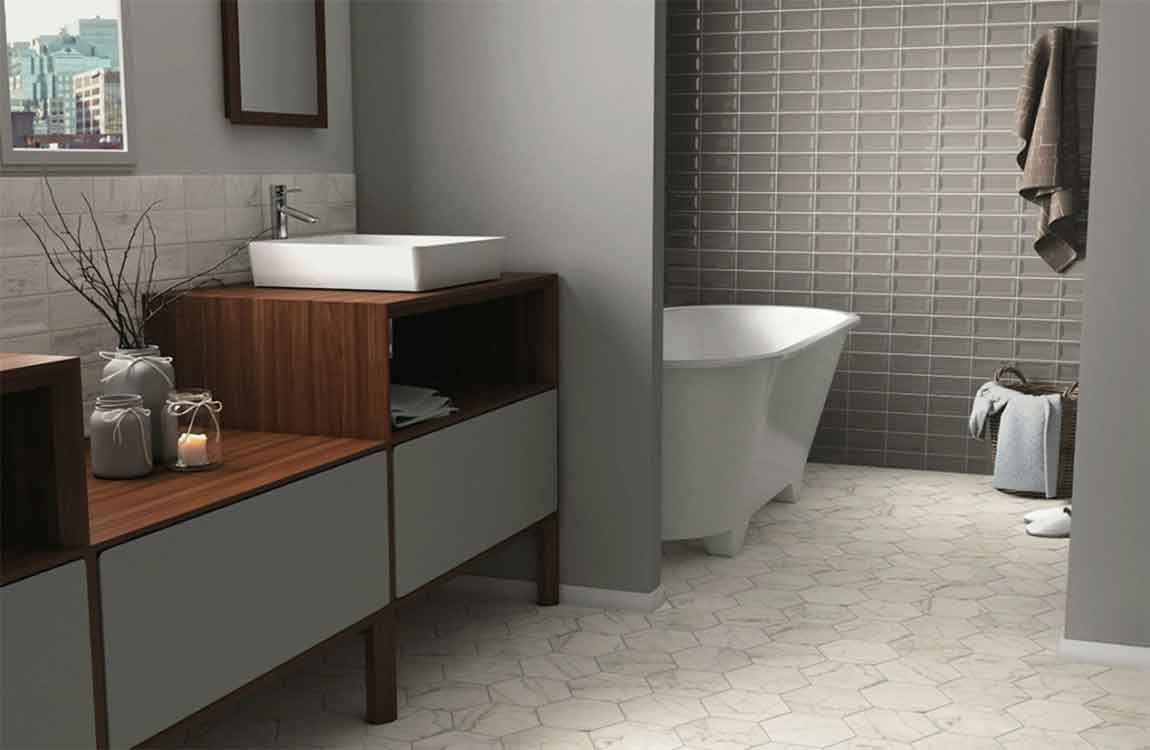
Consider a shell-shaped sink. You can accentuate the beach theme of the bathroom by installing a shell-shaped sink. Purchase a vessel style sink that sits on the countertop. You can find vessel sinks that are designed to look like a seashell. Search for a shell-shaped sink at your local home improvement store. Provide natural light. One of the reasons people love the beach is because of the warm sunshine. Take that into consideration when designing a beach themed bathroom. Provide natural lighting with windows. You can cover them with shutters to allow for privacy.

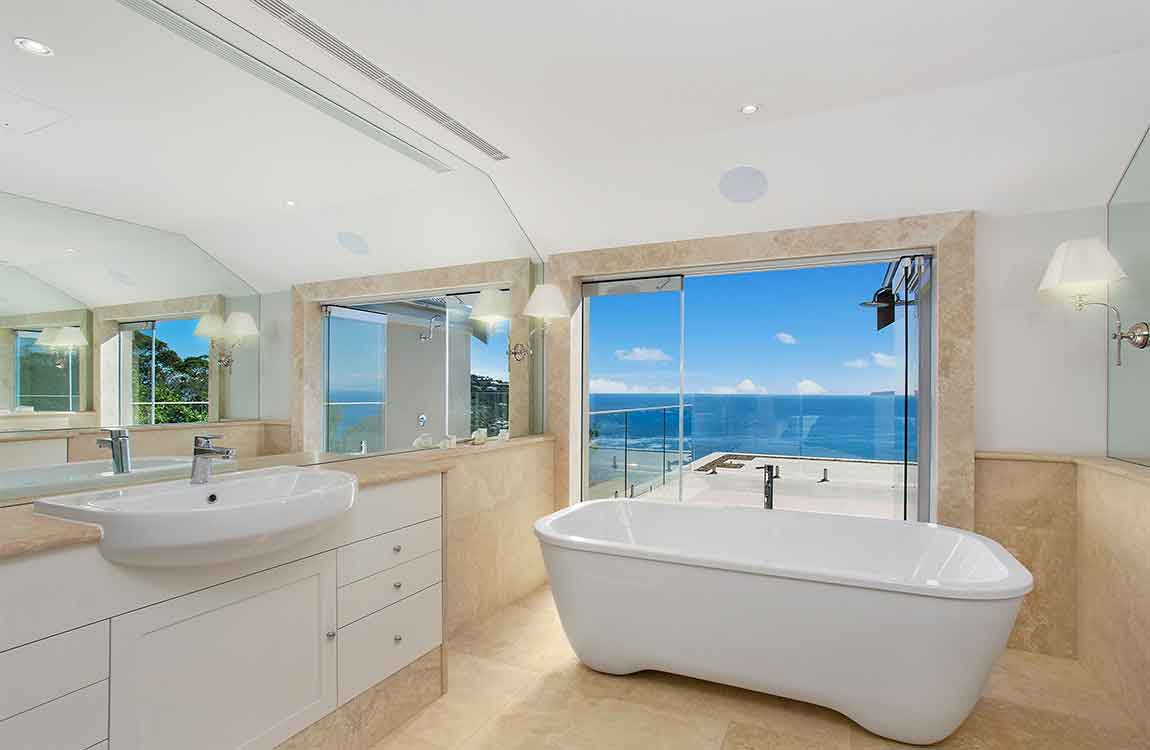
If your bathroom faces the ocean, incorporate large windows so that you can easily see and hear the beach. If you don’t have a lot of natural light in your bathroom, add string lights or pendant lights over your sink to create a bright glow.

How to Install a bathroom sink?

Whether you’re installing a new sink in a recently constructed home or replacing an old one, you can learn to plan properly and install your new sink securely. While different sinks will need to be installed depending on the variations of the kit you’re using, the basic steps in the process are usually the same. Learn how to assemble and fit your new sink into place quickly and efficiently.

Get the necessary tools for the job. You can install a new sink with basic tools and new components that match the valves already installed in your plumbing. Make sure you have: Silicone caulking. Plumbers’ wrenches, either pipe wrench or slip-joint pliers. Basin wrench. Set of plumbing sockets.

Turn off the water supply valves. Typically located beneath the sink, it’s critical that you shut off the water supply to the sink before you remove it. If the valves are not beneath the sink, then you’ll have to turn off the main water supply. This is typically located on a lower level or the basement near the water meter. To test, turn on the hot and cold water on your sink and make sure no water comes out before proceeding.

Remove the old sink, if necessary. If you’re replacing a sink, you’ll obviously need to remove the sink that’s in place before installing the new one. Disconnect the supply and drain lines from the faucet, using locking pliers or a crescent wrench. A small amount of water may leak out when you do this, which is normal. Just use a bucket or a towel to handle the water that leaks out.

Locate the large nut that connects the sink to the drain and disconnect it. This metal or plastic nut will be located either in the wall or the floor. Use your hands or locking pliers to unscrew the nut. Remove the current sink by sliding the edge of a putty knife around the perimeter of the bathroom sink, loosening any caulk that connects it. Pull it loose.

Measure the new sink to make sure it fits the space. All new sinks should come with a template of the mounting opening, marking the location of the faucet holes, including a cutout for the sink. You can use the template to make sure the sink fits in the desired location. If it doesn’t, you may need to do some trimming or, or cut the entire opening if you’re installing a sink in a house under construction. Most new sinks come with clips and screws that are used to hold the sink in place. If you buy a faucet, sometimes it’ll come with the drain and tailpiece for the sink. If it isn’t included, get one before you start. The supply lines for the faucet need to correspond to the faucet and valves under the sink, so make sure they match before you get started.