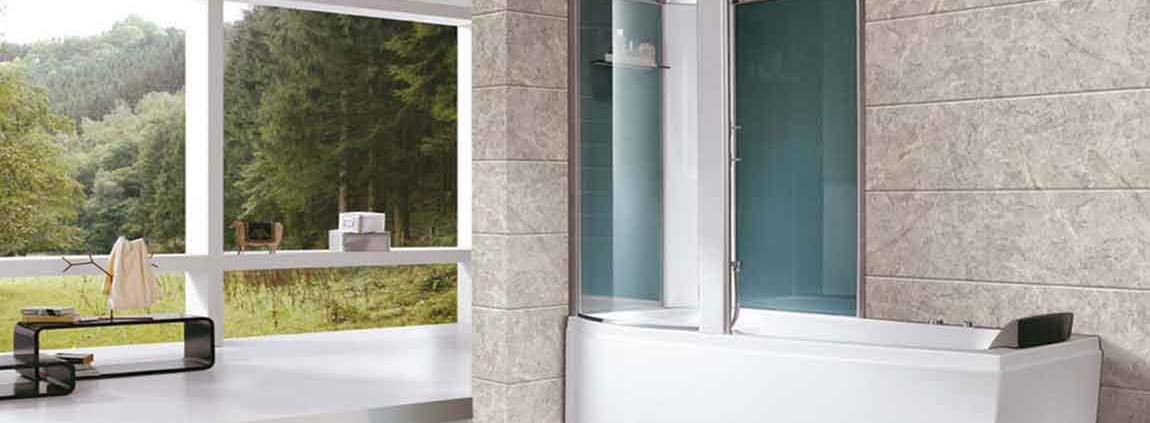
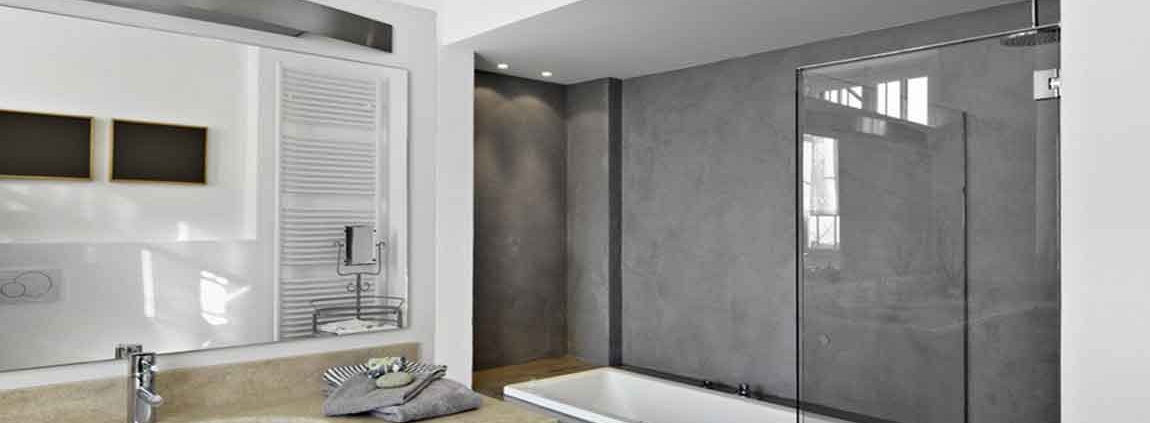
How Using Commercial or Homemade Cleaners?


Clean soap scum with a commercial glass cleaner if you have it. Spray a little bit of the cleaner on a small area of your shower door, then wipe it off with a clean cloth. If this “test spray” works, repeat this process on the rest of the shower door to clean all the soap scum off of it.


You can buy commercial glass cleaners like Windex or Glance at any grocery store that sells cleaning supplies. You can also try removing the soap scum with an all-purpose bathroom surface cleaner, although this isn’t as likely to be effective as a glass cleaner.


Opt for a damp magic cleaning eraser or dryer sheet for small jobs. Soak the magic cleaning eraser or dryer sheet in a small amount of clean water. Then, scrub the scummy area in a small, circular motion to clean it. This is the best option to take if there’s only a little bit of soap scum you have to clean.


You can buy Magic Erasers and dryer sheets at any grocery store. Using a magic cleaning eraser is also the best method to use if you don’t want to put any chemicals or scented products on your shower door. Use a homemade cleaner made out of vinegar and dish soap. Bring a small pot of vinegar to a boil. Then, using a measuring cup, add equal parts of hot vinegar and dish soap to a spray bottle and mix the ingredients together.


Spray this mixture onto the soap scum and let it sit for at least 30 minutes. Finally, rinse the mixture off of the door while scrubbing it with a microfiber cloth. Be very careful when working with hot vinegar, as it will burn you if you get it on your skin. For best results, leave the mixture on your shower door overnight before rinsing it off. If there’s any scum that doesn’t come off when you scrub it with the microfiber cloth, switch to a stiff-bristled brush and scrub a bit more forcefully.

How to Install a Bathtub?

Installing a bathtub is a complex job that shouldn’t be attempted by novices. However, if you have some plumbing and construction experience, this may be a DIY project that you feel comfortable tackling. If you’re looking for a starting point, this guide provides an outline of the job. If you’re unsure what to do at any point in the process, it’s best to call a plumber. They can install the bathtub for you and ensure it’s to code.

Attach the drain to the tub. Before you actually set the tub in place, secure the drain to it. Wrap the bottom of the strainer (the part of the drain you see on the inside of the bottom of the tub) with plumber’s putty and press it into the tub from the inside. Place a gasket around the strainer from the outside of the bottom of the tub, then screw the strainer to the drain chute, which a long pipe that includes the overflow drain.

Use pliers to tighten the strainer from the inside of the tub and remove any excess putty. Connect the overflow drain. Slip the trip lever stopper and linkage through the overflow drain opening on the inside of the tub. Use a screwdriver to secure the overflow cover with the trip lever to the inside of the tub.

The trip lever is what you move up to prevent water from draining out of the tub. The stopper and linkage go inside the pipe to stop or allow the flow of water. The overflow drain will prevent the tub from overflowing if you leave the water running as it directs the water into a drain pipe.

Connect the water lines and install your accessories. Screw the faucet into the coupling for the water lines through the hole in the surround. Then, screw the strainer cover over the drain opening in the floor of the tub. Add any other accessories you need, such as handles if they are separate from your faucet.

How Securing the Tub and Surround?

Set the tub in place and level it. Carefully position the tub in the alcove so that the drain rests over the drain opening in the floor. Place a level on each side of the tub. If any spots are uneven, position hardwood shims underneath the tub and glue them in place. Some manufacturers may advise you to spread mortar on the floor and set your tub on the mortar to secure it in place.

Secure the tub to the studs. There will be a small flange, or vertical lip, around the outside of the tub. Follow the manufacturer’s directions to secure the flange to the studs in the wall. In most cases, you can use a hammer to drive roofing nails through the flange to secure it to each stud in the wall.

Fit a new tub surround. The surround is made up of the panels that protect the wall around your tub from moisture and mildew. First, dry-fit the surround and mark the location of the accessories, including the faucet and water handles. Ensure that the faucet will line up with the water lines in the wall. Then, cut out the accessory openings with a jigsaw.

Make sure you measure the location for accessories multiple times before cutting into the surround!A one-piece surround is the easiest type to install. Caulk the tub to the surround and secure the surround to the studs. Place a bead of silicone caulk around the entire perimeter of the tub on the ledge next to the flange. Then, carefully set the surround on top of the silicone caulk.

Next, use a drill to screw the surround into each wall stud. Aim to use a screw every 6 inches (15 cm) up the length of the surround. Be sure to choose silicone caulk meant for use in bathrooms.

How Fitting the New Tub and Installing the Drain?

Select a tub that will fit in the designated space. Measure the length and width of the alcove where you will install the tub. Also, measure the height and width of your bathroom doorway to make sure the tub will fit through the bathroom door! Take your measurements to a home improvement store to guide your purchase.

If you’re replacing an old tub, choose a new tub with a similar configuration and make sure the drain and faucets are on the same side and in roughly the same location to make installation easier. Make sure your tub comes with all the faucets, drains, and accessories you will need. Typically, you’ll need a faucet, water handles, and the drain, which includes the drain chute, strainer, strainer cover, trip lever, stopper, linkage, and overflow drain cover.

Dry-fit the tub in the alcove. To ensure the tub fits, place it in the designated area. Check that the drain hole in the bottom of the tub lines up with the P-trap in the floor underneath the tub. Ensure you have the right fittings to connect the water supply lines to the faucet you purchased, as well.

Set the tub somewhere safe after you make sure it fits so you can move onto installing a ledger board. Use caution to prevent scratches or other damage to your new tub! Install a ledger board. Cut a 2 by 4 in (5.1 by 10.2 cm) board to the length of the wall that the long edge of the tub will be placed against. Measure the height of the lip, or flange, of the tub, then mark that height measurement on the back wall.

Use a drill to screw the ledger board to the studs in the wall so that the top of the ledger board is just below the flange when the tub is sitting level in the alcove. A ledger board helps support the weight of the tub and ensures it can be securely attached to the wall.

How Removing the Old Bathtrub?


Turn off the water at the main line. The first step is to shut off the water for the bathroom you’ll be working in. Locate the main line and turn it all the way off. Then, turn on the faucet in your tub to drain the lines. Remove the accessories and disconnect the water lines. Use a screwdriver to unscrew the faucet and disconnect it from the water lines by unscrewing it.


Remove the handles, overflow drain cover, and the drain cover on the bottom of the tub. If you have a showerhead, remove that as well. You may need to pry off a plastic cover to gain access to the screws. You may be able to reuse some of these accessories, so keep them if you don’t want to buy new ones.


Remove the existing tub surround or tiles. You need to expose the studs in the wall in order to install a new bathtub, so you must remove the existing surround and the drywall behind it. Using a utility knife, cut through the drywall around the outside edge of the entire surround. Then, use a pry bar to pry the drywall and surround or tiles out of place. Be careful not to damage any pipes or wires.


Be sure to wear safety gear, including goggles and a dust mask, throughout this process. Work from the top of the surround down to the bottom. Gain access to the plumbing. In some homes, you may be able to access the plumbing from the room next to the bathroom. In other cases, the plumbing may be situated in the floor under the tub. Most likely, you’ll need to cut a hole in the wall or floor in order to access the plumbing.


Take out the old tub. First, unscrew the tub drain and overflow from the P-trap underneath the tub. If your tub is acrylic or fiberglass, cut it into pieces with a jigsaw to make the removal process easier. If you want to try to keep the tub in one piece, use a jigsaw to cut away the tub flange that’s nailed to the studs, then tip up the tub and pull it out. You may need to slice through the caulk that connects the tub and floor before removing the tub. Use a utility knife to do so.

How to Paint the Bathtub?


If your cast-iron tub is looking a little rundown, save some money and give it a new coat of paint rather than replacing it. After filling in any gaps or cracks, sanding down the interior and exterior, and giving it a few coats of acrylic urethane enamel paint, you’ll have a bathtub that looks brand new. It’ll cost you about $450 to refinish your tub yourself, versus over $3000 to replace it.


Leave the tub alone until it has cured completely. Don’t step in it, run any water, or use it it any way. Follow the paint manufacturer’s instructions for the curing time, which is generally around 24 hours. You can also use a heat lamp to speed up the curing time, but that could also cause discoloration in the paint.


Remove the masking tape and reattach the tub fixtures. Once the tub is dry, you can remove all the plastic sheeting and tape and replace the drain and faucet. Throw the sheeting and tape away. You may also want to mop the floor and give the rest of the bathroom a thorough wipe-down to catch any dust or dirt left behind from the painting process.


Re-caulk the tub before you use it again to protect it from mold. Use a caulking gun to reapply the caulk to the areas where the tub meets the shower, if that’s applicable. Follow the instructions for the brand you purchased and let it dry before you use the tub. Caulk can take 24 hours to cure, but it’s generally safe to expose it to water after a few hours.


Spray painting is generally an easier process because you won’t have to lean over the tub and risk smearing the paint. Similarly, if you’re painting the tub by hand, use long, even strokes to coat the tub’s entirety.

How Applying the Paint?


Tape protective sheets on the walls and floor. Before you paint, use masking or painters tape to secure plastic sheeting to the walls surrounding the tub, as well as to the floor underneath the tub. You may also want to lay plastic sheeting over any other fixtures, like the toilet or sink, and remove decorations, towels, and beauty products.


The paint you’re going to use is an acrylic spray paint, and the “dust” from it will settle on the walls and floors. Put on a respirator and wear old clothes once you’re ready to paint. Your clothes are going to get covered in paint dust, so wear things that you don’t mind getting dirty. And use a respirator for safety purposes—the fumes from the paint will be really strong. Remember to keep a window open or a fan running during the painting process.


Follow the paint manufacturer’s instructions to prepare it properly. For a cast-iron or fiberglass tub, you can use acrylic urethane enamel, which may already come mixed for you, or you may have to mix it it, just depending on what kind of kit you purchased.
For fiberglass tubs, you can also use a two-part epoxy paint instead of the acrylic. The epoxy paint can be used on porcelain and ceramic tubs, too.


The easiest option for DIYing the paint job is to purchase kits that are designed specifically for that purpose. Some companies even provide spray cans of acrylic urethane enamel that you don’t have to mix at all. Load your spray gun and put the lid on the paint can. Follow the spray gun’s instructions for how much paint should be loaded into the body. Keep the lid on the paint can so that the enamel doesn’t start to dry up.


If you don’t want to use a spray gun, you could also use paint brushes and rollers. In that case, you wouldn’t need to load anything and could just mix the paint in its can to prepare. Coat the entire tub with long, even motions. Work systematically by starting at a top interior corner and working your way across the length of the tub. Keep the spray gun about 8 inches (20 cm) away from the tub. Repeat this process until the entire interior is painted, and then move on to the outside of the tub.

How Filling Gaps and Sanding the Tub?


Prepare the epoxy putty before applying it to any cracks. Wear rubber gloves to protect your skin, and read the manufacturer’s instructions before you begin. Open up the putty and tear or cut off a small section of the putty. Work the putty between your fingers until it is pliable, kind of like how you would massage a piece of play dough to work it into a new shape. If you can’t find epoxy putty, buy a similar kind of tub-repair paste from your local hardware store.


Fill any cracks or chips in your tub with the epoxy putty. Use your fingers to push putty into any chipped areas. Depending on how large the crack is, tear your putty pieces so the size is about right to just overfill the area. Make sure to push down on the putty firmly so that it makes its way into all the crevices. At this stage, it’s okay if the putty isn’t flat with the rest of the tub’s surface.


Use a putty knife to smooth over each of the patched areas. Take your putty knife and position the blade so it’s flat against the surface of the tub. Gently scrape it over the filled sections to remove any excess putty. Wipe off the blade from time to time with a damp paper towel. If your working on a curved area, you may need to adjust your knife’s position a few times to get the entire area smooth.


Sand the entire bathtub to work down the gloss and prepare it for paint. Use wet/dry sandpaper, and sand it with 400 grit sandpaper first, and then do it again with 600 grit sandpaper. Attach your sandpaper to a sanding block, and use a spray bottle to wet down the tub as you work. The wet-sanding will eliminate a lot of dust, but it’s a good idea to keep wearing your respirator, especially if you’re working in a small space.


Rinse out the tub and dry it completely before painting it. After the tub has been sanded, rinse out the interior and wipe down the exterior sides to remove any sandpaper and grit remnants. Use clean towels to dry it off thoroughly. The tub needs to be 100% dry before you start painting it, so use as many towels as you need to.

How Bleaching the Bathtub?


Open windows or bring in a fan before you begin working with bleach. If your bathroom is small and doesn’t have a vent or windows, bring in a fan to blow air out as you work. The most important thing is that you’re getting fresh air so you aren’t just breathing in bleach fumes. You can also wear a respirator if you’re concerned about the fumes.


Wear rubber gloves and mix 90% water with 10% bleach. Use a large bucket to mix the water and bleach. Leave some room at the top of the bucket so that it doesn’t spill easily. Make sure to wear gloves and old clothes, too. Fill up the bucket in the bathroom near the tub so you don’t have to try and transport it from another room.


Scrub the tub with the bleach and water solution and then rinse it out. Use a sponge and start at one corner of the tub and systematically work your way around it. Squeeze out and re-soak your sponge as much as you need to. Rinse the tub out with fresh water after you’ve cleaned it. You can dump out the bleach/water mixture and fill that same bucket with clean water if you want to.


Don’t forget to scrub the exterior of the tub, too—you’re going to be painting the entire thing, so it all needs to be cleaned. Part of the painting process involves getting the tub as clean as possible beforehand so that the paint adheres to the surface better.


Wash the tub with an abrasive cleaner to ensure it’s clean. Use a product like Comet and sprinkle it over the entire surface of the tub. Use a new, wet sponge to scrub the tub. Rinse out your sponge periodically so it doesn’t get too gunky from the cleaner, and then rinse the tub again with fresh water. If you don’t have Comet, you could sprinkle and scrub away baking soda for the same result.

How Removing the Caulk?


Use a caulk-removing tool and isopropyl alcohol to clear away the caulk. Apply the isopropyl alcohol to the caulk via a spray bottle or blot it on with an old washcloth—this softens the caulk and makes it easier to remove. Use your caulk-removing tool to scrape away as much of the caulk as you can. Wear rubber gloves while you work to protect your hands. You shouldn’t have to pay more than $10 for the caulk-removal tool.


Discard of the old caulk so it doesn’t get in your way. Keep a garbage bag nearby as you scrape off the caulk so you can easily put it to the side. You won’t be able to reuse it for anything, so throw it away with your regular trash. If you can’t get all of the caulk off, that’s okay—you’ll be sanding down the tub later and can work off any bits that are stuck then.


Remove the drain and the spout so they don’t get painted. Use a screwdriver to take out the drain and water spout fixtures, then set them to the side. If you’re having trouble getting a part out, try lubing it with some oil to loosen the screws. This is also a great time to give those fixtures a thorough cleaning. Submerge the fixtures in warm water and dish soap to loosen any hardened grime. Use an old toothbrush to scrub away any remaining dirt.


Allow the lemon juice to sit for 10-20 minutes. Once you’ve given the shower a thorough scrubbing, give the lemon juice a little time to work its magic. Though mild, the acids that the juice contains will usually be enough to deal with the majority of commonplace stains. The longer you let the juice soak, the better the end result will be.


Lemon juice is especially useful for dissolving stains that result from exposure to hard water or chemicals. Citric acid will not only clean and disinfect, it will also help brighten up the acrylic and restore it to its original luster.