Posts

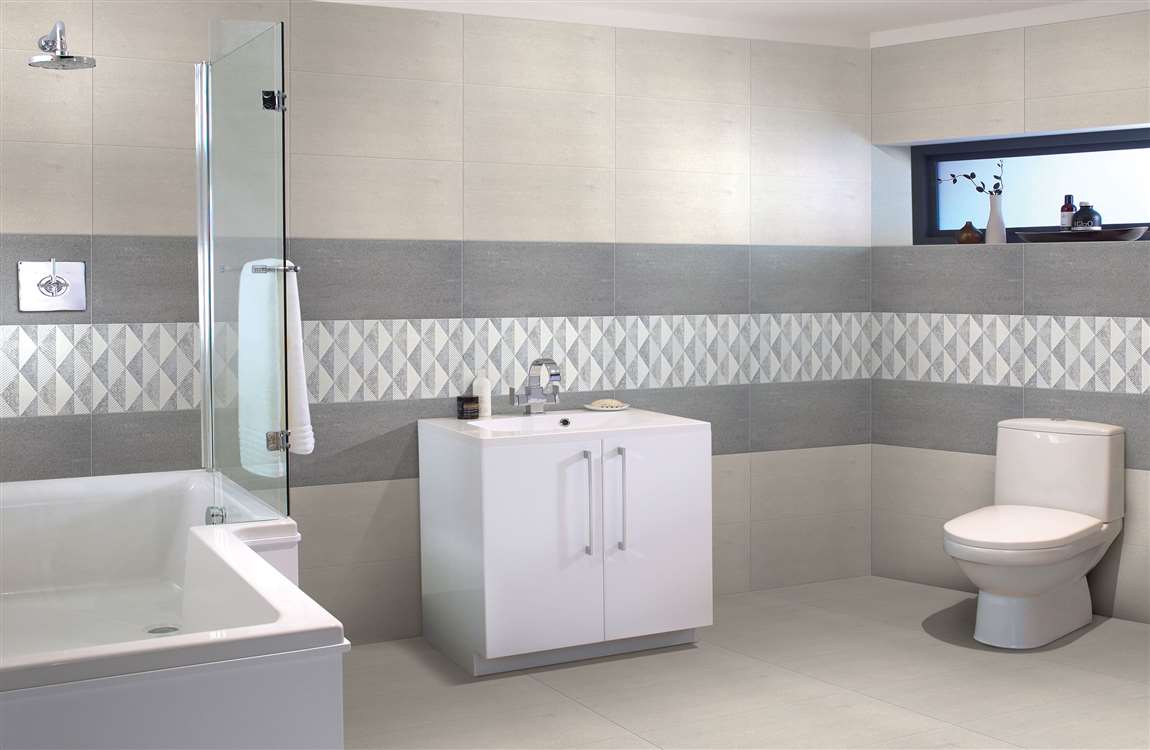
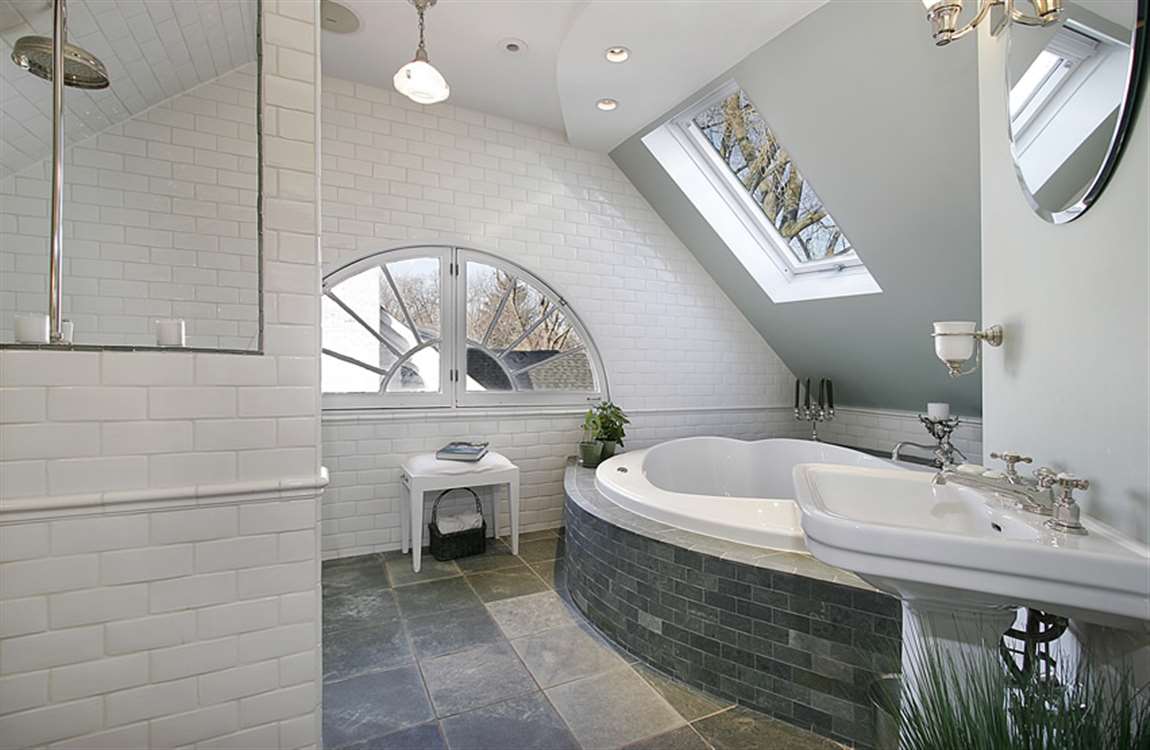
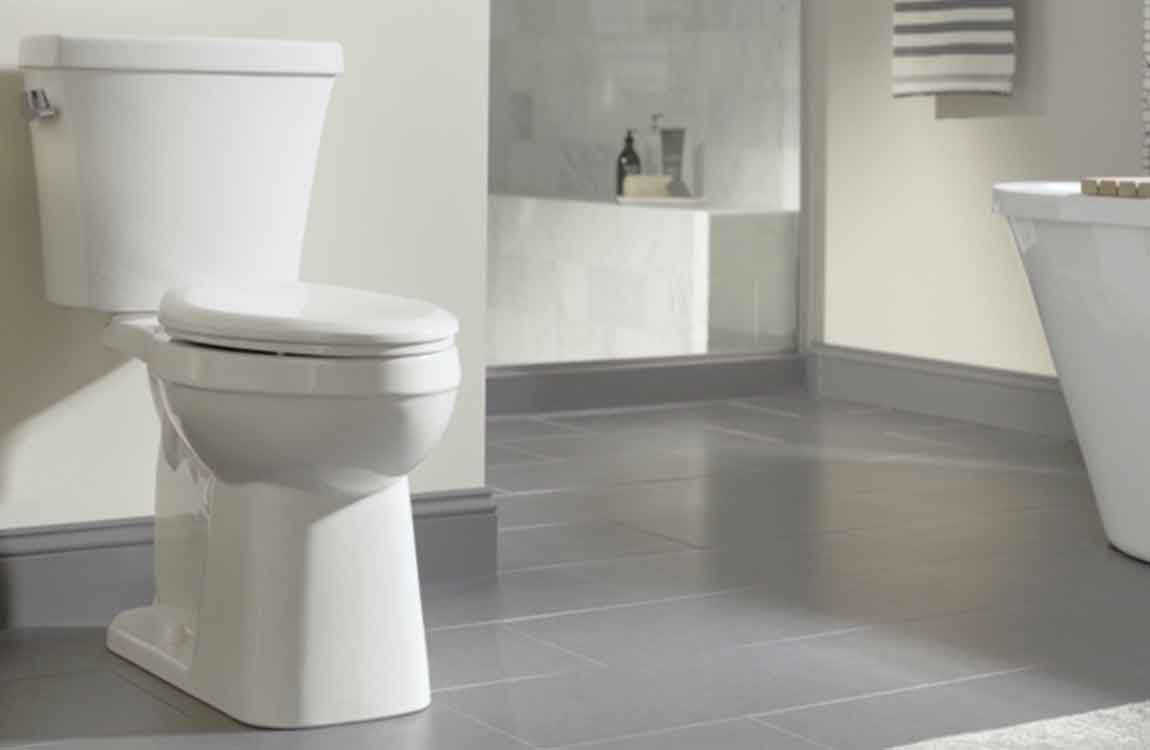
How Removing the Old Bathtrub?


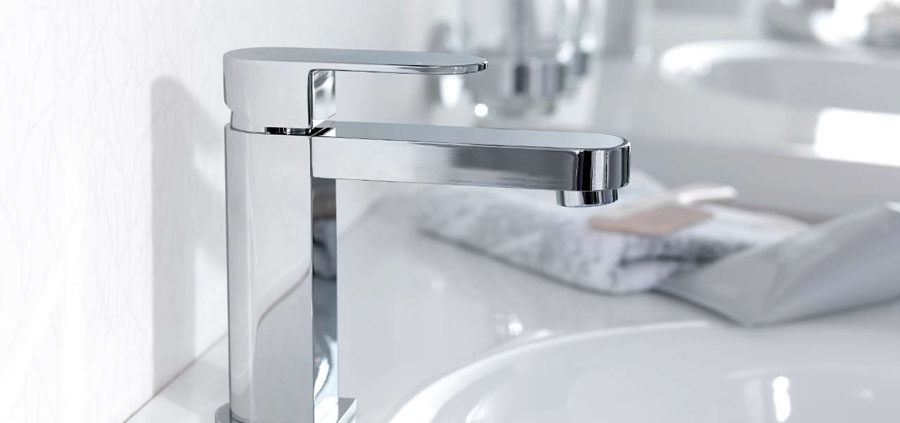
Turn off the water at the main line. The first step is to shut off the water for the bathroom you’ll be working in. Locate the main line and turn it all the way off. Then, turn on the faucet in your tub to drain the lines. Remove the accessories and disconnect the water lines. Use a screwdriver to unscrew the faucet and disconnect it from the water lines by unscrewing it.


Remove the handles, overflow drain cover, and the drain cover on the bottom of the tub. If you have a showerhead, remove that as well. You may need to pry off a plastic cover to gain access to the screws. You may be able to reuse some of these accessories, so keep them if you don’t want to buy new ones.


Remove the existing tub surround or tiles. You need to expose the studs in the wall in order to install a new bathtub, so you must remove the existing surround and the drywall behind it. Using a utility knife, cut through the drywall around the outside edge of the entire surround. Then, use a pry bar to pry the drywall and surround or tiles out of place. Be careful not to damage any pipes or wires.


Be sure to wear safety gear, including goggles and a dust mask, throughout this process. Work from the top of the surround down to the bottom. Gain access to the plumbing. In some homes, you may be able to access the plumbing from the room next to the bathroom. In other cases, the plumbing may be situated in the floor under the tub. Most likely, you’ll need to cut a hole in the wall or floor in order to access the plumbing.


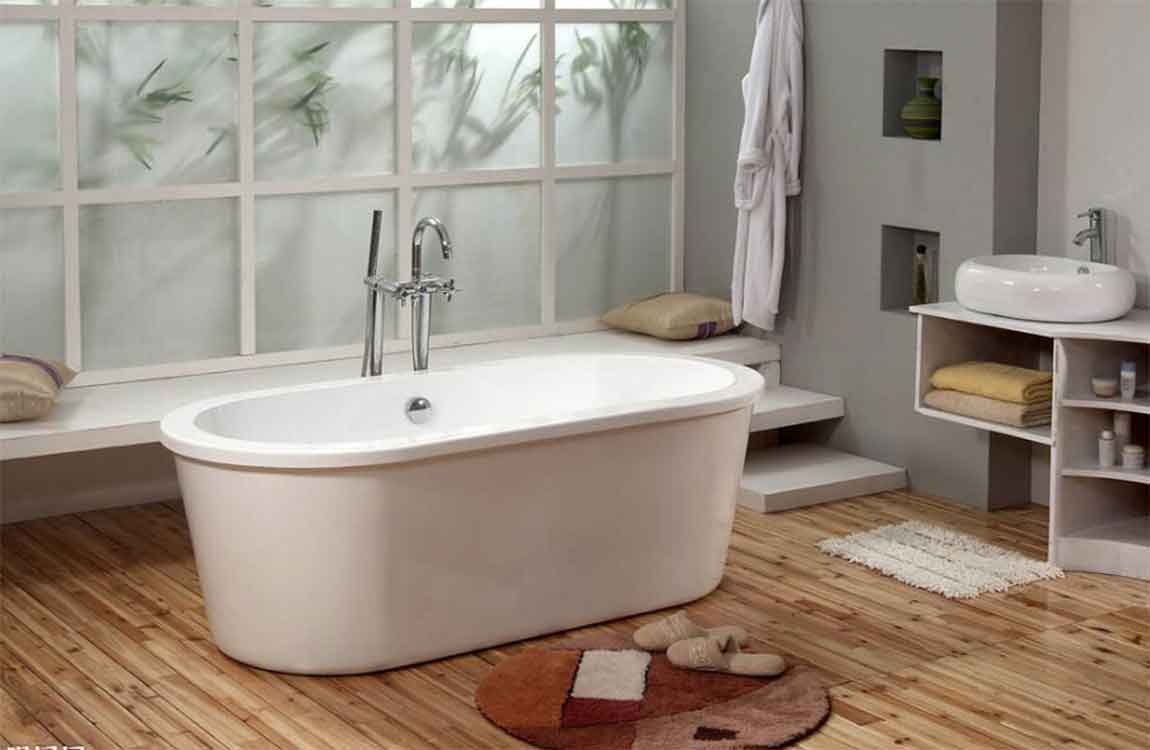
Take out the old tub. First, unscrew the tub drain and overflow from the P-trap underneath the tub. If your tub is acrylic or fiberglass, cut it into pieces with a jigsaw to make the removal process easier. If you want to try to keep the tub in one piece, use a jigsaw to cut away the tub flange that’s nailed to the studs, then tip up the tub and pull it out. You may need to slice through the caulk that connects the tub and floor before removing the tub. Use a utility knife to do so.

How to Clean and Re Grout Bathroom Tile?

Most bathroom tiles host mildew growth if there’s a lack of air supplied to the bathtub/shower area. Here are some steps that should help restore it to showroom condition. Apply the caulking. Prepare the surface by thoroughly cleaning and drying. Most caulking won’t adhere to a surface that is oily or wet.

Apply silicone, or vinyl caulking to tub/tile edge to keep this area watertight. Caulk around the faucet handles, tub spout, and overflow as needed. Apply a sealant. When the grout has cured, (three to seven days), apply a tile sealant according to the manufacturer’s instructions.

Compare the different types of bathroom cabinets. Closet cabinets are floor-to-ceiling units with doors, and have the appearance of built-in furniture. They may be used as linen closets, or to conceal washer/dryer units or water heaters. Base cabinets are freestanding cabinets that sit on the floor. These cabinets come in a wide variety of shapes and sizes, and can be placed anywhere in the bathroom.

Wall cabinets are hung on the wall, usually over a bathroom fixture. For example, medicine cabinets are narrow units that are generally placed within reach from the sink area, while open-shelved cabinets may be installed over the toilet area for toilet tissue storage.

Consider installation. While base cabinets may be set anywhere on the bathroom floor, closet and wall cabinets will require some labor and expertise when it comes to installation, as they must be firmly attached to the wall’s studs for safety.

How Preparing the Old Sink and Buying the New One?

Turn off the water supply and empty the lines. The shutoff valves are usually located in the cabinet under the sink. Turn both the hot and cold valves clockwise until they resist further turning. Then, turn on the hot and cold faucet taps to empty the faucet lines. If the shutoff valves won’t stop the flow of water completely, you’ll have to replace them. Unless you have some plumbing experience, this may be a job best left to a professional.

Disconnect the P-trap portion of the drain pipe. If the P-trap is made of PVC, loosen the slip nut that connects it to the underside of the sink drain by hand. If the P-trap is made of metal, loosen the connecting nut with channel locks.

You don’t need to remove the P-trap to replace the sink, but you may want to remove it temporarily so you can clear it of debris. To take it out, unscrew the nut (by hand or with channel locks) that connects the bottom of the P-trap to the drain line below. Place a bucket or heavy towel at the bottom of the cabinet to catch any dripping water.

Unfasten the hot and cold water lines with a crescent wrench. These are flexible lines that run from the shutoff valves to the underside of the faucet. Disconnect them right above the shutoff valves. Some types may have nuts you can loosen by hand, but you’ll often have to use a crescent wrench. You can reuse these water lines if you want—just disconnect them from the underside of the sink later, then reattach them during installation. But this is also a good time to replace them.

Measure the dimensions of the old bathroom sink with a measuring tape. If you want to reuse your existing countertop, makes sure you get a new sink that will fit in the same spot as the old one. Write down the length, depth, and width of the sink, as well as the length and width of the countertop. You’ll likely have to replace the countertop as well if you want a new sink that’s a different size.

Buy your new sink at a home improvement store. Bring the measurements of the old sink and countertop with you. This helps to ensure you purchase the correct size before putting in a bathroom sink. Make sure the replacement sink is the same type (top-mount or undermount) as the old one. Ask an employee for assistance if you need help selecting a new sink. Most bathroom sinks are still made of ceramic, but there are other options, and many colors to choose from beyond the traditional white.

How does the bathroom be anti-seepage and mildew?

The walls of the bathroom are mostly paved with tiles. In order to keep them clean and bright, you can use multifunctional decontamination cream to clean them. As for bathroom tiles crevice, first use toothbrush to dip a little decontamination cream to remove dirt, then brush with a brush at the gap. This can not only prevent seepage, but also prevent the growth of mould.

A clever way to clean the bathroom glass basin. The glossy mirror and windows will be blurred because of their close contact with water for a long time. A spray type glass basin cleaner can be used to spray a large X shape on a whole glass, then fold the dry rags and wipe one round in one direction until the glass seven points dry, then wipe it again with a dry cloth. It can also be wiped with old newspapers. The ink of paper can make the glass shine as early as possible and wipe away stubborn dirt.

The faucet is perfectly change cloth. Water faucets often dip into various baths, shampoos, and detergent, which will make the surface of the faucet chrome plated. You can spray neutral deter gent on soft cloth and gently wipe the faucet once a week. Do not use acid or abrasive cleaners or wire brushes to “torture” faucets.

Make a whitening mask for the toilet. First, put a proper amount of water in the toilet, rinse the toilet brush again, then pour about 5~10 milliliters of detergent or hydroelectric acid, then wash it evenly with a brush, if the dirt is heavy, then a little detergent can be soaked and washed until clean, then rinse with clean water.

Bathroom ceramics are as bright as new. There is also a convenient and environmentally friendly way to clean sanitary ware, which is white vinegar and lemon peel. First, clean the dirt on the surface of the sanitary ware, then dip the soft cloth into a little white vinegar to wipe the surface of the sanitary ware or wipe with the lemon peel. Only a little time, the clean will be bright as new, and it will send out the fragrance.

Create a “oxygen bar” in the room. Today, “negative ion” air, you can keep some of the shade of plants, you can also buy a kind of oxygen bar, an oxygen bar similar to the murals can play the role of fresh air and plants, and do not take care, but also decorate the bathroom room, let the bathroom room “oxygen bar”, you may try.

Create an elegant fragrance. There are many kinds of air fresheners on the market, you can choose according to your own preferences. When using the bathroom in the elegant fragrance atmosphere, the music will be relaxed and comfortable at the same time. The simplest way to clean bathroom air is to put a cup of vinegar or a box of cool oil in the bathroom, and the smell will disappear.

What are the precautions for bathroom maintenance?

Everyone is familiar with the basin, and the basin is a tool for filling the liquid, which is mainly used to clean the face. Many people used to wash their faces with the basin. Now, although the faucet has been invented, there are many people who will use the basin. The basin is a kind of face washing tool for people’s life. Wash basins can be divided into many types. Stainless steel basins and ceramic washbasins are more common. Some washbasins are made of plastic. Bathroom washbasins are generally divided into three forms: the table basin, the wall-hang basin and the pedestal basin.

Table basin: the general owner of the table basin is mainly suitable for the bathroom with large area. It can be used in combination with the table surface of natural stone or artificial stone. It can also be used as a bathroom cabinet under the table surface. The bathrooms are both beautiful and practical. The table type basin is also a platform for trimming the upper stage basin and the lower floor basin. The upper basin of the trimming platform is directly installed on the stage, and the washbasin trimming can modify the table surface, which is more beautiful compared with the lower basin. The platform is equipped with solid table material and installed under the table. It is easier to clean than the table basin.

Wall-hang basin: hanging basin, also known as hanging wall type basin. Hanging style basin installation is relatively simple, only need to install according to the steps of the installation drawings can be installed, this basin should be built in the decoration of a short wall, the water pipe into the wall. There are many kinds of hanging basins, many families like to use this, and some public places also use more.

Pedestal basin: simple and generous, although it does not possess the nature of receipt, it is convenient and comfortable to use. The pedestal basin is suitable for the low use rate of the toilet, or the simple bathroom. The general pedestal basin can hide the drainage assembly into the pedestal basin, which has a striking visual focus, and the space under the washbasin is more open and easy to clean.

Maintenance method
1.change the bad habit of placing articles on the basin.
2.The daily necessities of larger size or heavier weight on the top of the basin are installed in addition to the storage cabinet to facilitate the collection of daily necessities and avoid placing on the make-up board.

3. Clean at ordinary times: the appearance of porcelain is soft, brush or sponge clean with neutral detergent, but avoid hot water washing to prevent the basin from cracking. If you want to use the basin to hold water, put cold water in the first place to avoid hot burns.
4. Regular maintenance: the bottom of the bay head can be removed, and the accumulated stains can be removed to keep drainage unobstructed.

5. Regularly check whether there is dark crack in the basin, fill the basin with water and pour it into the colored paint for one night. If there is a dark crack, you can see clearly.
6. When cleaning the basin, we should try to use the sponge cleaning agent to clean, avoid the use of the vegetable cloth, or scrub with hard brush, acid alkali chemical agent or solvent, because it will form fine scratches on the surface of the basin and make it become coarse and easy to deposit dirt.
7. When cleaning the basin, you must pay special attention to the dead part of the joint below the table.

whats the best distance between shower and faucet

What’s The Best Distance Between Shower And Faucet?

whats the best distance between shower and faucet

Shower head distance: space height

In determining the distance between shower and when first according to the self home space pattern to determine which items, the first thing to note is the height of the space. According to the spatial pattern of different sizes in the distance control are also different, the need for decoration friends to make on-the-spot investigation, according to the height control needs to design, to ensure the normal use.

Distance between shower and faucet – human needs

The main distance between shower head and faucet is to combine with the owner’s self use needs to consider, and in line with human engineering. From the perspective of decoration design is now generally, between shower and leading about 90-100 cm in height is almost, according to the owner’s demand can be properly adjusted, but the rate is not too big, try to use self protection.

Shower head distance: design style

According to the design style of shower itself is different, in fact, in the location of reservations, there will be some differences, users need to do a good job first overall consideration, combined with the beauty of decorative design to consider. From the design point of view, shower as much as possible with their bathroom decoration style consistent with, so as to form a good use of feelings.

Distance between shower head and faucet pipe distribution

In considering the shower and the leading distance must be according to the distribution of the pipeline to consider, such as the distance between the hot and cold water at about 15 cm, with self home pipeline distribution and design are different, appropriately adjust the distance. At the same time, it can be combined with the design of the bathroom and so on. It can reduce many problems.

how can you choose a durable kitchen faucet

How Can You Choose A Durable Kitchen Faucet

how can you choose a durable kitchen faucet

First of all, the design of the faucet is very important. Now the household goods on the market are becoming more and more humane, and faucets are no exception. Faucets usually have many ways of letting out water. But the choice must not be confused by the fancy function locks, try to choose easy to use, clean and simple shape.

Secondly, the material of the faucet is the key. The material directly determines the service life of the tap, tap the stainless steel surface treatment technology is very important, if able to withstand high temperature acid test faucet, faucet can explain not easily occurs leakage. If the material is poor, the faucet is cleaned several times, the surface will lose luster, the coating will change color and fall off, thus affecting the normal use of the tap.

Finally, environmental issues should not be overlooked. Faucets affect the amount of lead in water. Lead levels in water are caused by the erosion of waterways by water bodies. Therefore, to select a faucet, it is necessary to check its lead content and determine that the welding material of the tap is non polluting.